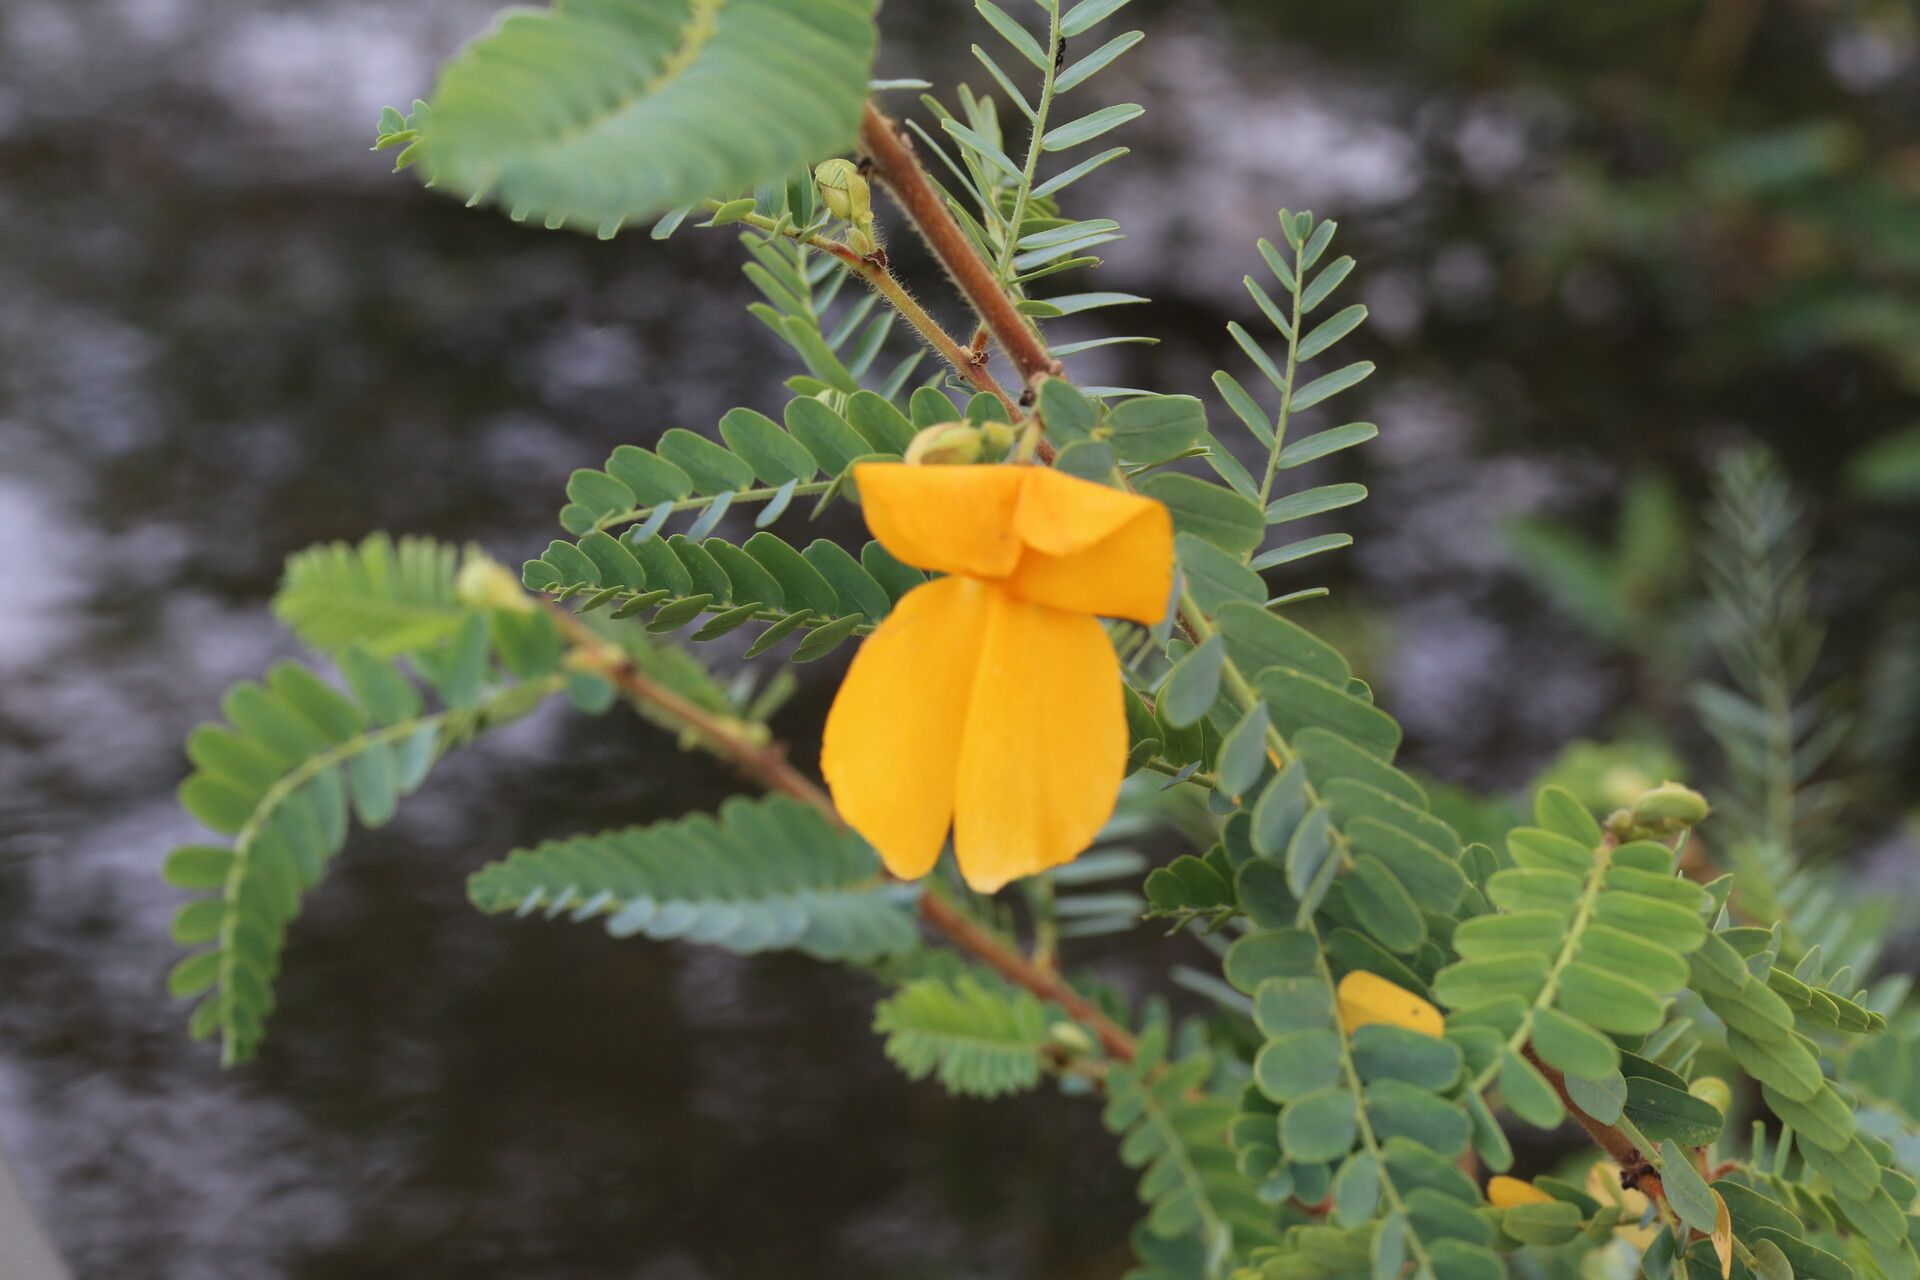
Hello lovely gardeners! It’s me, your resident plant enthusiast, ready to dive into another exciting propagation project. Today, we’re talking about Aeschynomene elaphroxylon, a plant that’s earned a special spot in many of my water gardens and naturalistic displays. Its delicate, fern-like foliage and charming pinkish flowers are a real treat, and the satisfaction of nurturing a new plant from a simple piece of another is just… well, it’s pure magic, isn’t it?
Now, I won’t lie, Aeschynomene elaphroxylon can be a little finicky. It’s not necessarily a beginner’s first foray into plant propagation. But with a little patience and the right approach, I promise you’ll see success. And trust me, it’s so worth it!
The Best Time to Start
For Aeschynomene elaphroxylon, spring and early summer are your golden windows for propagation. This is when the plant is actively growing, meaning it has plenty of energy reserves to put into developing new roots. Look for actively growing stems that aren’t flowering or producing seed. A healthy, vigorous shoot will give you the best chance.
Supplies You’ll Need
Before we get our hands dirty, let’s gather our toolkit:
- Sharp, clean pruning shears or a sharp knife: For taking clean cuttings.
- Rooting hormone (optional but helpful): A powdered or gel form can encourage faster root development.
- Well-draining potting mix: A mix of peat moss, perlite, and a bit of compost works wonderfully. For water propagation, clean water is your main ingredient!
- Small pots or containers: For rooting cuttings. Ziploc bags or plastic domes can also be helpful to maintain humidity.
- A spray bottle: For misting cuttings and keeping humidity levels up.
- Labels and a pen: To keep track of what you’ve propagated and when.
Propagation Methods
Aeschynomene elaphroxylon is most commonly and successfully propagated using stem cuttings. Here’s how I do it:
- Take Your Cuttings: Using your clean shears or knife, take cuttings that are about 4-6 inches long. Make the cut just below a leaf node (where a leaf emerges from the stem). These nodes are packed with growth hormones and are where roots will emerge. Remove the lower leaves to prevent them from rotting in the soil or water.
- Prepare the Cuttings: If you’re using rooting hormone, dip the cut end of each stem into the powder or gel, tapping off any excess.
- Planting the Cuttings (Soil Method):
- Fill your small pots with your well-draining potting mix.
- Make a small hole in the center of each pot with your finger or a pencil.
- Gently insert the cut end of the Aeschynomene cutting into the hole, ensuring at least one leaf node is buried beneath the soil surface.
- Firm the soil gently around the cutting.
- Water Propagation:
- Place your prepared cuttings in a clean glass or jar filled with room-temperature water.
- Ensure that the leaf nodes are submerged, but try to keep the leaves themselves out of the water.
- Change the water every few days to keep it fresh and prevent bacterial growth.
- Create a Humid Environment: This is crucial! Cover your pots with a plastic bag (held up with stakes or chopsticks so it doesn’t touch the leaves) or use a propagator with a lid. For water propagation, a loosely placed bag over the top can also help. This traps moisture, creating a mini-greenhouse.
- Placement: Place your cuttings in a bright location, but out of direct sunlight. Too much sun will scorch the delicate cuttings.
The “Secret Sauce” (Pro Tips)
Now, for a few little tricks I’ve learned over the years that make a real difference:
- Bottom Heat is Your Friend: If you have a heat mat designed for propagation, using it can significantly speed up root development. A gentle warmth from below encourages those roots to form much faster.
- Don’t Over-Water the Soil Cuttings: It’s tempting to keep the soil constantly soggy, but this can lead to rot. Aim for consistently moist, but not waterlogged, soil. Stick your finger in the soil; if the top inch feels dry, it’s time to water.
- Patience with the Leaves: If you’re water propagating, sometimes the leaves can be a bit close to the water surface. If you notice them starting to get a bit… unhappy… trim them off or ensure they are positioned so they aren’t submerged. The cutting needs to focus its energy on roots, not trying to keep those leaves healthy in the water.
Aftercare & Troubleshooting
Once you start seeing new leaf growth or visible roots forming at the cut end (in water propagation) or poking through the drainage holes (in soil propagation), you’re on your way!
- Gradual Acclimation: Once a good root system has developed, begin to gradually remove the plastic covering over a few days. This helps the new plant adapt to the drier ambient air.
- Potting Up: Gently pot your rooted cuttings into their own small pots using a good quality potting mix. Continue to water them consistently.
- Watch for Rot: The most common sign of failure is rot. If your cuttings turn black, mushy, or fall apart, it’s usually a sign of too much moisture or, in the case of soil cuttings, overly compacted soil. Clean your tools thoroughly and try again, adjusting your watering.
- Wilting: Occasional wilting isn’t always a death sentence. It could mean the cutting hasn’t rooted yet and can’t access water. Ensure it has enough humidity and hasn’t dried out completely.
A Little Encouragement
Propagating Aeschynomene elaphroxylon requires a bit of finesse, but don’t let that deter you. Each attempt is a learning experience. Enjoy the process of nurturing these new plants, and when you finally see those roots emerge, you’ll know it was all worth it. Happy gardening, everyone!
Resource: