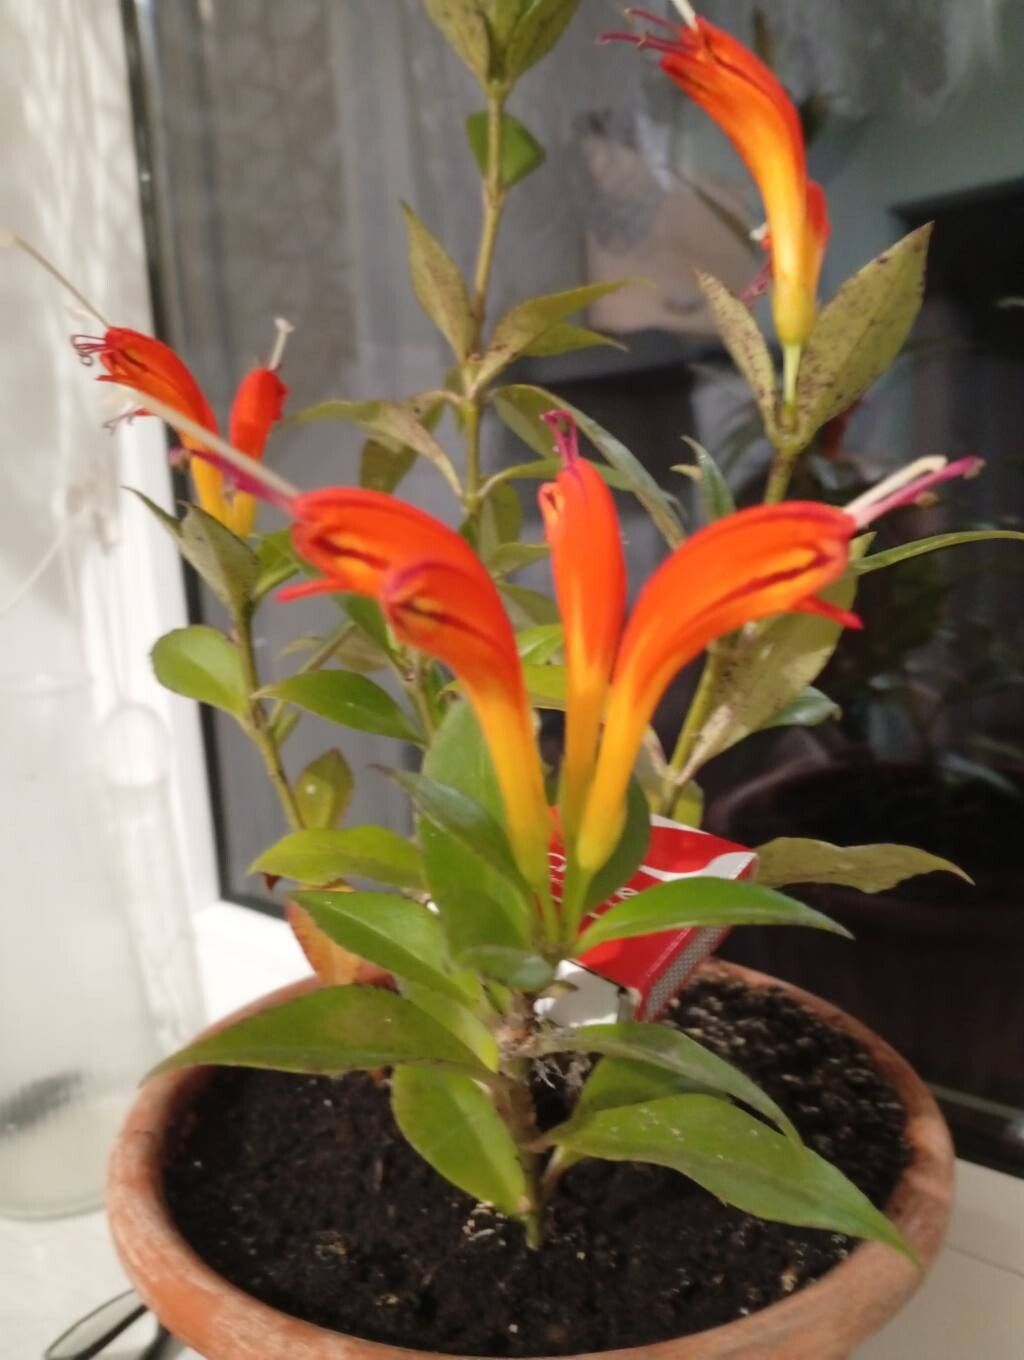
Hello, fellow plant lovers! I’m so excited to talk about one of my absolute favorites: Aeschynanthus everettianus, often called the Lipstick Plant. If you haven’t met this beauty before, imagine cascading vines adorned with vibrant, lipstick-shaped blooms that pop out from dusky sheaths. They bring such a lively splash of tropical flair to any indoor space.
And the best part? Propagating Aeschynanthus is wonderfully rewarding. It’s a fantastic way to share these gorgeous plants with friends or simply fill your home with more of their charm. For beginners, honestly, this is a pretty forgiving plant to start with. You’ll likely find success with a little patience and these easy steps.
The Best Time to Start
The sweet spot for propagating your Aeschynanthus is during its active growing season. This usually means late spring through early summer. The plant is full of vigor then, and the cuttings tend to root more quickly and reliably. You can certainly try at other times, but you’ll likely see the best results when the days are longer and warmer.
Supplies You’ll Need
Before we get our hands dirty, let’s gather our tools:
- Sharp, clean pruning shears or a sharp knife: For making clean cuts.
- Rooting hormone (optional, but recommended for faster rooting): A powder or gel to encourage root development.
- Well-draining potting mix: A mix formulated for houseplants or succulents works well. You can also create your own by combining equal parts peat moss (or coco coir) and perlite.
- Small pots or trays: Clean containers with drainage holes are a must.
- Clear plastic bag or a propagation dome: To create a humid environment.
- Watering can or spray bottle: For gentle watering.
- Rubbing alcohol: To sterilize your tools.
Propagation Methods
My favorite way to multiply Aeschynanthus is through stem cuttings. It’s straightforward and yields great results.
1. Taking Cuttings:
First things first, sterilize your pruning shears or knife with rubbing alcohol. This is key to preventing the spread of any potential diseases. Look for a healthy stem on your mature plant. You want a piece that has several sets of leaves, ideally about 4-6 inches long. Make a clean cut just below a leaf node (the point where a leaf attaches to the stem). Remove the leaves from the bottom half of the cutting, leaving just a few at the top.
2. Preparing the Cuttings:
If you’re using rooting hormone, dip the cut end of the stem into it, tapping off any excess. This isn’t strictly necessary as many Aeschynanthus will root without it, but it can speed things up.
3. Planting the Cuttings:
Moisten your potting mix so it’s damp but not soggy. This is crucial – you don’t want to start with waterlogged soil. Make a small hole in the potting mix using your finger or a pencil. Gently insert the prepared cutting into the hole, ensuring the leaf nodes are below the soil surface. Gently firm the soil around the stem to secure it.
4. Creating a Humid Environment:
After planting, water the soil lightly to settle it. Then, cover the pot or tray with a clear plastic bag or a propagation dome. This traps humidity, which is vital for cuttings to root. You can prop up the bag with a few small sticks to prevent it from touching the leaves. Place the pot in a bright spot, but out of direct sunlight.
The “Secret Sauce” (Pro Tips)
Here are a few things I’ve learned over the years that really make a difference:
- Don’t let the leaves touch the water (if using water propagation): While I primarily recommend soil, if you decide to try rooting in water, always ensure the leaves are above the water line. Leaves submerged will rot, which is the opposite of what we want! Change the water every few days to keep it fresh.
- Bottom heat can be a game-changer: Especially if your propagation spot tends to be on the cooler side, placing your pots on a seedling heat mat set to a low temperature can significantly speed up root development. Just a gentle warmth from below makes a big difference.
- Patience is indeed a virtue (and a key ingredient!): Aeschynanthus can be a little slower to show visible roots than some other plants. Resist the urge to constantly tug on the cuttings to check for roots. Wait at least 3-4 weeks before giving them a gentle tug. If you feel resistance, you’ve got roots!
Aftercare & Troubleshooting
Once your cuttings have rooted (you’ll see new growth or feel that gentle tug of resistance), it’s time for them to transition to their own little lives. Carefully remove the plastic bag or dome and gradually acclimate them to your home’s humidity levels over a few days. Continue to water them when the top inch of soil feels dry. Treat them like a young, established plant.
The most common issue you might encounter is rot. This usually happens from overwatering or poor drainage. If you see mushy stems or yellowing leaves that aren’t due to light, it could be a sign of rot. Make sure your soil is well-draining and be mindful not to overwater. If you catch it early, you might be able to salvage the healthy part of the stem and try again.
A Little Encouragement
Propagating plants is a journey, and each step is a learning experience. Don’t be discouraged if your first attempt isn’t perfect. Enjoy the process of nurturing these new little lives. Watching those tiny roots form and seeing new growth emerge is one of the most rewarding feelings in gardening. Happy propagating!
Resource:
https://identify.plantnet.org/k-world-flora/species/Aeschynanthus%20everettianus%20Kraenzl./data