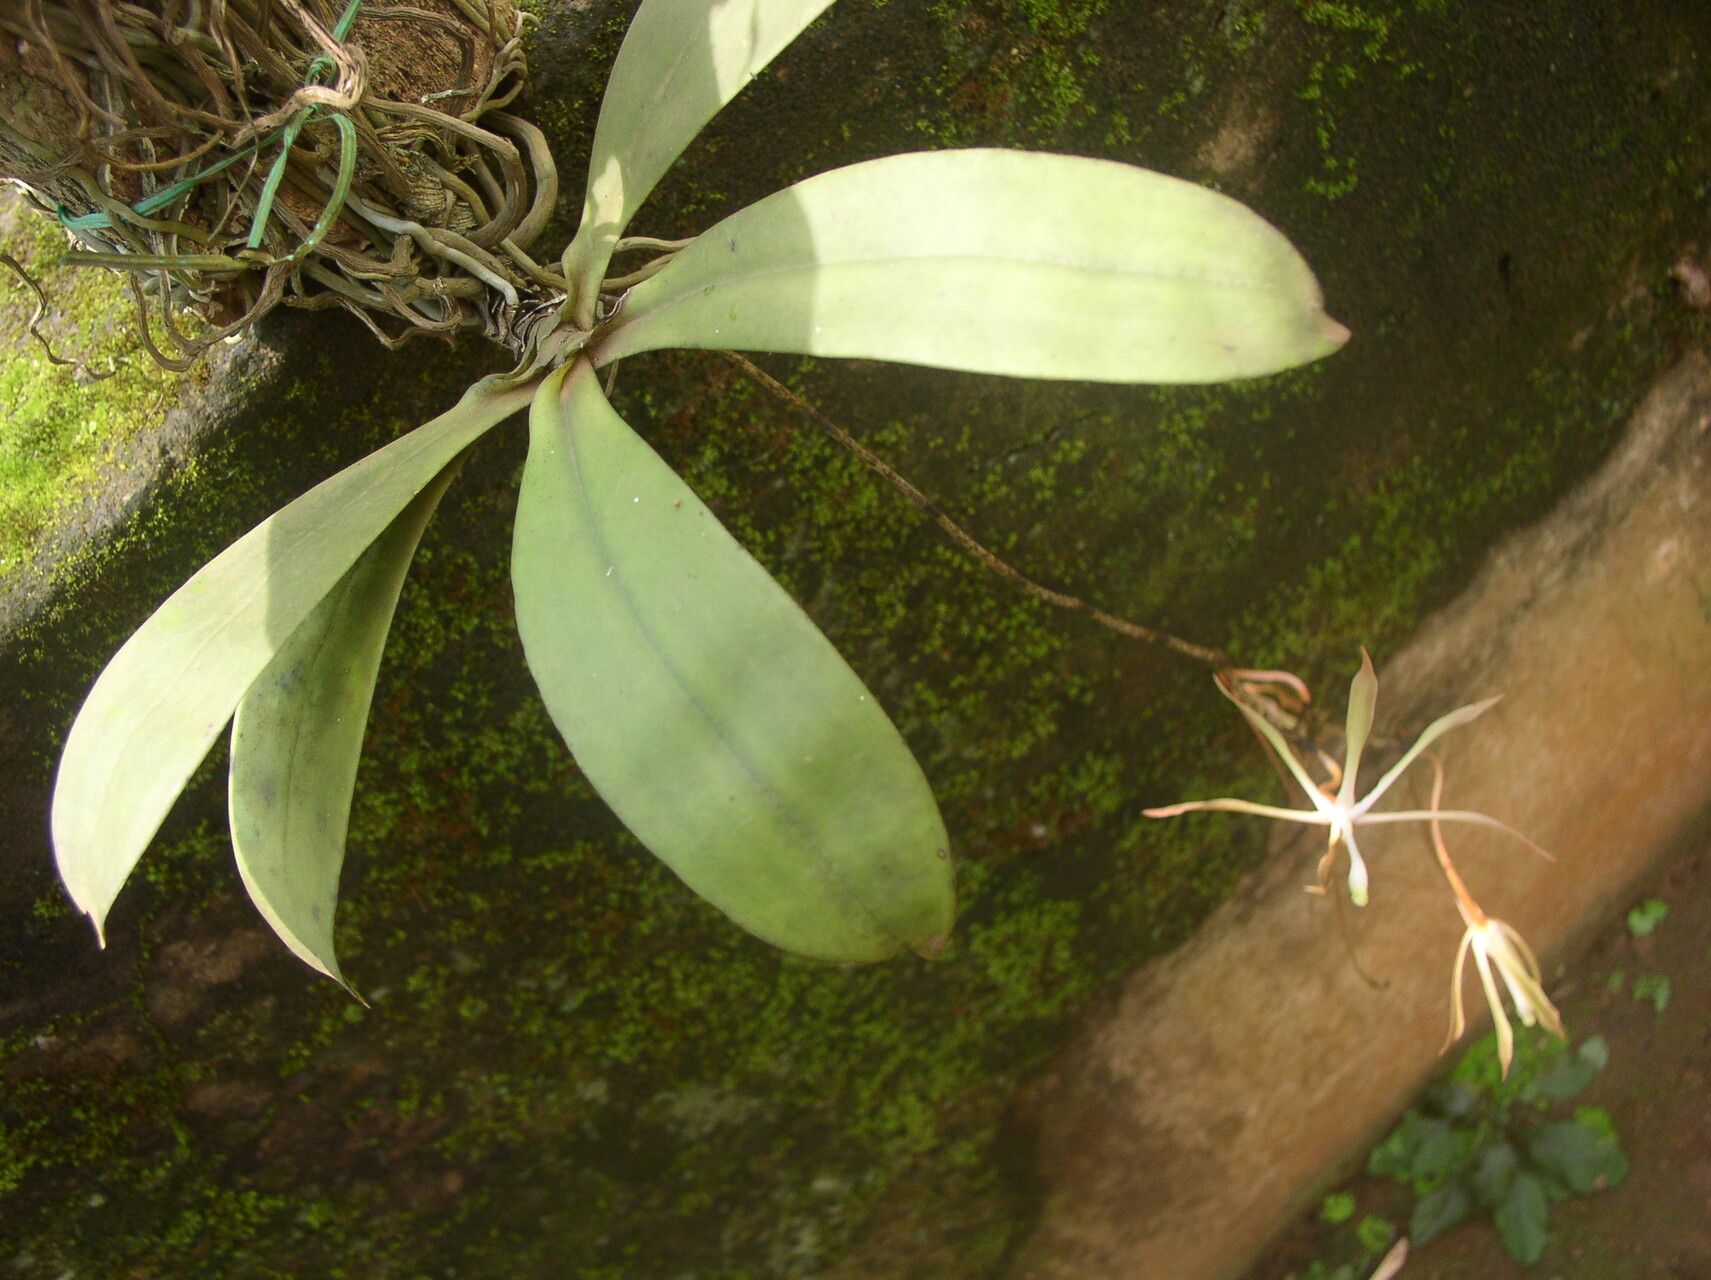
Oh, the sheer delight of watching a new plant unfurl its first tiny leaves! Today, we’re diving into the wonderful world of propagating Aerangis gracillima. This little orchid, with its delicate, star-shaped white flowers and graceful habit, is a true gem. If you’ve ever admired it in someone’s collection, you might be surprised to learn that while it’s not quite a “stick it in the dirt and forget it” kind of plant, propagating it is absolutely achievable, even for those of us who are still building our confidence. It’s a rewarding journey, and I’m excited to guide you through it!
The Best Time to Start
Timing is everything, as we seasoned gardeners know. For Aerangis gracillima, the absolute best time to attempt propagation is during its active growth period. This typically falls in the spring and early summer, when the plant is naturally putting out new shoots and roots. Pushing it to grow when it’s trying to rest is like asking a teenager to do their homework right after they’ve woken up – not going to happen. You want that youthful vigor to be on your side!
Supplies You’ll Need
Gathering your tools before you begin makes all the difference. Here’s what I like to have on hand:
- Sharp, sterile pruners or a razor blade: Cleanliness is paramount to prevent introducing any nasty bugs or diseases. I usually wipe mine down with rubbing alcohol.
- Clear plastic containers or small pots: Transparency helps you monitor root development and moisture levels.
- A good orchid bark mix: Look for a medium-fine grade. Something that drains well but still retains a bit of moisture is ideal. You can also find specialized seedling mixes for orchids.
- Optional: Rooting hormone: While not always strictly necessary for Aerangis gracillima, it can give a little boost.
- Optional: Sphagnum moss: This can be useful for creating a humid environment around young cuttings.
- A spray bottle: For a gentle misting.
Propagation Methods
Aerangis gracillima is commonly propagated by division. This is essentially separating a mature plant into smaller, self-sufficient pieces, each with its own roots and at least one healthy leaf.
Here’s how I do it:
- Assess your plant: Gently remove your Aerangis gracillima from its pot. Look for sections that have naturally started to grow separately or where you see a new shoot emerging from the base with its own set of roots. These are your potential new plants!
- Gently separate: Using your sterile pruners or razor blade, carefully cut between the segments. Try to ensure each new division has at least a couple of healthy roots attached. Don’t be afraid to get in there and make a clean cut; it’s better than tearing.
- Allow to callus (if necessary): If you’ve had to make a significant cut or if the plant looks a bit stressed, I like to let the cut surface dry out for a few hours or even overnight. This helps to form a protective callus, which reduces the risk of rot.
- Potting up: Prepare your new pots with your chosen orchid bark mix. Place each division into its own pot, tucking the roots gently into the mix. The base of the new shoot should be at the surface, not buried deeply.
- Watering: Water sparingly at first. You don’t want to drown these new babies. A gentle misting of the bark is usually sufficient until you see signs of active growth.
The “Secret Sauce” (Pro Tips)
Now for a few little tricks I’ve picked up over the years:
- Think “airy”: While we want to provide moisture, Aerangis gracillima absolutely hates sitting in soggy conditions. Ensure your potting mix is well-aerated. If you’re using bark, break it up a bit to prevent it from becoming too dense.
- Humidity is key, but not soggy: New divisions need a bit more humidity to encourage root development, but this is where the “not soggy” rule is crucial. I often place my newly potted divisions inside a slightly opened plastic bag or a propagator box. This creates a mini-greenhouse effect without suffocating the plant and allowing for air circulation.
- Patience is your best friend: Orchids, especially when propagating, are not instant gratification plants. I’ve seen new roots take weeks, sometimes even a couple of months, to truly get going. Resist the urge to constantly dig them up to check! Trust the process and trust your plant.
Aftercare & Troubleshooting
Once your Aerangis gracillima division starts showing signs of life – like a new leaf emerging or roots actively growing down into the bark – you can gradually transition it to its regular watering schedule. Continue to mist regularly, but ensure the bark dries out between waterings.
The most common issue you’ll encounter is rot, often due to overwatering. If you see leaves turning yellow and mushy, or if the base of the plant starts to look dark and soft, it’s a sign of too much moisture. In this case, you might need to take the division out, trim away any rotted parts with your sterile knife, and repot in fresh, drier medium. Let it callus longer. It’s a learning curve, and sometimes even experienced gardeners lose a cutting. Don’t be discouraged!
A Encouraging Closing
Propagating Aerangis gracillima is a beautiful way to expand your collection and share these lovely orchids with others. It requires a gentle touch and a good dose of patience, but the reward of seeing your new plant thrive is immeasurable. So, gather your supplies, choose a healthy specimen, and embark on this rewarding horticultural adventure. Happy growing!
Resource: