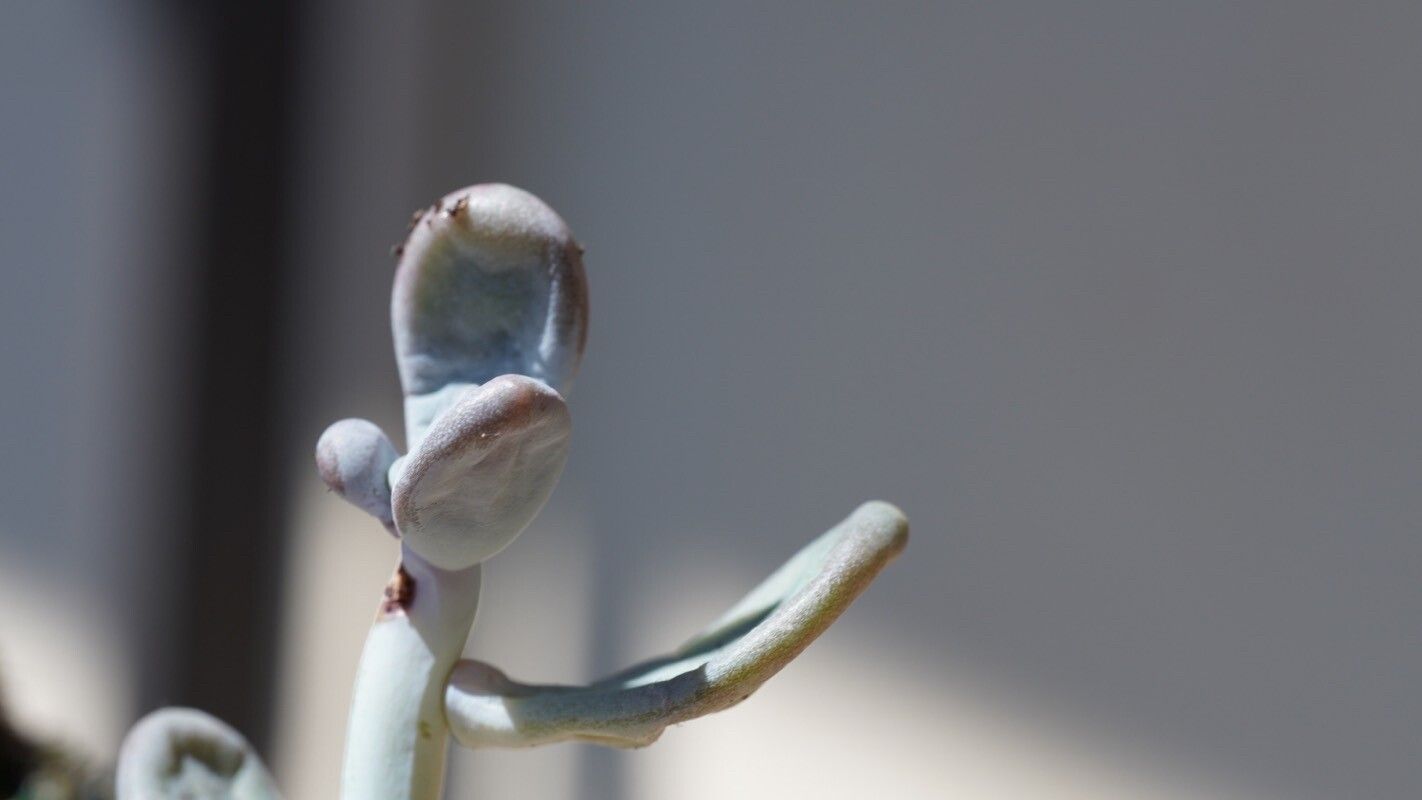
Oh, Adromischus liebenbergii! If you’ve ever seen one of these beauties, you know exactly what I’m talking about. They have this unique, almost sculptural quality, with plump, textured leaves that can range in color from soft grey-greens to dusty purples. They’re like little living jewels for your windowsill, and honestly, they’re more forgiving than some might think. Propagating them is such a delightful way to share their charm or simply expand your own collection without breaking the bank. For beginners? I’d say they’re moderately easy, which is always a good place to start.
The Best Time to Start
For me, the sweet spot for propagating Adromischus liebenbergii is when the plant is actively growing – so, generally, late spring through summer. This is when they have the most energy, making them more receptive to new growth and root development. You’ll see them pushing out new leaves, and that’s your cue that they’re ready for a little propagation adventure.
Supplies You’ll Need
Before we dive in, let’s gather our gear. Having everything ready makes the process so much smoother.
- Well-draining potting mix: I like a gritty succulent/cacti mix. You can make your own by combining equal parts potting soil, perlite, and coarse sand.
- Clean, sharp pruning shears or a knife: For taking nice, clean cuttings.
- Small pots or trays: Terracotta pots are great because they breathe.
- Rooting hormone (optional but recommended): This just gives your cuttings a little boost.
- Watering can or spray bottle: For gentle watering.
- Labels: Trust me, younger me wishes I’d used more labels!
Propagation Methods
Adromischus liebenbergii is quite versatile, but my favorite and most successful method is by stem cuttings.
- Take a Cutting: Using your clean shears or knife, select a healthy stem on your mature plant. You want a piece that has at least two or three sets of leaves. Cut just above a leaf node. A node is where a leaf attaches to the stem. This is where roots will emerge.
- Let it Callus: This is a crucial step! After taking your cutting, resist the urge to plant it immediately. Place the cutting in a dry, airy spot out of direct sunlight for 2-3 days. You’ll see the cut end start to dry and form a tough callus. This prevents rot when it hits the soil.
- Plant the Cutting: Once callused, you have a couple of options. You can dip the callused end in a little rooting hormone (if you’re using it). Then, gently insert the callused end into your prepared well-draining potting mix. Make sure at least one leaf node is buried in the soil.
- Water Sparingly: Now, this is where many go wrong. Water very lightly after planting. You want the soil to be just barely moist, not wet. I usually give it a gentle watering, then wait until the soil feels dry to the touch before watering again. This can be every week or two, depending on your environment.
The “Secret Sauce” (Pro Tips)
Over the years, I’ve learned a few little tricks that seem to make all the difference.
- Don’t Overwater the Cuttings: I know I just mentioned it, but it’s worth repeating! Soggy soil is the enemy of succulent cuttings. Think of it as a brief period of drought tolerance for them.
- Bottom Heat is Your Friend: If you happen to have a seedling heat mat, gently place your pots on it. This gentle warmth from below really encourages root formation without drying out the soil too quickly. It’s like a cozy hug for your new plant babies.
- Leaf Propagation Can Work, But Be Patient: While stem cuttings are my go-to, you can also try propagating individual leaves. Gently twist a healthy leaf off the stem. Let it callus just like a stem cutting. Then, lay it on top of your succulent mix, or slightly bury the callused end. This method is much slower and not always as successful as stem cuttings, but it’s worth a try if you have a leaf that falls off naturally.
Aftercare & Troubleshooting
Once you start seeing tiny roots emerging from the soil, or new little leaves popping up from the base of your cutting, you know you’re on the right track! At this point, you can gradually increase your watering. Let the soil dry out almost completely between waterings, but don’t let it sit bone dry for weeks on end. Continue to keep it in bright, indirect light.
The biggest thing to watch out for is rot. If your cutting looks mushy, dark, or just generally sad and limp, it’s likely rotting. This is almost always due to too much moisture. If you catch it early, you might be able to salvage it by cutting away the rotted parts and letting the healthy section callus before trying again. Sometimes, despite our best efforts, things just don’t take, and that’s okay! Gardening is a journey of learning.
A Encouraging Closing
So there you have it! Propagating Adromischus liebenbergii is a really rewarding process. Be patient with your little ones, observe them closely, and trust your instincts. The joy of watching a tiny cutting grow into a beautiful new plant is a feeling you’ll never get tired of. Happy propagating!
Resource:
https://identify.plantnet.org/k-world-flora/species/Adromischus%20liebenbergii%20Hutchison/data