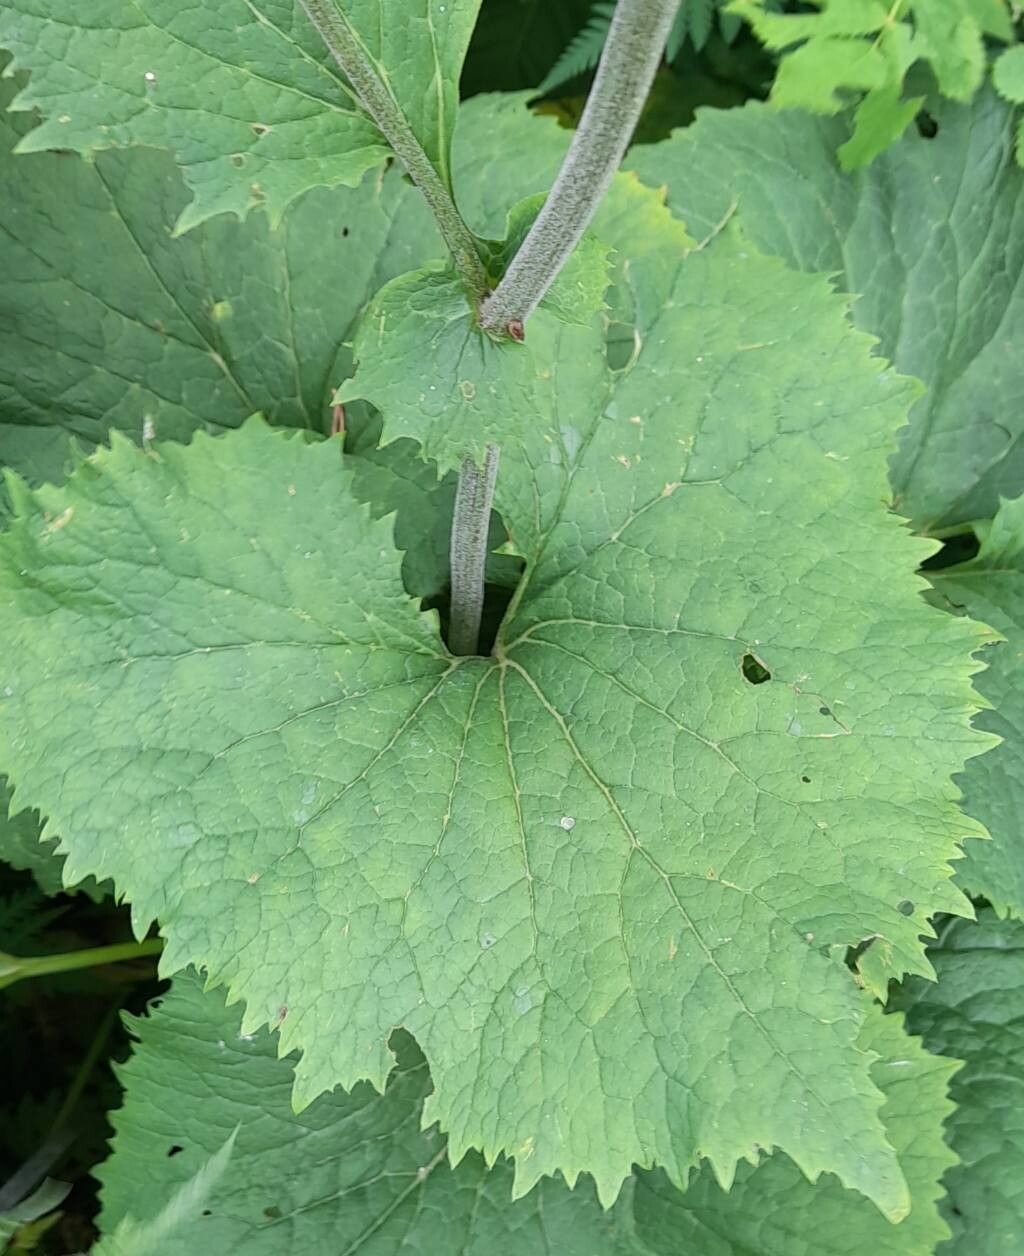
Hello fellow plant lovers! I’m so excited to chat with you today about a truly charming plant: Adenostyles alliariae. You might know it better by its common name, the ‘Garlic-scented Adenostyles’ (though don’t worry, the scent is only released when crushed, and it’s a mild, pleasant aroma, not like a kitchen!). I’ve been growing and propagating this beauty for years, and it’s just one of those plants that brings a smile to my face. Its large, attractive leaves and delicate white flower clusters make it a real stand-out in the garden. And the best part? Propagating it is incredibly rewarding, and honestly, quite manageable even for those just dipping their toes into the world of plant propagation. It’s not a difficult plant to get started, which is always a bonus!
The Best Time to Start
For the most success with propagating Adenostyles alliariae, I find that late spring or early summer is absolutely ideal. This is when the plant is actively growing and has plenty of energy to put into developing new roots. Waiting until after the plant has finished its initial flush of growth but before it gets too stressed by peak summer heat is your sweet spot. You’re essentially catching it at its most vigorous.
Supplies You’ll Need
Gathering your supplies beforehand makes the whole process so much smoother. Here’s what I usually have on hand:
- Sharp pruning shears or a clean, sharp knife: For taking nice, clean cuttings.
- A well-draining potting mix: I like to use a blend of peat moss, perlite, and a little bit of compost. Something that holds moisture but doesn’t get waterlogged is key.
- Small pots or trays: Clean ones are a must to prevent fungal issues.
- Rooting hormone (optional but helpful): A powder or gel can give your cuttings a little boost.
- A spray bottle: For misting, which helps keep humidity levels up.
- Plastic bags or a propagation dome: To create a mini greenhouse effect.
- A watering can or gentle watering source.
Propagation Methods
Adenostyles alliariae is quite obliging and can be propagated using a couple of straightforward methods.
Stem Cuttings: My Go-To Method
This is usually my most successful approach for increasing my collection.
- Take Your Cuttings: In late spring or early summer, select a healthy, non-flowering stem. Using your clean shears, cut a piece about 4-6 inches long. Make sure the cut is just below a leaf node (where a leaf attaches to the stem).
- Prepare the Cuttings: Gently remove the lower leaves, leaving just the top couple of leaves intact. If the leaves are very large, you can even cut them in half horizontally to reduce water loss.
- Apply Rooting Hormone (Optional): Dip the cut end of the stem into your rooting hormone if you’re using it. Tap off any excess.
- Pot Them Up: Fill your clean pots with your prepared potting mix. Make a small hole in the center of the mix with your finger or a pencil.
- Insert and Water: Place the cutting into the hole, ensuring the leaf nodes are under the soil surface. Gently firm the soil around the stem. Water thoroughly but gently.
- Create a Humid Environment: Cover the pot loosely with a plastic bag, or place it under a clear propagation dome. This traps moisture and encourages rooting.
- Place in Bright, Indirect Light: Find a spot that gets good light but no direct sun. Too much sun will scorch your delicate cuttings.
Division: A Simpler Approach
If you have an established clump, this is a very easy way to get more plants.
- Dig Up the Plant: In spring or early fall (when it’s not in active growth), carefully dig up the entire plant.
- Identify Divisions: Gently shake off excess soil to expose the root structure. You’ll usually see natural divisions where new crowns (the base of the plant where leaves emerge) have formed.
- Separate: Using your hands, or a clean trowel or knife if needed, carefully separate the clump into smaller sections. Each division should have at least one healthy-looking root system and a few shoots.
- Replant: Immediately replant the divisions into their new homes, whether back in the ground or in pots filled with your potting mix. Water well.
The “Secret Sauce” (Pro Tips)
Here are a few little tricks I’ve learned over the years that can make a big difference:
- Don’t let the leaves touch the soil! When taking stem cuttings, ensure the remaining leaves are well above your potting mix. Leaves sitting directly on damp soil are a fast track to rot.
- Bottom heat is your friend. If you have a heat mat designed for propagation, placing your pots on it can significantly speed up root development. It mimics the warmth of the soil in summer and gives your cuttings that extra encouragement.
- Patience with the misting. While misting is great for humidity, don’t overdo it to the point where water is constantly pooling on the leaves or in the pot. A light daily misting, or every other day, is usually sufficient.
Aftercare & Troubleshooting
Once you see signs of new growth – little leaves unfurling or resistance when you gently tug on the cutting – it’s a good indication that roots have formed!
- Acclimatize Gradually: If you covered your cuttings, gradually remove the plastic or open the dome over a few days to help them adjust to normal humidity.
- Watering: Continue to water your new plants regularly, but let the top inch of soil dry out slightly between waterings. Avoid letting them sit in soggy conditions.
- Moving Up: Once they have a good root system and are growing strongly, you can transplant them into larger pots or their permanent garden location.
Troubleshooting: The most common issue you’ll face is rot. If your cuttings turn mushy or black, it’s usually a sign of too much moisture and not enough air circulation. If this happens, unfortunately, you’ll likely need to start over. Ensure your potting mix is airy and avoid overwatering.
A Little Bit of Green-Thumb Encouragement
Propagating plants is a journey, and like any good journey, it takes a little patience. Don’t be discouraged if your first attempt isn’t perfect. Every gardener has had cuttings that didn’t make it! Simply learn from the experience, adjust your approach, and try again. The satisfaction of nurturing a new plant from a tiny cutting is truly one of gardening’s greatest joys. Happy propagating!
Resource:
https://identify.plantnet.org/k-world-flora/species/Adenostyles%20alliariae%20(Gouan)%20Kern./data