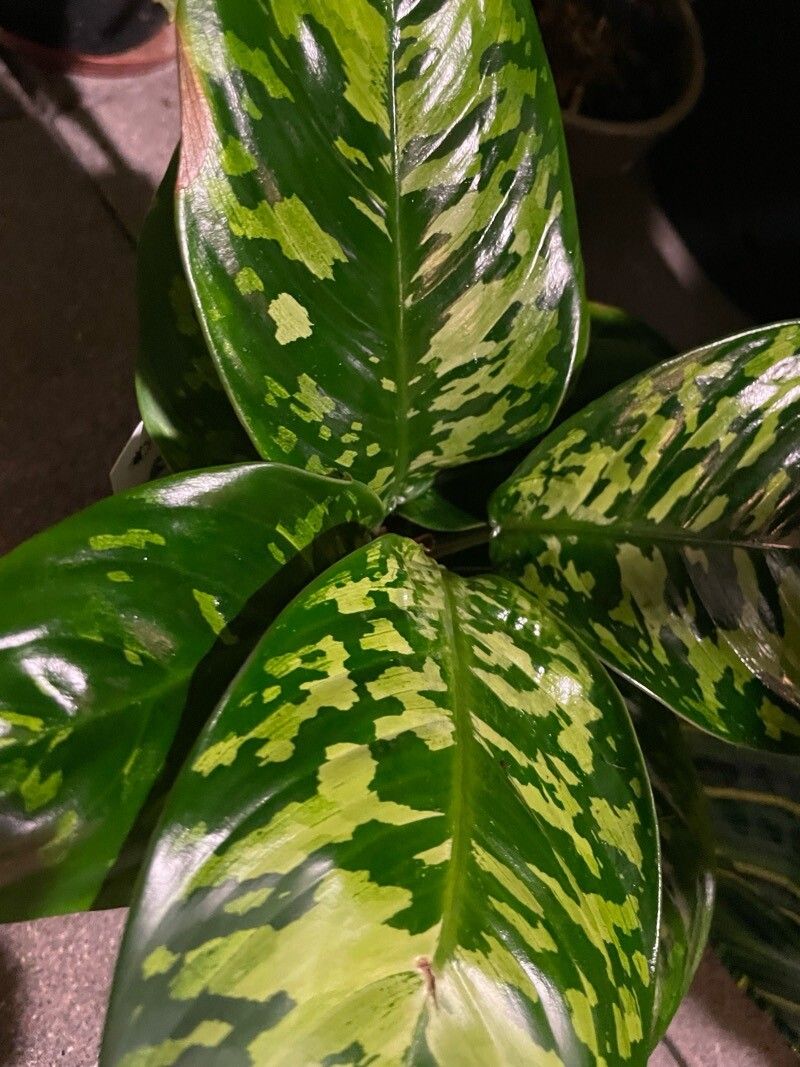
Oh, Adelonema wallisii! It’s such a charming plant, isn’t it? Those beautiful, patterned leaves are like little works of art. I’ve had them gracing my home for years, and every success I have propagating them feels like a little victory. It’s a wonderfully rewarding plant to grow, and even better, it’s quite generous with its babies. For anyone just dipping their toes into the world of houseplants, I’d say Adelonema wallisii is a fantastic, relatively easy-to-propagate choice. You’ll be sharing cuttings with friends before you know it!
The Best Time to Start
When it comes to giving your Adelonema wallisii the best chance to thrive, spring and early summer are your prime times. This is when the plant is actively growing and has the most energy reserves to put into developing new roots. You’ll see the most robust growth and a higher success rate during this period. If you miss this window, don’t fret; late summer can also work in warmer climates, but avoid attempting propagation during the plant’s dormant period in fall and winter.
Supplies You’ll Need
Gathering your supplies beforehand makes the whole process much smoother. Here’s what I always have on hand:
- Sharp Pruning Shears or a Clean Knife: For making clean cuts.
- Rooting Hormone (Optional but Recommended): A light dusting can really speed things up.
- Well-Draining Potting Mix: I love a blend of good quality potting soil, perlite, and a bit of coco coir. Some growers also swear by a mix of sphagnum moss and perlite.
- Small Pots or Seedling Trays: For your new little plants.
- Clear Plastic Bags or a Propagator Lid: To create a humid environment.
- Watering Can with a Fine Rose: For gentle watering.
Propagation Methods
Adelonema wallisii is a pretty adaptable plant when it comes to propagation. Here are the methods I find work best:
1. Stem Cuttings: This is my go-to method.
- First, select a healthy, mature stem on your parent plant.
- Using your sharp shears or knife, take a cutting that is about 4-6 inches long and has at least two leaf nodes (the little bumps where leaves emerge).
- Gently remove the lower leaves, leaving just one or two at the top. This helps prevent rot.
- If you’re using rooting hormone, dip the cut end into it, tapping off any excess.
- Fill your small pot or tray with your prepared potting mix.
- Make a small hole in the soil with your finger or a pencil.
- Insert the cut end of your stem cutting about 1-2 inches deep into the hole. Gently firm the soil around it.
- Water thoroughly but gently.
- Cover the pot loosely with a clear plastic bag or place it inside a propagator. Make sure the leaves aren’t touching the plastic if possible.
2. Division: This is best done when you notice your plant is getting a bit crowded in its pot and has started to produce clumps.
- Carefully remove the entire plant from its pot.
- Gently tease apart the soil from the roots. You’ll be looking for natural divisions where new plantlets have emerged from the base.
- Using your clean hands or a blunt tool (like a dibber), carefully separate the clumps. Try to ensure each division has some roots and at least a few leaves.
- Pot each division into its own container with fresh, well-draining potting mix.
- Water them in gently.
The “Secret Sauce” (Pro Tips)
These are a few little tricks I’ve learned over the years that can make a big difference:
- Mimic the Tropics: Adelonemas love humidity. That plastic bag or propagator lid is crucial. Make sure to mist the inside of the bag daily or open it for a few minutes to allow for some air circulation. This prevents mold and fungi.
- Bottom Heat is Your Friend: If you have a seedling heat mat, placing your pots on it can significantly speed up root development. It provides that gentle warmth that encourages roots to form.
- Don’t Rush It! When taking stem cuttings, I always try to include at least one leaf node below the soil line. That’s where the magic happens – it’s from these nodes that new roots will emerge.
Aftercare & Troubleshooting
Once your cuttings have rooted (you can gently tug on them after a few weeks; resistance means roots are forming!), you can start transitioning them to a more regular watering schedule.
- Gradually Remove Humidity: Over a week or two, start opening the plastic bag wider or for longer periods. This helps the new plant acclimatize to normal room humidity.
- Watering: Water when the top inch of soil starts to feel dry. Don’t let them sit in soggy conditions, as this is a prime cause of root rot.
- Light: Place your new plants in bright, indirect light. Direct sun will scorch their delicate new leaves.
Common troubleshooting? The biggest one is rot. If you see your cutting turning mushy and brown, or developing black spots on the leaves, it’s likely too much moisture and not enough air circulation. If this happens, remove the affected parts immediately and ensure your potting mix is draining well. If the entire cutting is gone, it’s time to start again, perhaps with a little less water and more attention to airflow.
So, there you have it! Propagating Adelonema wallisii is a journey, not a race. Be patient, observe your little green charges, and celebrate each new leaf and root. Before you know it, you’ll have a jungle of these beauties. Happy propagating!
Resource: