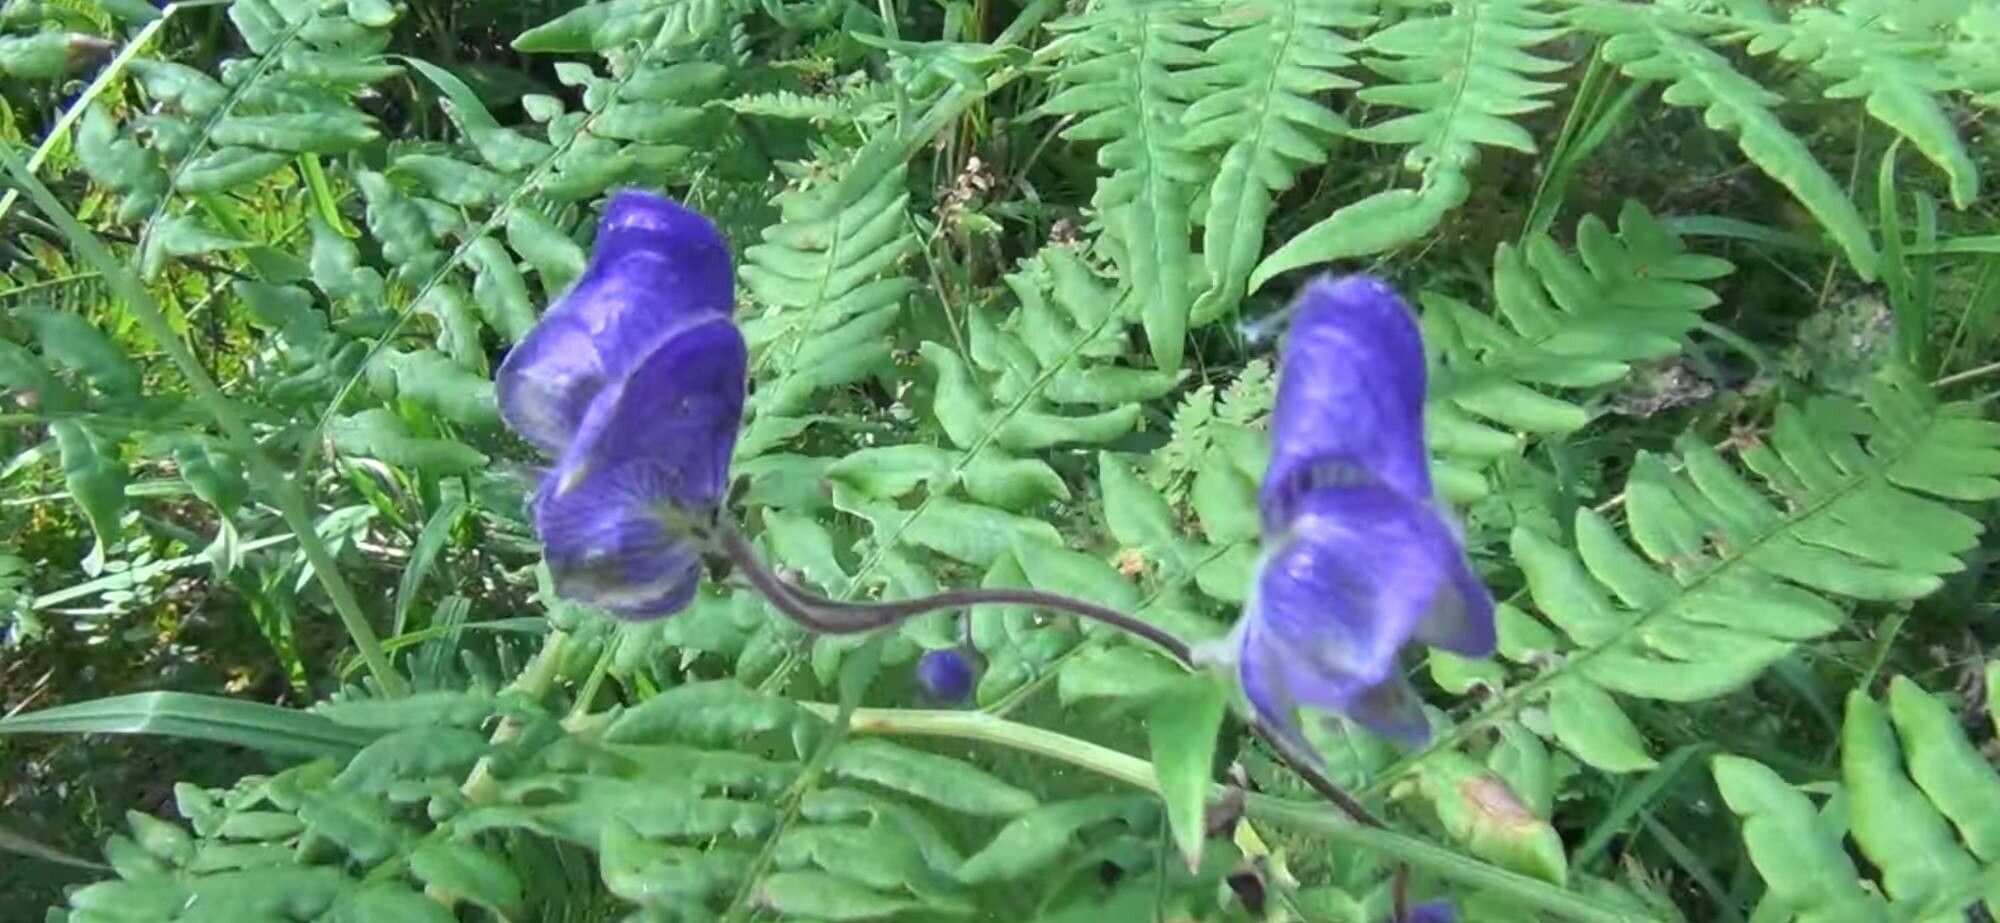
Hello, fellow garden enthusiasts! Today, we’re going to talk about a plant that truly captures my heart: Aconitum volubile, often known as the winding monkshood. Its beautiful, deep blue-violet flowers, climbing habit, and late-season bloom make it a real showstopper. And the even better news? Propagating it myself brings me so much joy, and I think you’ll find it incredibly rewarding too. Now, Aconitum can be a bit particular, so for absolute beginners, I’d say it leans more towards moderately challenging than easy peasy. But with a little patience and care, you can absolutely do it!
The Best Time to Start
For Aconitum volubile, the sweet spot for propagation is late spring to early summer, right as the plant is actively growing but before it gets too hot and stressed. You’re looking for young, vibrant shoots that haven’t started to set buds yet. This is when they have the most energy to put into developing roots. If you miss this window, don’t despair! You can sometimes get away with taking cuttings a bit later, but early is always best.
Supplies You’ll Need
Gathering your supplies beforehand makes the whole process so much smoother. Here’s what I usually have on hand:
- Sharp Pruning Shears or a Craft Knife: Clean cuts are crucial.
- Potting Mix: A well-draining mix is non-negotiable. I like to use about a 50/50 blend of good quality potting soil and perlite or coarse sand.
- Small Pots or Seed Trays: Clean containers with drainage holes are a must.
- Rooting Hormone (Optional but Recommended): This really gives your cuttings a boost. Gel or powder works well.
- Plastic Bag or Humidity Dome: To keep those cuttings nice and humid.
- Watering Can or Spray Bottle: For gentle watering.
- Gloves: Aconitum is toxic, so it’s always wise to wear gloves when handling the plants and cuttings.
Propagation Methods
My favorite and most successful method for Aconitum volubile is stem cuttings. It’s straightforward and gives you a good chance of success.
Stem Cuttings:
- Select Your Cuttings: Choose healthy, non-flowering shoots that are about 4-6 inches long. Look for stems that are flexible but firm, not woody and brittle.
- Make the Cut: Using your sharp shears or knife, take a cutting just below a leaf node. A leaf node is where a leaf attaches to the stem – this is where the magic of root development happens!
- Prepare the Cutting: Gently remove the lower leaves from the cutting, leaving just the top two or three leaves. This helps prevent them from rotting in the soil. If the remaining leaves are very large, you can carefully snip them in half to reduce water loss.
- Apply Rooting Hormone (Optional): Dip the cut end of the stem into your rooting hormone, tapping off any excess.
- Plant Your Cuttings: Fill your pots with your prepared, moistened potting mix. Make a small hole with your finger or a pencil and insert the cutting, ensuring the leaf nodes are buried. Gently firm the soil around the stem.
- Create a Humid Environment: Water gently to settle the soil. Then, either cover the pot with a clear plastic bag (propped up so it doesn’t touch the leaves) or place it under a humidity dome. This creates a microclimate that keeps your cuttings from drying out while they’re trying to root.
- Placement is Key: Place your pots in a bright spot out of direct sunlight. A warm location is beneficial; consider a heat mat if you have one.
The “Secret Sauce” (Pro Tips)
Here are a few little tricks that I’ve learned over the years that really help boost your success rate:
- Bottom Heat is Your Friend: If you have the option, place your pots on a gentle heat mat set to around 70-75°F (21-24°C). This warmth encourages root development from below, making a world of difference.
- Don’t Drown Them! While humidity is important, don’t let the leaves sit in standing water in the pot. Ensure your soil is moist but not waterlogged. Overwatering is a common mistake that leads to rot.
- Be Patient with New Growth: You’ll know your cutting has rooted when you see new leaf growth. This can take anywhere from 4-8 weeks, sometimes longer! Don’t yank at your cuttings to check for roots; it can damage them. Trust the signs of new life.
Aftercare & Troubleshooting
Once you see that glorious new growth, your cutting has officially become a baby plant!
- Gradual Acclimation: Carefully remove the plastic bag or humidity dome for increasing periods each day over a week. This helps your new plant adjust to the drier air.
- Keep Them Moist: Continue to water regularly, but always let the top inch of soil dry out slightly between waterings.
- Transplanting: When your new plant has a good root system and looks sturdy (usually after a few weeks of acclimation), you can transplant it into a slightly larger pot or its permanent garden spot.
- Troubleshooting Rot: The most common issue is rot. This usually happens from overwatering or poor drainage. If you see your cutting turning mushy or black, it’s likely rot. Unfortunately, there’s not much to be done once rot sets in. Prevention through good drainage and careful watering is key.
A Little Encouragement
Propagating plants, especially those with a bit of personality like Aconitum volubile, is a wonderful journey. There will be times when a cutting doesn’t make it, and that’s perfectly okay. Every gardener experiences it! Just keep trying, learn from each attempt, and the satisfaction of seeing a new plant unfurl its leaves, knowing you helped it grow, is truly one of life’s simple, beautiful pleasures. Happy propagating!
Resource:
https://identify.plantnet.org/k-world-flora/species/Aconitum%20volubile%20Pall.%20ex%20Koelle/data