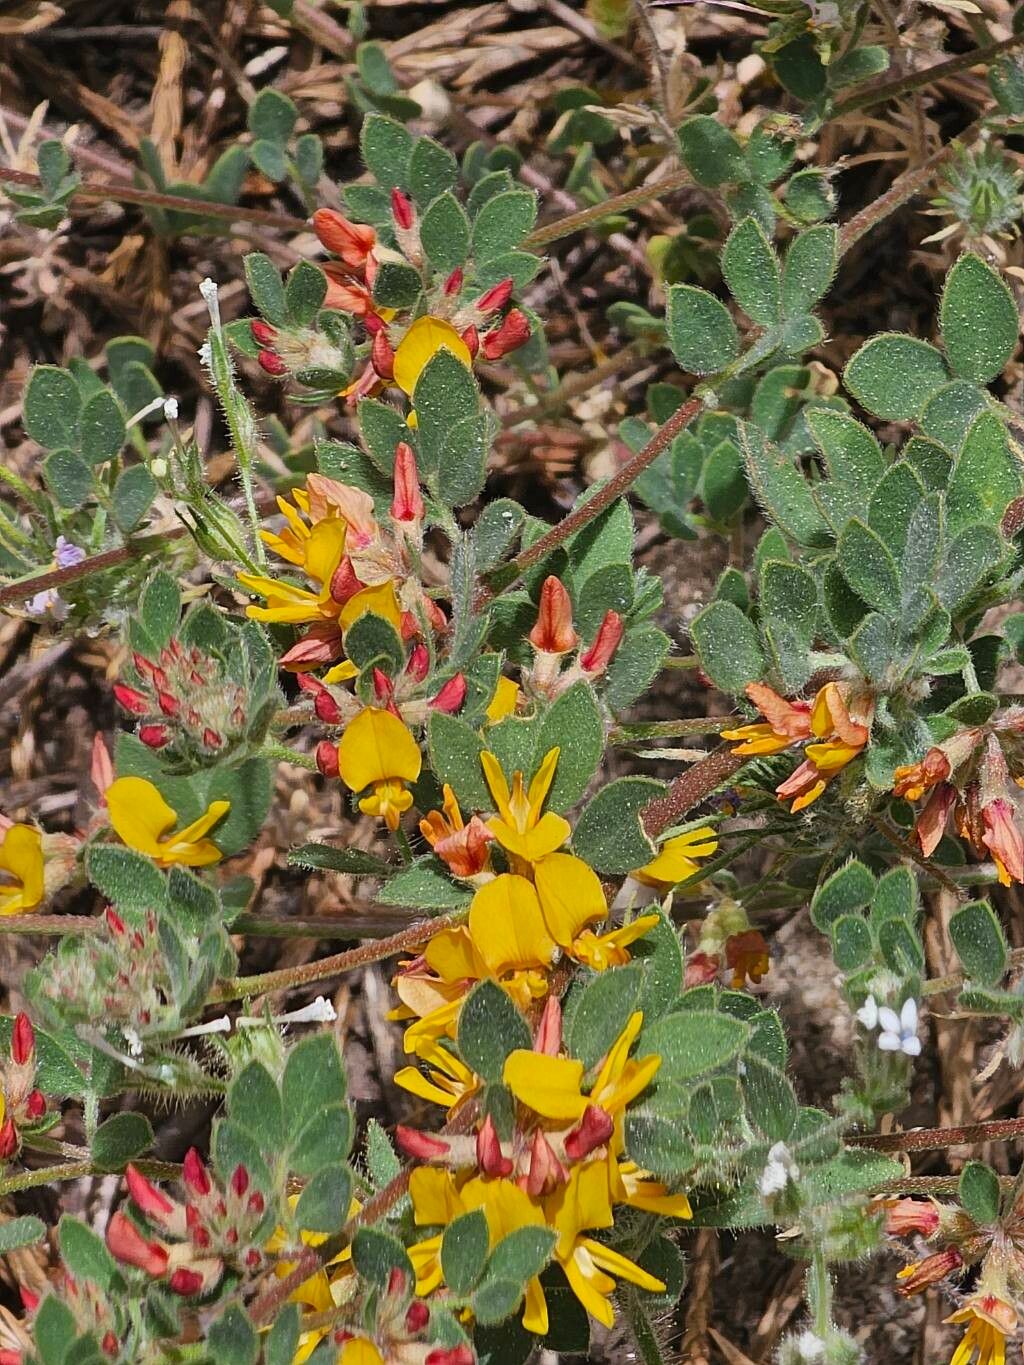
Hello, fellow garden enthusiasts! Today, we’re diving into the wonderful world of propagating Acmispon decumbens, also known as creeping broom or deerweed. This little native California gem is an absolute delight in the garden. Its charming, small yellow flowers bloom for ages, attracting all sorts of beneficial insects, and it sprawls beautifully, making it perfect for groundcover or spilling over a rock wall.
Honestly, propagating Acmispon decumbens is a really rewarding process. Watching a tiny cutting or a divided root ball transform into a thriving plant is incredibly satisfying. For beginners? I’d say it’s moderately easy. It’s not quite as foolproof as, say, a spider plant, but with a little attention, you’ll do wonderfully.
The Best Time to Start
The sweet spot for propagating Acmispon decumbens is late spring to early summer. This is when the plant is actively growing and has plenty of energy to put into developing new roots. You want to work with stems that are semi-hardwood – meaning they’re no longer floppy and green, but not yet woody and tough. Think of it like a firm, bendable pencil.
Supplies You’ll Need
Here’s what you’ll want to gather before you get started:
- Sharp pruning shears or a clean knife: for making clean cuts.
- Rooting hormone (optional, but recommended for cuttings): A powder or gel can give your cuttings a helpful boost.
- Well-draining potting mix: I like a blend of equal parts perlite and peat moss or a commercial seedling mix. For division, your regular garden soil mixed with compost will do just fine.
- Small pots or seed trays: With drainage holes, of course!
- Watering can or spray bottle: For gentle watering.
- Labels and a marker: To keep track of what you’ve planted.
- A clear plastic bag or dome: To create a humid environment for cuttings.
Propagation Methods
Let’s get our hands dirty! Here are a couple of ways we can multiply our Acmispon decumbens.
Stem Cuttings: A Classic Approach
This is my go-to method for increasing my stock.
- Take your cuttings: In late spring or early summer, select healthy, non-flowering stems. Using your clean shears, cut lengths of about 4-6 inches. Make the cut just below a leaf node (the spot where a leaf attaches to the stem).
- Prepare your cuttings: Gently remove the leaves from the bottom half of the stem. You want to expose a few nodes, as this is where roots will emerge. If the remaining leaves are very large, you can cut them in half to reduce water loss.
- Apply rooting hormone (if using): Dip the cut end of each stem into the rooting hormone, tapping off any excess.
- Plant your cuttings: Fill your small pots with the well-draining potting mix. Make a hole in the center with your finger or a pencil and insert the cuttings. Gently firm the soil around them.
- Water and cover: Water the soil thoroughly but gently. Then, cover the pot with a clear plastic bag or a propagation dome. This creates a mini-greenhouse, keeping humidity high, which is crucial for cuttings.
Division: For Established Clumps
If you have a mature, healthy clump of Acmispon decumbens, division is a fantastic way to get multiple plants.
- Dig up the plant: In early spring, before it gets too hot or while it’s dormant, carefully dig up the entire plant. Try to get as much of the root ball as possible.
- Inspect and divide: Gently shake off excess soil. You’ll likely see natural divisions in the root ball. Use your hands or a clean, sharp spade to carefully separate the clump into smaller sections. Each section should have a good amount of roots and a few stems.
- Replant immediately: Plant your divided sections into their new homes – either back into the garden in their desired spots or into pots with fresh soil.
- Water well: Give them a good soak to help them settle in.
The “Secret Sauce” (Pro Tips)
Here are a couple of things I’ve learned over the years that can really make a difference:
- For cuttings, prioritize humidity over constant wetness. The clear plastic bag is your best friend. Don’t let the leaves touch the water if you decide to try water propagation (though I find soil is more reliable for this plant). The leaves will rot, and that’s a fast track to failure.
- Bottom heat is a game-changer for cuttings. If you can, placing your pots on a gentle seedling heating mat can significantly speed up root formation. It mimics the warmth of summer soil and encourages those roots to emerge.
Aftercare & Troubleshooting
Once your cuttings have established roots (you can check by gently tugging on a stem – if there’s resistance, they’re rooting!) or your divisions are planted, the real nurturing begins.
- Gradual acclimatization: If you used a plastic bag or dome, slowly start removing it over a few days to let your new plants get used to drier air.
- Watering: Keep the soil consistently moist but not waterlogged. Overwatering is the quickest way to invite root rot, which is one of the most common problems. Signs of rot include wilting, yellowing leaves, and a mushy stem base.
- Light: Place your new plants in bright, indirect light. Once they’re clearly growing and look healthy, you can gradually introduce them to more direct sun, mimicking their natural habitat.
- Slow and steady: Don’t rush to transplant them into larger pots until they are well-rooted and showing active growth.
A Gentle Encouragement
Propagating plants is a journey, and sometimes it teaches us patience. Not every cutting will take, and some divisions might struggle initially. Don’t let that discourage you! Every attempt is a learning experience. Enjoy the process, celebrate your successes, and happy gardening!
Resource:
https://identify.plantnet.org/k-world-flora/species/Acmispon%20decumbens%20(Benth.)%20Govaerts/data