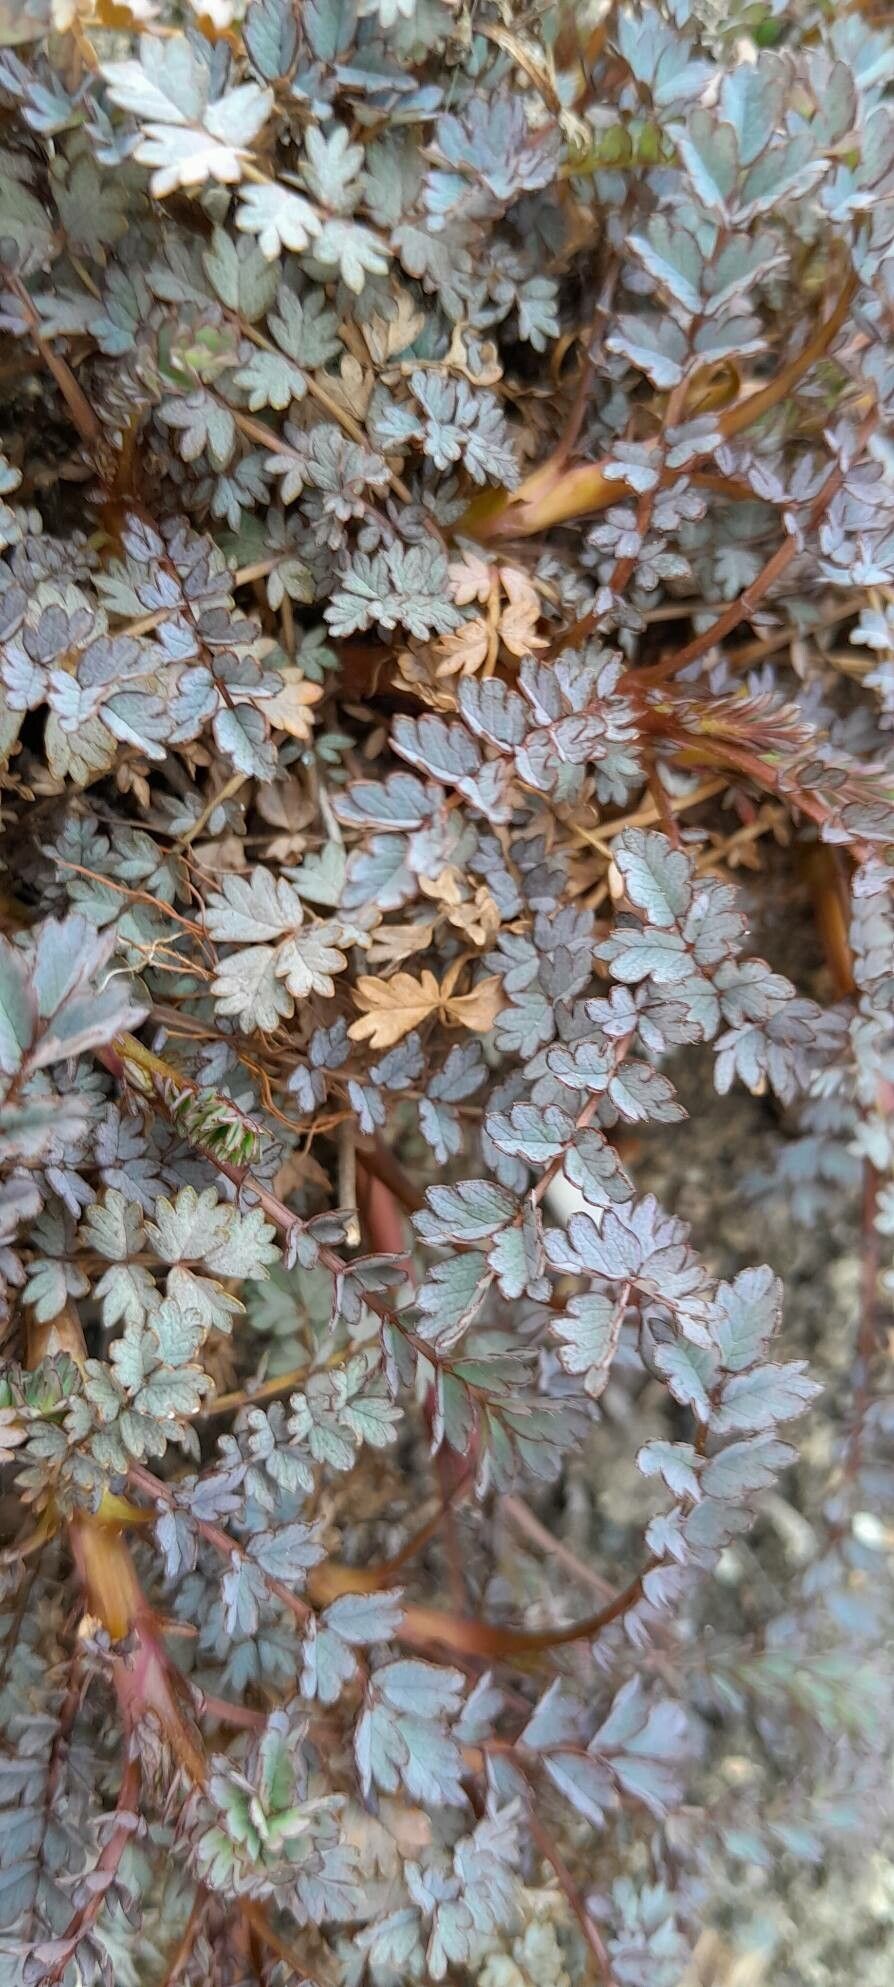
Hello, green-thumbed friends! I’m so excited to chat with you today about a plant that’s captured my heart over the years: Acaena saccaticupula. Often called pirri-pirri-burr, this little beauty is a fantastic groundcover with its charming, silver-backed leaves and those unique, spiky seed heads that add such a delightful texture to the garden. Honestly, watching a tiny cutting unfurl its first true leaves is one of the most rewarding experiences in gardening for me. And the best part? Propagating Acaena saccaticupula is surprisingly accessible, even for those just starting their plant journey. Let’s dive in!
The Best Time to Start
My go-to time for propagating Acaena saccaticupula is late spring to early summer. This is when the plant is in its active growth phase. You’ll have plenty of healthy, new stems to work with, and the warmer temperatures (without the intense heat of mid-summer) are perfect for encouraging root development.
Supplies You’ll Need
Here’s what I always have on hand when I’m ready to propagate:
- Sharp pruning shears or a clean knife: For making clean cuts.
- Rooting hormone (optional but recommended): A little powder or gel can give your cuttings a boost.
- Well-draining potting mix: I like a mix of peat moss, perlite, and a bit of compost.
- Small pots or propagation trays: With drainage holes, of course!
- Plastic bags or a propagation dome: To create a humid environment.
- Watering can or spray bottle: For gentle watering.
Propagation Methods
The most straightforward way to multiply your Acaena saccaticupula is through stem cuttings. It’s efficient and generally gives great results.
- Take Your Cuttings: Choose a healthy, non-flowering stem that’s about 4-6 inches long. Using your clean shears, make a clean cut just below a leaf node (where a leaf joins the stem). This is crucial because that’s where root development is most likely to occur.
- Prepare the Cuttings: Gently remove the lower leaves, leaving just a couple of sets at the top. This prevents them from rotting in the soil and allows the plant to focus its energy on root production.
- Apply Rooting Hormone: If you’re using rooting hormone, dip the cut end of each stem into the powder or gel. Tap off any excess.
- Plant the Cuttings: Fill your small pots or trays with your prepared potting mix. Make a small hole in the center of each with your finger or a pencil. Insert the cut end of the stem into the hole, ensuring at least one leaf node is below the soil surface. Gently firm the soil around the stem.
- Create Humidity: This is key! Water the soil thoroughly so it’s moist but not waterlogged. Then, cover the pots with a plastic bag (creating a mini greenhouse effect) or place them under a propagation dome.
The “Secret Sauce” (Pro Tips)
- Use Bottom Heat: If you have an old seedling heat mat, placing your pots on it can make a world of difference. It warms the soil and encourages faster root formation, especially if your living room isn’t as toasty as a summer garden.
- Don’t Drench, Mist: While you want humidity, overly wet soil can lead to rot. Instead of watering from the top, mist the inside of the plastic cover or dome gently every few days if it looks dry. The goal is a consistently moist environment, not a swamp.
- Patience with the Pull Test: Resist the urge to constantly tug on your cuttings to check for roots. When you think they might be ready, give them a very gentle tug. If there’s resistance, you’ve got roots!
Aftercare & Troubleshooting
Once your Acaena saccaticupula cuttings have developed a healthy root system (you’ll usually see new leaf growth within 4-6 weeks), it’s time to introduce them to the wider world.
- Acclimate: Slowly remove the plastic cover or dome over a week or so to allow the new plants to adjust to the drier air.
- Pot Up: Once they have a decent amount of roots, you can gently transplant them into slightly larger pots with your regular potting mix.
- Watering: Water them regularly, allowing the soil to dry out slightly between waterings. As they grow, treat them like mature plants.
The most common problem I see is rot. This usually happens from overwatering or poor drainage. If you notice your cutting turning mushy and black, it’s best to discard it and try again, paying close attention to your watering and soil mix. Sometimes, a cutting just won’t take, and that’s okay too!
A Encouraging Closing
Propagating plants is a wonderful way to connect with nature’s cycles and expand your garden without spending a fortune. Be patient with your Acaena saccaticupula cuttings. Not every one will make it, but the joy of success is well worth the effort. Happy propagating, and enjoy watching your new garden treasures grow!
Resource:
https://identify.plantnet.org/k-world-flora/species/Acaena%20saccaticupula%20Bitter/data