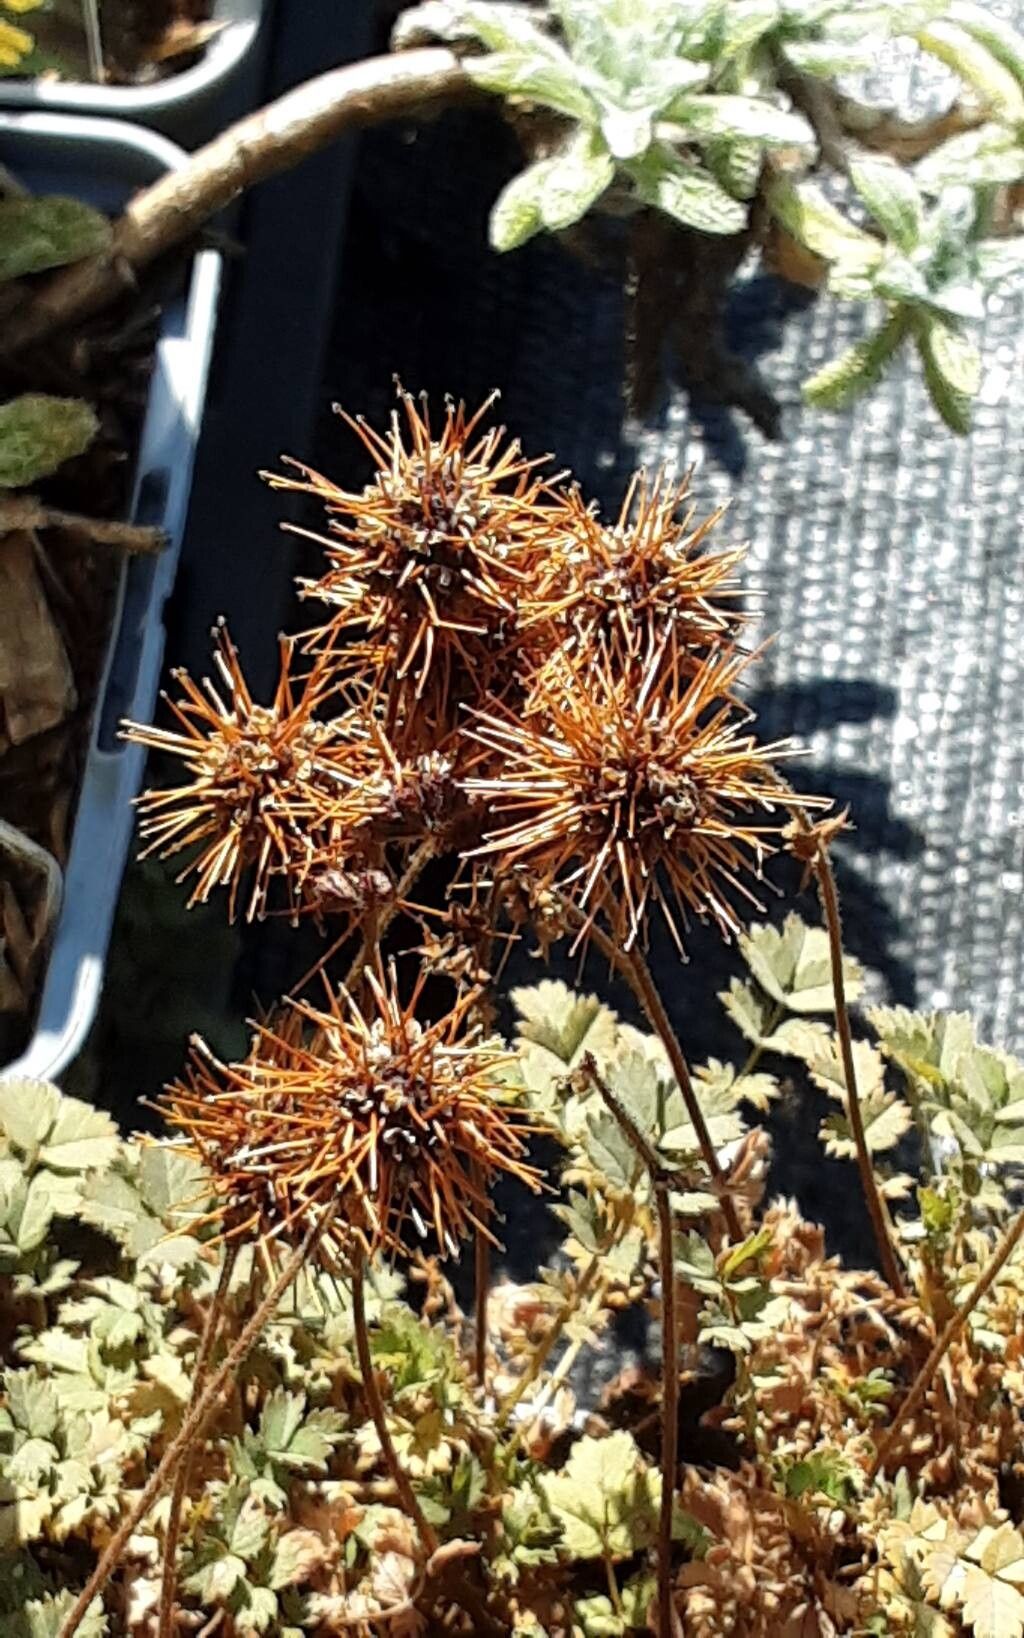
Oh, Acaena microphylla! If you haven’t met this beauty yet, prepare to be charmed. Also known as the ‘Bronze Acaena’ or ‘Pirri-pirri-burr,’ this little groundcover boasts lovely, finely cut, bronzy-red foliage that adds such wonderful texture and color to the garden. It’s low-growing, spreading out like a soft, leafy blanket, perfect for spilling over edges or tucking around larger plants. And the best part? Propagating it is surprisingly rewarding, and I’m happy to say, it’s definitely achievable for beginners. You’ll be creating little patches of this charm in no time!
The Best Time to Start
For the highest success rate with Acaena microphylla, I always reach for my secateurs in late spring to early summer. This is when the plant is actively growing, and the new, semi-hardwood stems have just enough flexibility and vigor. You want to catch them before they become too woody. You can also have some success a little later in the summer, but spring is generally your golden ticket.
Supplies You’ll Need
To get your Acaena propagation off to a great start, gather these handy items:
- Sharp pruning shears or a clean utility knife: For taking nice, clean cuttings.
- Rooting hormone (powder or gel): This is your secret weapon for encouraging root development.
- Small pots or seed trays: Clean ones, please! About 3-4 inches in diameter are perfect.
- A well-draining potting mix: I like to use a 50/50 blend of perlite and a good quality potting soil, or a specialized seed-starting mix. You want something that won’t hold too much moisture.
- A watering can with a fine rose: For gentle watering.
- Plastic bags or a propagator lid: To create a humid environment for your cuttings.
- Labels and a marker: To keep track of your precious propagations!
Propagation Methods
Let’s get our hands dirty! Stem cuttings are my go-to for Acaena microphylla, and it’s quite straightforward.
Stem Cuttings:
- Take Your Cuttings: Head out to your plant on a mild, overcast day if possible, or in the early morning. Look for healthy, non-flowering shoots that are about 4-6 inches long. Using your sharp tool, make a clean cut just below a leaf node (where a leaf attaches to the stem). This is crucial because that’s where the magic of root formation often happens.
- Prepare the Cuttings: Gently remove the lower leaves from the cutting, leaving just a few at the top. This prevents them from rotting in the soil. If you have particularly large leaves, you can even cut them in half crosswise to reduce moisture loss through transpiration.
- Apply Rooting Hormone: Dip the cut end of each stem into your rooting hormone, making sure it’s evenly coated. Tap off any excess.
- Plant Your Cuttings: Fill your clean pots with your prepared potting mix. Make a small hole in the center of each pot with your finger or a pencil. Gently insert the treated end of the cutting into the hole, ensuring the leaf nodes are below the surface.
- Water Gently: Water the soil thoroughly but gently, using your fine rose watering can. You want the soil to be moist but not waterlogged.
- Create Humidity: This is where your plastic bag or propagator lid comes in. Cover the pots loosely with a plastic bag, ensuring the leaves don’t touch the plastic if possible. If you’re using a propagator, just put the lid on. Place the pots in a bright spot, but out of direct sunlight.
The “Secret Sauce” (Pro Tips)
There are a few little tricks I’ve learned over the years that can really boost your success rate:
- Bottom Heat is Your Friend: If you can, pop your pots onto a heat mat. A gentle warmth from below encourages those roots to form much more quickly and reliably. It’s like giving your cuttings a cozy, warm bed to grow in!
- Don’t Let Drowning Dreams Happen: While humidity is vital, watch out for leaves sitting directly in any drained water at the bottom of the pot. This can be a fast track to rot. Always ensure your pots have good drainage, and if you see water pooling, gently tip the pot to let it run off.
- Patience is a Virtue (Especially with Greens!): Sometimes, you’ll get roots quickly, and other times it can take a little longer. Don’t despair! Resist the urge to pull them up and check. Trust the process.
Aftercare & Troubleshooting
Once your cuttings have hopefully started to show signs of life – a bit of new growth is a good indicator – it’s time to think about aftercare.
- Introduce to Air Gradually: Gradually introduce your cuttings to fresh air by opening the plastic bag for a few hours each day, slowly increasing the time over a week. Once they seem like they’re handling it well, you can remove the bag entirely.
- Watering: Continue to water regularly, keeping the soil consistently moist but not soggy. As they grow larger and stronger, you can begin to water them a little less frequently.
- Transplanting: When the new plants have developed a good root system (you might see roots peeking out of the drainage holes), they are ready to be transplanted into larger individual pots or planted out into their permanent garden spot, usually in the fall or the following spring.
Now, what if things don’t go as planned? The most common culprit is rot. If your cuttings turn black and mushy, or fall over, it’s usually a sign of too much moisture and not enough air circulation. Ensure your mix is free-draining and don’t overwater. If you see signs of wilting that isn’t immediately corrected by watering, it could be that they haven’t developed roots yet and are simply drying out – this is where humidity is your best friend.
A Little Encouragement
Propagating plants is a beautiful way to connect with nature and build your garden on a budget. Don’t be discouraged if your first few attempts aren’t perfect. Each time you try, you learn something new. Be patient with your Acaena microphylla, give them a little nudge with some rooting hormone and good care, and soon you’ll have a whole carpet of beautiful bronze foliage to enjoy and share. Happy propagating!
Resource:
https://identify.plantnet.org/k-world-flora/species/Acaena%20microphylla%20Hook.f./data