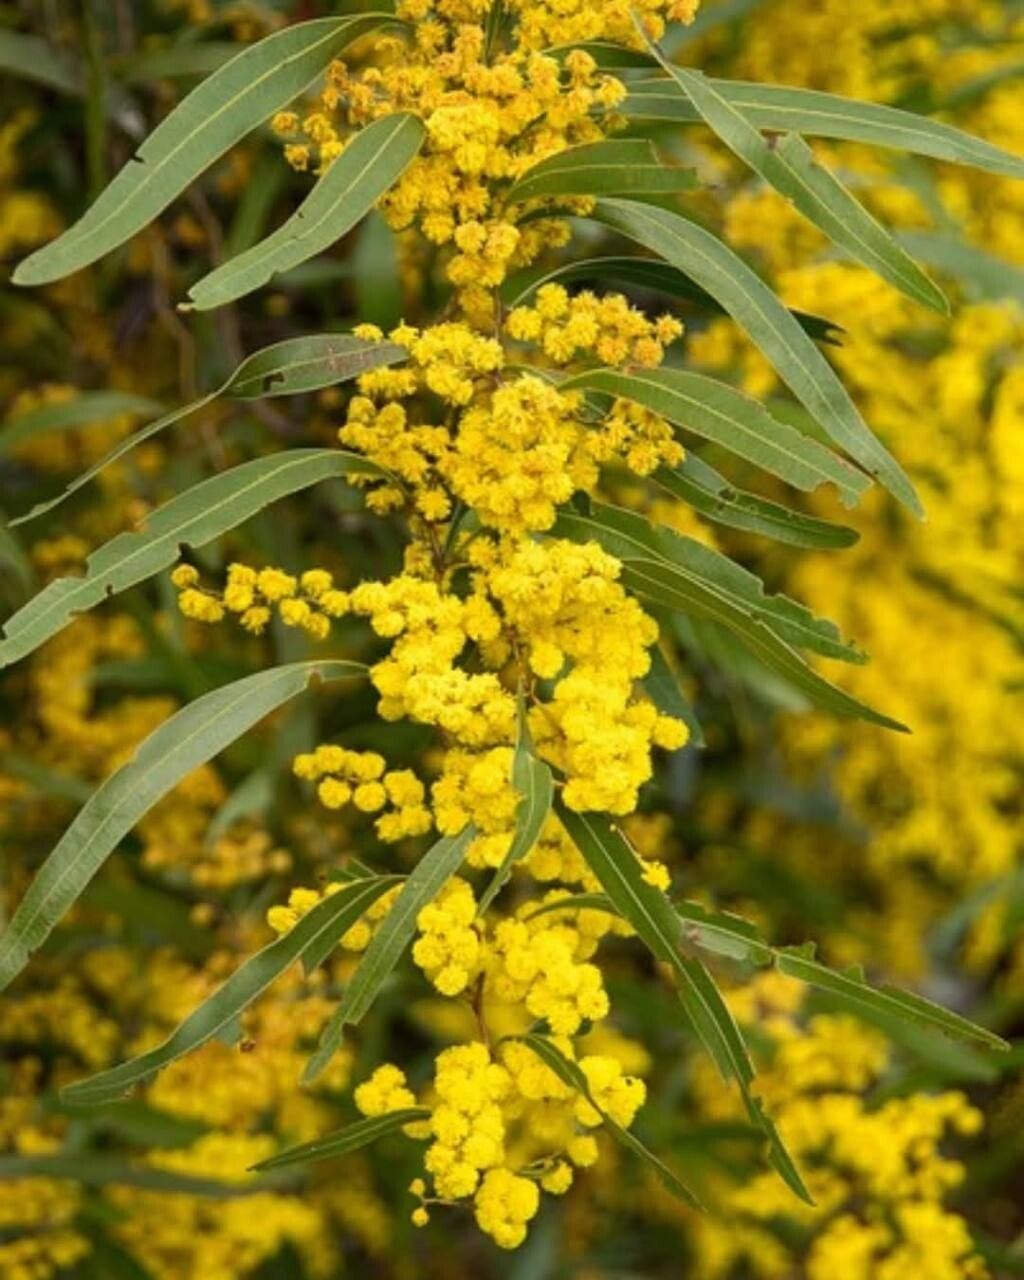
Oh, hello there! I’m so glad you’ve stumbled upon my little corner of the internet. Today, we’re diving into the wonderful world of propagating Acacia macradenia. If you’ve ever admired this beauty – with its delicate, feathery foliage and cheerful, fluffy yellow blossoms – you know what a treat it is to grow. And let me tell you, coaxing new life from an existing plant? There’s truly nothing quite like it. It’s a fantastic way to share the joy of gardening with friends or simply to expand your own green collection without breaking the bank. Now, is Acacia macradenia a walk in the park for a total beginner? It can be a little bit of a nudger, but with a few pointers, I think you’ll find it quite manageable.
The Best Time to Start
My favorite time to get stuck into propagation is when a plant is actively growing. For Acacia macradenia, this usually means late spring or early summer. You’re looking for new, semi-hardwood growth. This is growth that’s starting to firm up but hasn’t turned woody and old. Think of it as having a bit of flexibility but also a hint of structure. This is when the plant is full of energy and more likely to send out those roots.
Supplies You’ll Need
Here’s what I usually have on hand when I’m ready to get propagating:
- Sharp, clean pruning shears or a razor blade: Cleanliness is crucial to prevent disease.
- Rooting hormone powder or gel: This isn’t strictly mandatory for all plants, but it can give your cuttings a real boost.
- A well-draining potting mix: I love a mix of perlite, peat moss, and a little bit of good quality potting soil. A cactus/succulent mix also works beautifully.
- Small pots or seed trays: Ensure they have drainage holes!
- A clear plastic bag or propagator lid: This helps to create a humid environment for your cuttings.
- A spray bottle: For misting.
Propagation Methods
For Acacia macradenia, stem cuttings are my go-to method. It’s reliable and offers a great success rate if you get the timing and conditions just right.
- Take Your Cuttings: Using your sharp pruning shears, snip sections of healthy, semi-hardwood growth that are about 4-6 inches long. Make your cut just below a leaf node (where the leaves attach to the stem). Remove all but the top two sets of leaves from your cutting. This reduces water loss. If any of those remaining leaves are quite large, you can even cut them in half horizontally.
- Prepare the Cutting: Dip the cut end of each cutting into your rooting hormone. Gently tap off any excess.
- Plant Your Cuttings: Fill your small pots with your chosen well-draining potting mix. Make a small hole in the center of the soil with a pencil or your finger. Insert the cut end of the cutting into the hole, ensuring the nodes where you removed leaves are buried. Gently firm the soil around the cutting.
- Create a Humid Environment: Lightly water the soil. Then, cover the pot with a clear plastic bag, securing it around the rim with a rubber band or tape. Alternatively, use a propagator lid. Poke a few small holes in the bag for ventilation.
- Find the Right Spot: Place your pots in a bright location but out of direct sunlight. Too much sun will scorch the leaves.
The “Secret Sauce” (Pro Tips)
Now for those little tricks that make a difference!
- Bottom Heat is Your Friend: If you can provide a gentle heat source from underneath (like a heating mat designed for seedlings), it can significantly speed up root development. My propagations practically sing when they have a little warmth beneath them.
- Misting Matters, But Avoid Drenching: Regularly mist the leaves inside the propagator, especially if the plastic feels dry. However, you don’t want the soil to be constantly soggy. A slightly humid environment is key, not a swamp.
- Patience, Young Grasshopper: This one’s a biggie. Some plants are lightning-fast rooters, while others take their sweet time. Don’t get discouraged if you don’t see action immediately. Keep an eye on your cuttings – sometimes, a little swelling at the base is the first sign of new root growth, even before you see top growth.
Aftercare & Troubleshooting
Once you start to see signs of new growth – tiny leaves unfurling or the cutting tugging back slightly when gently pulled – it’s a good indication that roots have formed!
- Gradually Acclimatize: Slowly begin to remove the plastic bag or propagator lid for increasing periods each day over a week. This allows the new plant to get used to the ambient humidity.
- Continue Watering Carefully: Water when the top inch of soil feels dry. Avoid letting it dry out completely, but also don’t drown it.
- Repotting: Once the new plant has a decent root system and is actively growing, you can transplant it into a slightly larger pot with fresh potting mix.
The most common issue you might face is rot. If your cutting turns black and mushy, it’s usually a sign of too much moisture and not enough ventilation. If this happens, unfortunately, it’s best to discard it and start again, paying closer attention to watering and airflow next time. Yellowing leaves could mean it’s not getting enough light, or sometimes it’s just part of the process as the plant dedicates energy to root formation.
So there you have it! Propagating Acacia macradenia is a rewarding journey. Be patient with yourself and your new baby plants. Enjoy the process of nurturing them, and soon you’ll have your very own little piece of sunshine to enjoy. Happy gardening!
Resource:
https://identify.plantnet.org/k-world-flora/species/Acacia%20macradenia%20Benth./data