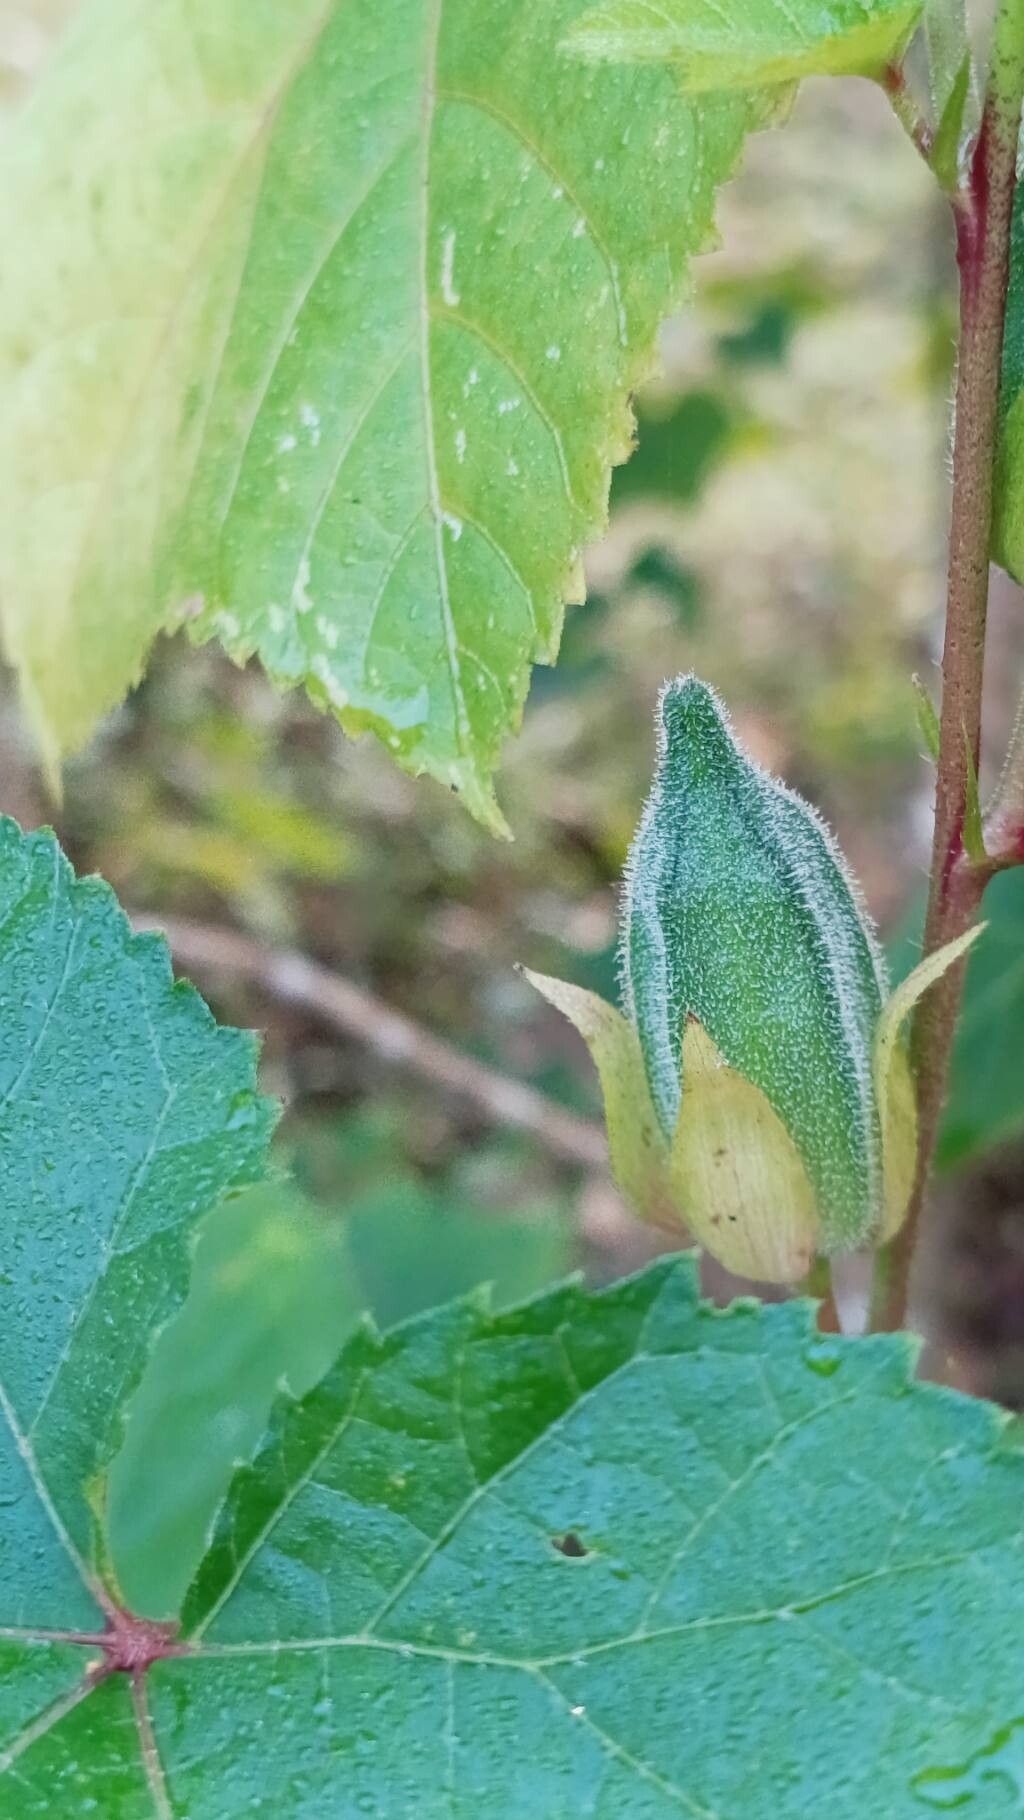
Oh, hello there! Pull up a chair, and let’s chat about one of my favorite little wonders: Abelmoschus ficulneus, otherwise known as the Hibiscus moscheutos or Rose Mallow. If you’re captivated by those stunning, dinner-plate-sized blooms that look like they’re straight out of a tropical dream, you’re in good company. These beauties bring such a burst of color and life to the garden, and the best part? They’re surprisingly straightforward to propagate. For beginners like you, this is a fantastic plant to get your hands dirty with. You’ll be amazed at how easily you can create more of these floral showstoppers.
The Best Time to Start
When it comes to Abelmoschus ficulneus, the sweet spot for success is late spring or early summer. This is when the plant is actively growing, meaning it’s full of energy and ready to put out new shoots. Timing it right means your cuttings will have plenty of warmth and light to establish themselves quickly. I usually wait until after the last frost has passed and the days are getting nice and long.
Supplies You’ll Need
Here’s what you’ll want to gather before we get started. Don’t worry, it’s nothing too fancy!
- Sharp Pruning Shears or a Knife: For clean cuts that heal well.
- Rooting Hormone (Optional but Recommended): This little helper gives your cuttings a good start.
- Potting Mix: A well-draining mix is key. I like a blend of peat moss and perlite, or you can use a good quality seed-starting mix.
- Small Pots or Trays: Clean pots are a must to prevent disease.
- Plastic Bag or Dome: To create a humid microclimate around your cuttings.
- Watering Can with a Fine Rose: For gentle watering.
Propagation Methods
We’ll focus on the easiest and most reliable way to multiply your Abelmoschus ficulneus: stem cuttings.
- Select Your Cuttings: Look for healthy, vigorous new growth on your established plant. You want stems that are pencil-thick and about 4-6 inches long. Avoid flowering stems, as they’re putting energy into blooms, not roots. Make your cut just below a leaf node (where a leaf attaches to the stem).
- Prepare the Cuttings: Gently remove the lower leaves, leaving only the top two or three. This helps reduce moisture loss. If you’re using rooting hormone, dip the cut end into it, tapping off any excess.
- Planting the Cuttings: Fill your small pots or trays with your prepared potting mix. Make a hole with your finger or a pencil deep enough to insert the cutting. Place the cutting into the hole and firm the soil gently around it.
- Creating Humidity: Now for the humidity tent! Water the soil lightly. Then, cover the pot with a plastic bag (supported by stakes so it doesn’t touch the leaves) or place it inside a clear plastic humidity dome.
- Placement: Put your pots in a bright location but out of direct, harsh sunlight. Too much sun will scorch those tender new leaves.
The “Secret Sauce” (Pro Tips)
Here are a couple of little tricks I’ve picked up over the years that make a world of difference:
- Bottom Heat is Your Friend: If you have one, a heating mat placed under your pots can dramatically speed up root development. Abelmoschus ficulneus loves warmth!
- Don’t Drown Them: While humidity is important, you don’t want the soil to be waterlogged. Water only when the top inch of soil feels dry. Soggy conditions are a fast track to rot.
- A Gentle Mist: If you’re not using a full dome, a light misting of the leaves every day or two can help keep them from drying out while they’re trying to root.
Aftercare & Troubleshooting
Once you start seeing new leaf growth or feel a gentle tug when you lightly wiggle the cutting, it’s a good sign roots are forming!
Once roots have developed, you can gradually remove the humidity cover over a few days to acclimate them to normal room humidity. Then, it’s time to transplant them into slightly larger pots with regular potting soil. Water them well and continue to keep them in bright, indirect light.
What if things go wrong? The most common culprit is rot. If your cuttings turn mushy or black, it’s usually due to too much moisture and not enough air circulation. If you see this, you might need to discard the affected cuttings and start fresh, ensuring your soil drains well and you’re not overwatering.
A Encouraging Closing
Propagating plants is a journey, and Abelmoschus ficulneus is a wonderful companion on that path. Be patient with your new little ones. It might take a few weeks for roots to form, and that’s perfectly normal. Enjoy the process of nurturing them, and pretty soon, you’ll have a whole collection of these glorious blooms to admire and even share with friends. Happy gardening!
Resource: