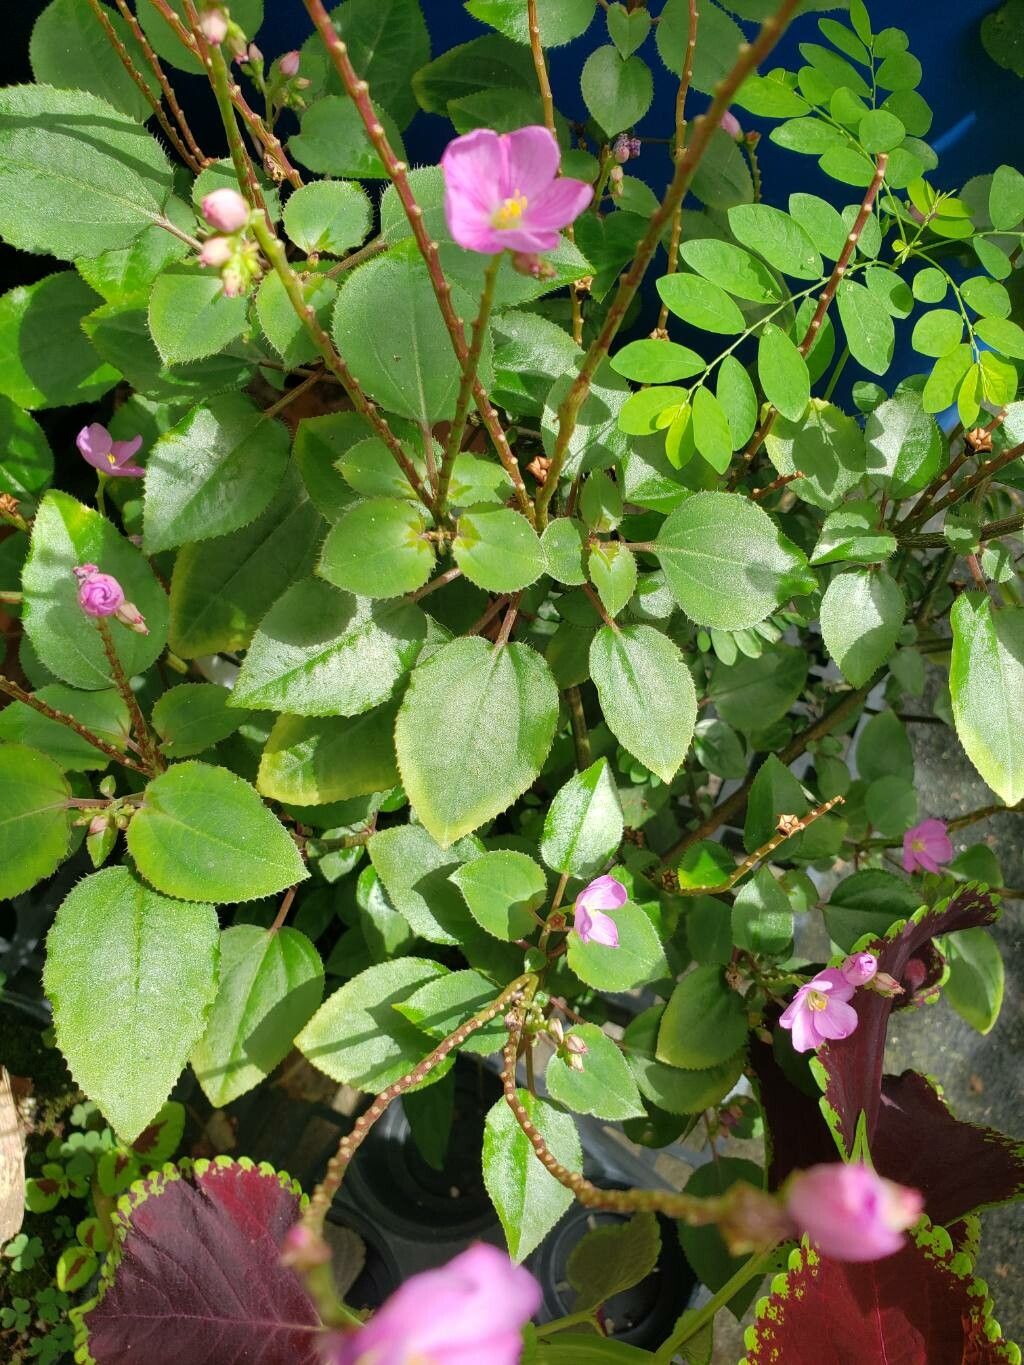
Hello fellow plant lovers! Today, I want to chat about a truly captivating plant that’s been bringing a touch of the tropics into my home: Bredia hirsuta. If you’ve seen its velvety, textured leaves and delicate blooms, you know exactly what I’m talking about. Propagating it really isn’t as daunting as you might think, and the reward of nurturing a tiny cutting into a new, thriving plant is just wonderfully fulfilling. For those of you just dipping your toes into the world of plant propagation, I’d say Bredia hirsuta is a pretty rewarding plant to start with. It’s not an absolute beginner’s plant, but with a little care and following these steps, you’ll be a pro in no time!
The Best Time to Start
When it comes to getting the most bang for your buck with propagation, it’s all about working with the plant’s natural rhythm. For Bredia hirsuta, the spring and early summer are your golden ticket. This is when the plant is in its most active growth phase. You’ll find it’s much more vigorous, meaning your cuttings will have the energy to root faster and more reliably. Look for healthy, new growth on your existing plant.
Supplies You’ll Need
Before we get our hands dirty, let’s gather our toolkit. Having everything ready makes the process so much smoother.
- Clean Pruning Shears or Sharp Knife: For taking nice, clean cuts.
- Potting Mix: A well-draining mix is key! I like to use a blend of perlite, coco coir, and a bit of worm castings. You can also find good quality houseplant potting mixes that will work.
- Small Pots or Seedling Trays: Anything with drainage holes will do.
- Rooting Hormone (Optional but Recommended): This isn’t strictly necessary for Bredia hirsuta, but it can speed up the rooting process and increase success rates. Look for a powder or gel.
- Plastic Bag or Clear Dome: To create a humid environment for your cuttings.
- Watering Can with a Fine Rose: For gentle watering.
- Labels and a Pen: To keep track of your cuttings – trust me, you’ll thank yourself later!
Propagation Methods
Bredia hirsuta is quite amenable to a few different propagation techniques. I’ve had great success with stem cuttings, so let’s dive into that!
Stem Cuttings: My Go-To Method
- Taking the Cutting: Select a healthy stem that has at least two or three sets of leaves. Using your sharp shears or knife, make a clean cut just below a leaf node (where the leaf meets the stem). You’re looking for cuttings that are about 4-6 inches long. Remove any lower leaves that would be below the soil line to prevent rot.
- Applying Rooting Hormone (Optional): If you’re using rooting hormone, lightly dip the cut end of the stem into the hormone powder or gel. Tap off any excess.
- Planting the Cutting: Fill your small pot or tray with your prepared, moistened potting mix. Make a small hole in the center with your finger or a pencil. Gently insert the cut end of your stem cutting into the hole, ensuring the leaf nodes are buried. Firm the soil gently around the base of the cutting.
- Creating Humidity: Water the soil gently. Now, cover the pot with a clear plastic bag or a propagation dome. This is crucial for maintaining the high humidity Bredia hirsuta loves while it’s trying to root. You can secure the bag with a rubber band. Make sure the leaves aren’t directly touching the plastic if possible.
Other Methods You Might Try (Later On!)
While stem cuttings are my favorite for Bredia hirsuta, you might also find success with division. If your plant has grown quite large and has multiple crowns, you can carefully remove it from its pot in spring, gently tease apart the root ball into smaller sections, each with its own roots and shoots, and repot them. You can also try water propagation – placing stem cuttings in a jar of water until roots form, but be sure to change the water every few days to keep it fresh and prevent bacterial growth.
The “Secret Sauce” (Pro Tips)
Here are a couple of things I’ve learned over the years that really make a difference:
- Bottom Heat is Your Friend: If you have a seedling heat mat, place your pots on top of it. This gentle warmth from below stimulates root development and significantly speeds up the rooting process. I always tell my students this is a game-changer!
- Don’t Drown Them: While they love humidity, overwatering the soil is the fastest way to kill a cutting. The soil should be consistently moist, not soggy. I like to check the moisture by poking my finger about an inch into the soil. If it feels dry, it’s time for a gentle watering.
- Bright, Indirect Light: Once your cuttings are planted, place them in a spot that receives bright, indirect light. Avoid direct sun, as it can scorch the delicate leaves and dry out your cuttings too quickly. North or east-facing windows are often perfect.
Aftercare & Troubleshooting
Once you start to see signs of new growth – tiny leaves unfurling or you feel a gentle tug when you lightly pull on the cutting – you know roots are forming!
- Acclimatization: Gradually start to acclimate your new plant to lower humidity. This means slowly opening up the plastic bag or dome over a week or two.
- Repotting: Once your cutting has a robust root system and looks like it’s actively growing, you can pot it up into a slightly larger pot with fresh potting mix.
- Watch for Rot: The most common pitfall is rot. If your stem cutting turns mushy, black, or slimy in the soil, it’s likely succumbed to rot. Unfortunately, there’s no coming back from this. It’s usually a sign of too much moisture and poor air circulation. Try to ensure your potting mix is airy and water judiciously.
- Wilting: If your leaves are wilting, it could be a sign of dehydration (if the soil is dry) or that the cutting hasn’t rooted yet and can’t take up water. Keep an eye on the soil moisture and humidity.
A Little Patience Goes a Long Way
Propagating plants is a journey, not a race. There will be times when things don’t go as planned, and that’s perfectly okay. That’s how we learn! Keep observing your plants, adjust your care as needed, and most importantly, enjoy the process of bringing new life into your home. Happy propagating!
Resource:
https://identify.plantnet.org/k-world-flora/species/Bredia%20hirsuta%20Blume/data