Bringing More Rue into Your Life: Easy Propagation for This Aromatic Herb
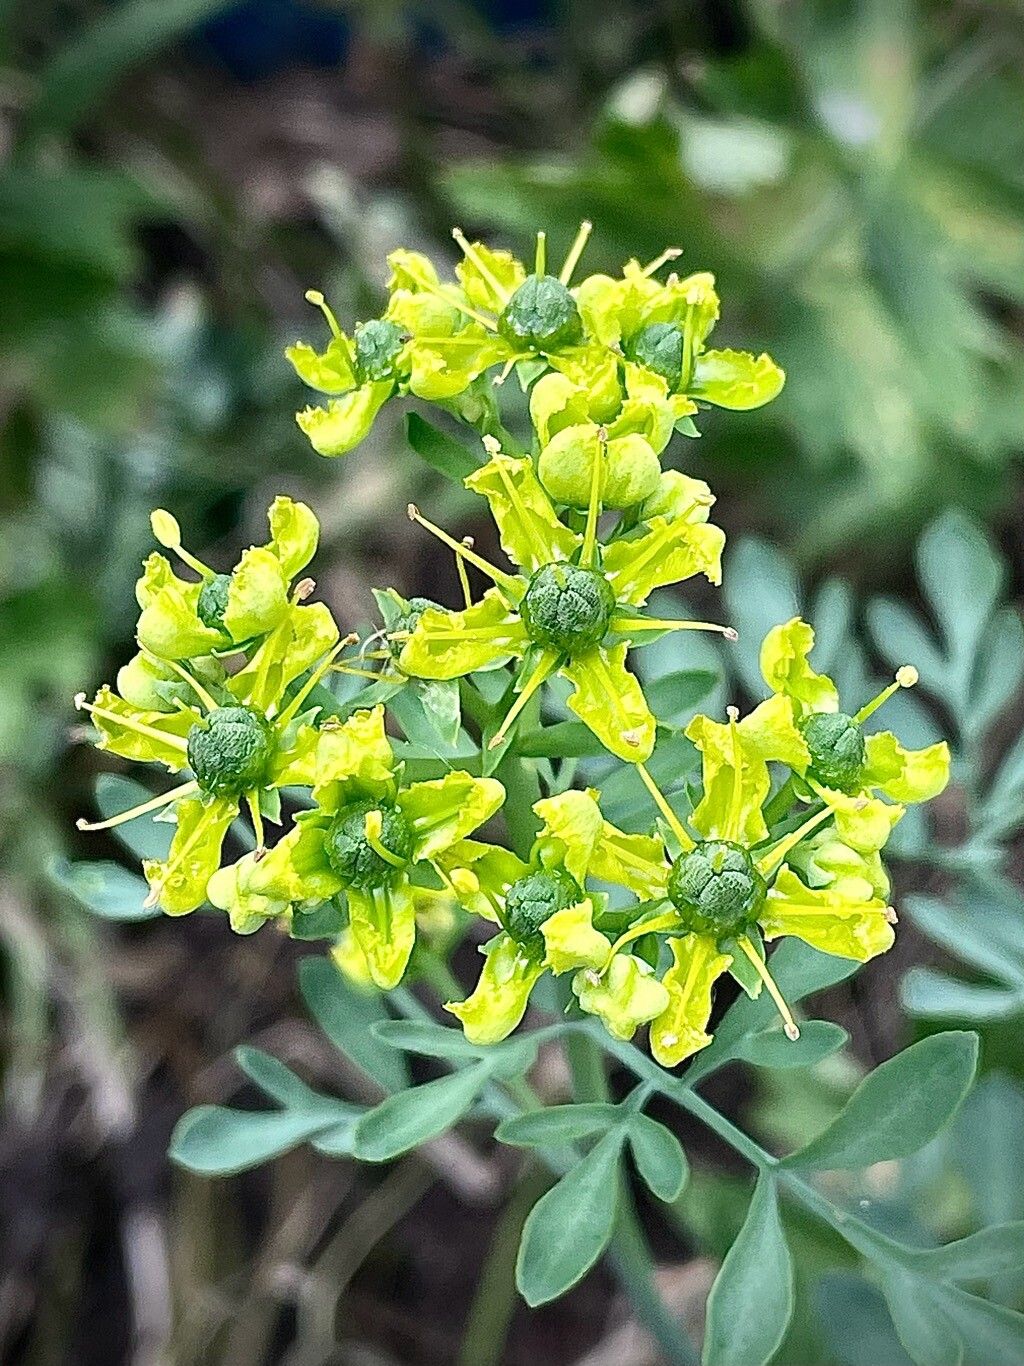
Hello there, my fellow garden enthusiasts! It’s so lovely to connect with you again. Today, we’re diving into the world of Ruta graveolens, or as many of us affectionately call it, rue. This plant is a true gem in the garden. Its intricate, blue-green foliage has a charm all its own, and the slightly pungent, yet unique, aroma is quite captivating. Beyond its beauty, rue has a long history in folk medicine and is also said to ward off evil spirits – a bit of folklore that always adds a touch of magic to my garden!
Now, if you’re just starting out with propagation, you might be wondering if rue is a good choice. I’m happy to tell you, yes, it is! While some plants can be notoriously finicky, rue is generally quite forgiving. Propagating it is a wonderfully rewarding experience. There’s nothing quite like the satisfaction of creating new life from an existing plant. You’ll soon be sharing these lovely plants with friends, filling your garden space, or perhaps even trying your hand at some DIY herbal projects.
The Best Time to Start
When it comes to getting the highest success rate, late spring to early summer is your golden window. This is when rue is actively growing, and those stems are filled with the energy needed to root. Aim for times when the plant is putting on new shoots, usually after the last frost has passed and the weather is warming nicely.
Supplies You’ll Need
Here’s what you’ll want to gather before we get our hands dirty:
- Sharp pruning shears or a clean knife: For taking nice, clean cuttings.
- Small pots or trays: With drainage holes, of course!
- Well-draining potting mix: A good standard potting mix amended with perlite or coarse sand works beautifully.
- Rooting hormone (optional but recommended): This can give your cuttings a little extra boost.
- Watering can or spray bottle: For gentle watering.
- Plastic bags or a propagation dome: To create a humid environment for your cuttings.
Propagation Methods
Let’s explore the easiest ways to get more rue:
Stem Cuttings
This is my go-to method for rue. It’s straightforward and usually yields great results.
- Take your cuttings: On a warm, sunny day, select healthy, non-flowering shoots from your established rue plant. Using your sharp shears, cut stems that are about 4-6 inches long. Make the cut just below a leaf node (where a leaf attaches to the stem).
- Prepare the cuttings: Gently remove the leaves from the bottom half of each cutting. You want to avoid any leaves being submerged in soil or water, as this can lead to rot.
- Apply rooting hormone (optional): Dip the cut end of each stem into rooting hormone, tapping off any excess.
- Plant your cuttings: Fill your small pots with your prepared potting mix. Make a small hole in the center of the soil with your finger or a pencil. Insert the cut end of each rue cutting into the hole, ensuring the leaf nodes you cleared are below the soil line. Gently firm the soil around the base of the cutting.
- Water gently: Water thoroughly until water drains from the bottom of the pot.
Water Propagation (for stems)
This method is a bit more visual, and you can see the roots developing.
- Prepare the cuttings: Follow steps 1 and 2 from the stem cuttings method above.
- Place in water: Find a clean glass jar or container. Fill it with fresh, room-temperature water. Place the cuttings into the water, ensuring that no leaves are submerged.
- Change the water: It’s crucial to change the water every few days to keep it fresh and prevent bacteria growth.
Division
Rue plants, once established, can often be divided.
- Dig up the plant: Carefully dig up your mature rue plant, trying to disturb the roots as little as possible.
- Separate the sections: Gently pull apart the root ball into smaller sections. You want each section to have a good amount of roots and at least one or two healthy shoots.
- Replant immediately: Plant each divided section into its own pot filled with well-draining soil or directly into a new spot in your garden. Water well.
The “Secret Sauce” (Pro Tips)
Here are a couple of my tried-and-true tips that have helped me along the way:
- Don’t let the leaves touch the water! I’ve said it before, but it bears repeating, especially for water propagation. Any submerged foliage is an invitation for rot. Keep those leaves up and out of the water.
- Create a humid environment: After planting stem cuttings, I always like to create a mini-greenhouse effect. You can do this by covering the pots with a clear plastic bag (making sure the bag doesn’t touch the leaves) or by using a propagation dome. This humidity helps prevent the cuttings from drying out while they’re trying to root.
- Consider bottom heat: If you’re propagating in a cooler environment or early in the season, a gentle heat mat placed under your pots can significantly speed up rooting. Rue likes warmth, and this can be a real game-changer.
Aftercare & Troubleshooting
Once you start seeing new growth or roots emerging from the bottom of the pot (you might see them peeking through the drainage holes!), your cutting is on its way!
- Gradual acclimatization: If you used a plastic bag or dome, gradually start removing it over a few days to allow the new plant to adjust to normal room humidity.
- Watering: Continue to water your new rue plants when the top inch of soil feels dry. Overwatering is a common mistake, so always err on the side of caution.
- Transplanting: Once the roots are well-established and you have a good amount of new growth, you can transplant your baby rue into larger pots or into their final garden location.
What if things don’t go as planned? The most common issue you might encounter is rot. If your cuttings turn black and mushy, or develop a gray mold, it’s usually a sign of too much moisture and not enough air circulation. Discard any affected cuttings and start again, making sure your soil is well-draining and you’re not overwatering. Don’t get discouraged! Every gardener has lost cuttings – it’s part of the learning process.
A Little Patience Goes a Long Way
Propagating plants is a journey, and with rue, it’s a particularly rewarding one. Be patient with your new cuttings. It can take several weeks for them to develop a strong root system. Enjoy the process, watch for those tiny signs of life, and celebrate each success. Happy gardening, and may your rue plants flourish!
Resource:
https://identify.plantnet.org/k-world-flora/species/Ruta%20graveolens%20L./data