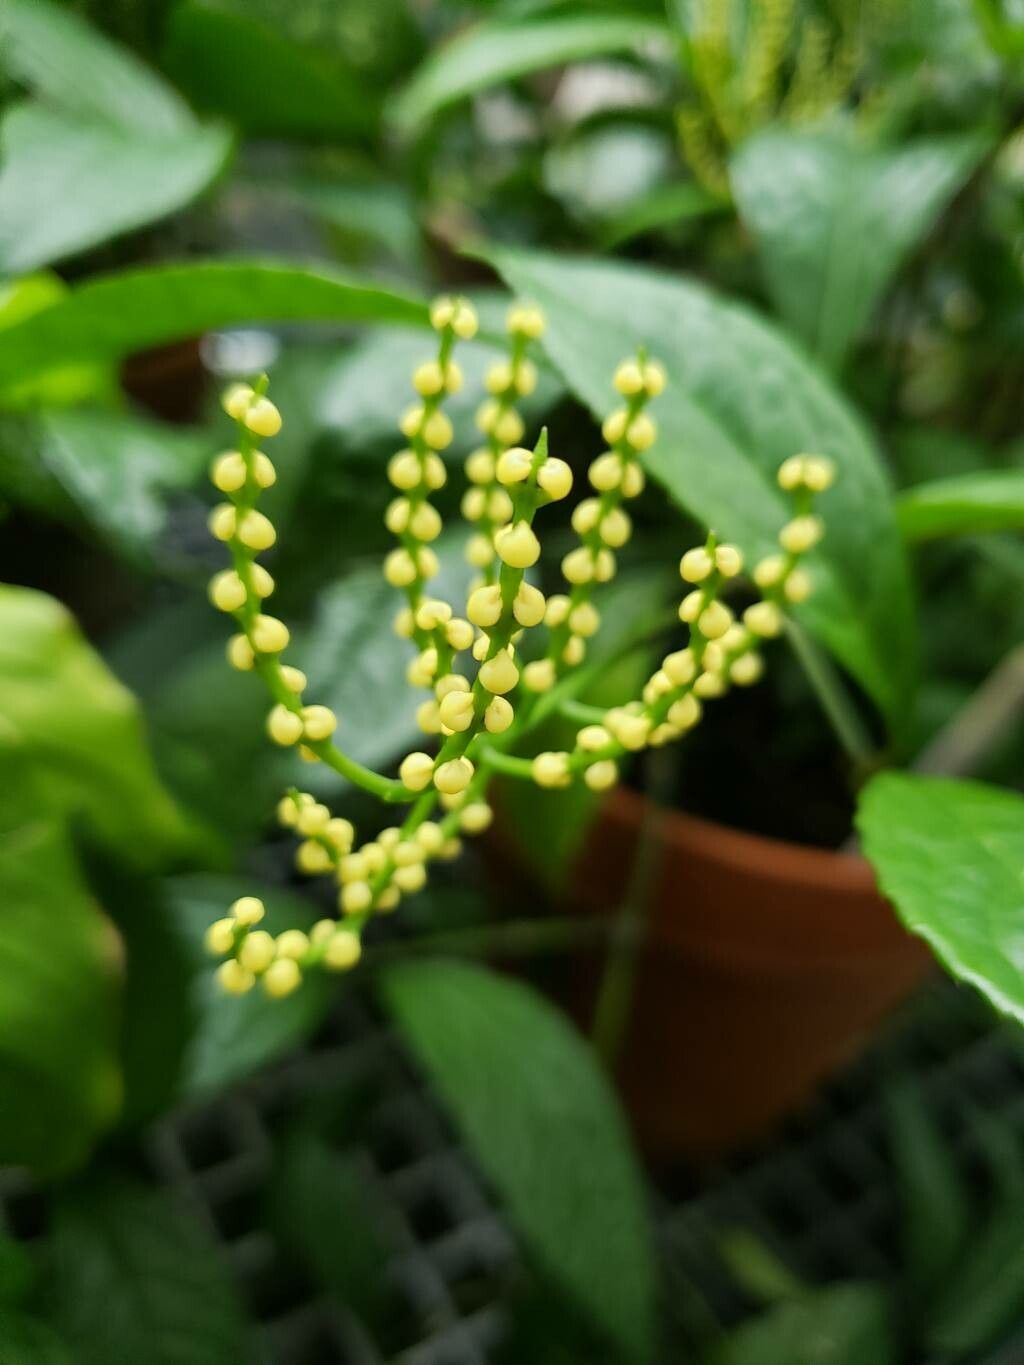
Hello, fellow plant lovers! Today, we’re diving into the delightful world of Chloranthus spicatus. If you’ve ever been charmed by its delicate, almost otherworldly blooms and its lovely evergreen foliage, you’re not alone. It’s a plant that adds a whisper of sophistication to any shady nook. And the best part? You can easily bring more of this beauty into your life through propagation. I’ve found it to be a rather rewarding endeavor, and while no plant is entirely hands-off, I think newcomers to propagation will find Chloranthus spicatus to be a welcoming challenge.
The Best Time to Start
For the most success with Chloranthus spicatus, I always recommend starting in late spring to early summer. This is when the plant is actively growing and has plenty of energy to put into new root development. You’re looking for softwood or semi-hardwood cuttings – pieces that are flexible but not so soft they wilt instantly.
Supplies You’ll Need
Gathering your supplies beforehand makes the whole process so much smoother. You’ll want:
- Clean, sharp pruning shears or a craft knife: For making clean cuts without crushing the stems.
- A well-draining potting mix: I like a blend of equal parts perlite, peat moss, and compost. You can also use a dedicated seed-starting mix.
- Small pots or rooting trays: About 3-4 inches in diameter work well. Make sure they have drainage holes!
- Rooting hormone (optional but recommended): A powder or gel can significantly boost rooting success.
- A clear plastic bag or dome: To create a humid environment for your cuttings.
- Watering can with a fine rose: To gently water without disturbing the cuttings.
- Labels and a marker: To keep track of what you’ve propagated and when.
Propagation Methods
I find the most reliable method for Chloranthus spicatus is taking stem cuttings. Here’s how I do it:
- Select Healthy Stems: Look for young, vigorous shoots that are about 4-6 inches long. Avoid any that look leggy, diseased, or have flower buds.
- Make the Cut: Using your sharp shears, make a clean cut just below a leaf node (where a leaf attaches to the stem). This is where roots are most likely to form.
- Prepare the Cutting: Gently remove the lower leaves. You want to leave a few leaves at the top to photosynthesize, but too many will draw energy away from root production and can lead to rot. If your leaves are very large, you can even cut them in half horizontally to reduce water loss.
- Apply Rooting Hormone: If you’re using it, dip the cut end of the stem into the rooting hormone, tapping off any excess.
- Plant the Cuttings: Fill your pots with your prepared potting mix. Make a small hole in the center with your finger or a pencil. Insert the cutting into the hole, ensuring the nodes where you removed the leaves are buried. Gently firm the soil around the stem.
- Water Gently: Water thoroughly but gently until water drains from the bottom.
- Create Humidity: Cover the pot with a clear plastic bag, securing it around the rim to trap moisture. Alternatively, use a clear plastic dome. If you’re doing several cuttings, a larger tray covered with a dome works beautifully.
The “Secret Sauce”
Here are a couple of tricks I’ve learned over the years that really help:
- The “Air Pocket” Trick: When placing cuttings in water (if you opt for water propagation, which I find slightly less reliable for this particular plant but is still an option), make absolutely sure that no leaves are touching the water. They’ll rot, and take your cutting with them. I often suspend cuttings so only the stem is submerged.
- Bottom Heat is Your Friend: For cuttings in soil, a bit of gentle bottom heat from a seedling heat mat can work wonders. It encourages root development without drying out the leaves. Just keep it on a low setting.
Aftercare & Troubleshooting
Once your cuttings are planted and covered, place them in a bright spot that receives indirect light. Avoid direct sun, as it can scorch the tender new growth. Keep the soil consistently moist but never soggy. You’ll know your cuttings are rooting when you see new leaf growth. This can take anywhere from 4 to 8 weeks, so patience is key!
The most common problem you might encounter is rot. This is usually a sign of overwatering or insufficient air circulation. If you see mushy stems or dark spots, sadly, that cutting may be lost. Remove it immediately to prevent it from affecting others. Sometimes, cuttings just don’t take – it’s part of the process and doesn’t mean you did anything wrong! High humidity is crucial, so check that your plastic cover is still creating that microclimate.
A Little Encouragement
See? Not so daunting, is it? Propagating Chloranthus spicatus is a wonderful way to expand your collection and share this beautiful plant with friends. Don’t be discouraged if your first few attempts aren’t perfect. Each plant and each cutting can be a little different. Enjoy the journey, celebrate the successes, and learn from every new sprout. Happy propagating!
Resource:
https://identify.plantnet.org/k-world-flora/species/Chloranthus%20spicatus%20(Thunb.)%20Makino/data