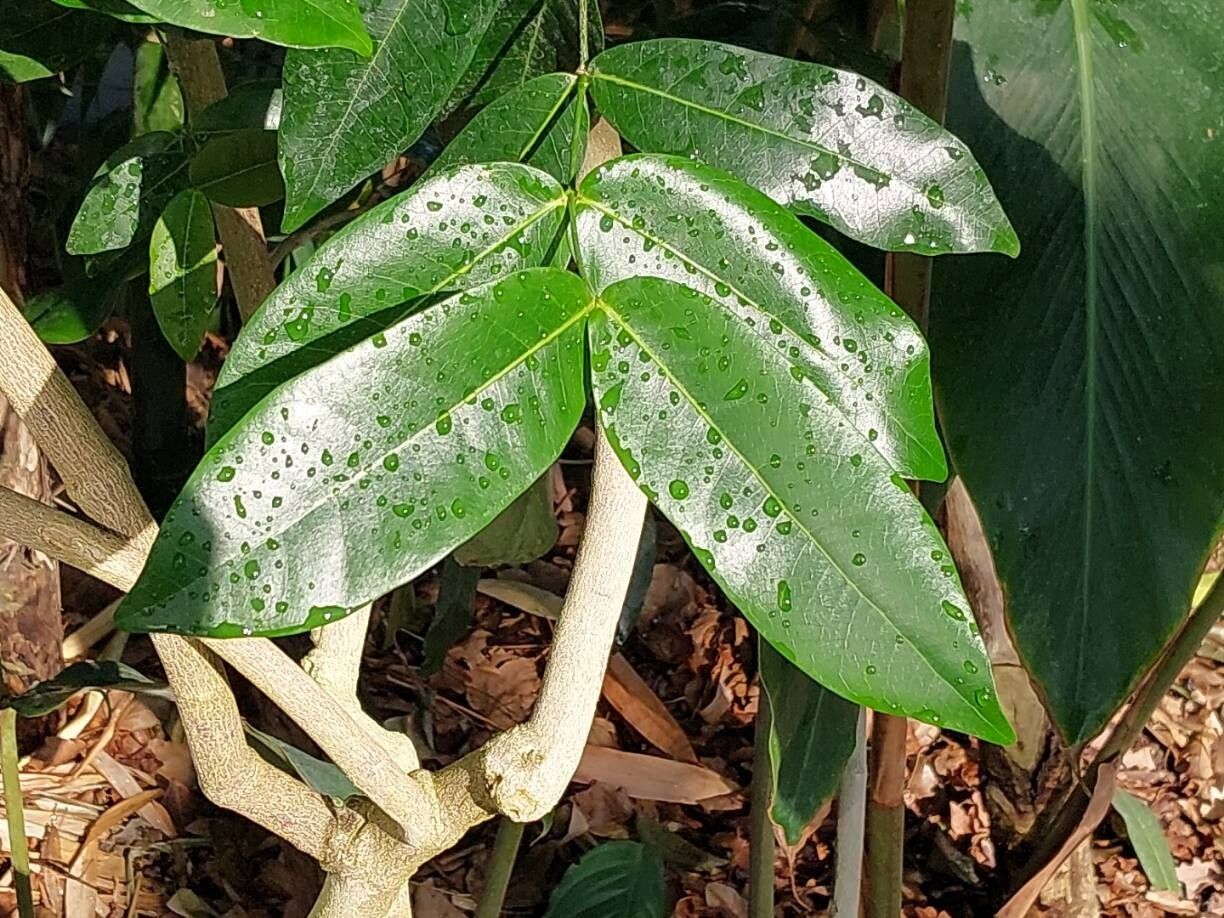
Oh, Melodinus cochinchinensis! What a truly captivating plant. Its glossy, deep green leaves look so lush, and when it flowers, those delicate, star-shaped blossoms perfume the air with a sweet, captivating scent. I’ve always found it a joy to have around, and honestly, propagating it is a wonderfully rewarding endeavor. For anyone starting out in the world of plant propagation, I’d call Melodinus moderately easy. It’s not as foolproof as, say, a pothos, but with a little care and attention, you’ll likely be singing its praises too.
The Best Time to Start
My absolute favorite time to take cuttings and start new Melodinus plants is in late spring or early summer. The plant is in its active growing phase then, full of energy and ready to send out new shoots. This vigorous growth means your cuttings have the best chance of rooting quickly. You can certainly try in other seasons, but spring and early summer offer the highest success rates, no question.
Supplies You’ll Need
Here’s a little kit to gather before you begin:
- Sharp pruning shears or a clean, sharp knife: For making clean cuts on your parent plant.
- Rooting hormone (optional but helpful): A powder or gel that encourages root development.
- Well-draining potting mix: I like a blend of equal parts peat moss or coco coir, perlite, and a bit of compost. This ensures good aeration.
- Small pots or trays: Clean pots are a must! Small ones, about 3-4 inches in diameter, are perfect.
- Plastic bags or a propagator: To create a humid environment for your cuttings.
- Watering can or spray bottle: For gentle watering.
Propagation Methods
Let’s get our hands dirty with a couple of reliable ways to multiply your Melodinus:
Stem Cuttings – My Go-To Method
This is hands-down the most common and effective way to propagate Melodinus.
- Select a healthy stem: Look for a stem that’s semi-hardwood. This means it’s not brand new and floppy, but not old and woody either. Think of a stem that bends but snaps cleanly. A good length for a cutting is about 4-6 inches.
- Make clean cuts: Using your sharp pruners or knife, make a cut just below a leaf node. The node is where a leaf attaches to the stem; this is where magic happens and roots emerge.
- Prune your cutting: Remove the lower leaves from the cutting, leaving just a few at the top. This helps the plant focus its energy on rooting instead of supporting too many leaves. You can even cut the remaining leaves in half horizontally – this reduces water loss from the leaves.
- Dip in rooting hormone (optional): If you’re using rooting hormone, gently dip the cut end of the stem into it. Tap off any excess.
- Plant your cutting: Fill your small pots with your prepared potting mix. Make a small hole in the center with your finger or a pencil. Insert the cutting into the hole, ensuring the nodes where you removed leaves are buried. Gently firm the soil around the stem.
- Water gently: Give the soil a good, light watering until it’s moist but not waterlogged.
- Create humidity: Cover the entire pot with a clear plastic bag, securing it around the rim with a rubber band or tape. You can also use a small propagator. This traps moisture and creates a mini-greenhouse effect. Poke a few small holes in the bag for a little air circulation.
Water Propagation – The Visual Method
This method is great because you can see the roots developing!
- Take your cutting: Follow steps 1-3 from the stem cutting method.
- Place in water: Find a clean glass or jar and fill it with fresh water. Place your cutting in the water, making sure that the leaf nodes are submerged, but none of the leaves themselves are in the water. Leaves submerged in water will rot and can take your cutting down with them.
- Find a good spot: Place the jar in a bright spot, but out of direct sunlight.
- Change the water: Change the water every 2-3 days, or whenever it starts to look cloudy. This prevents bacterial growth.
The “Secret Sauce” (Pro Tips)
Here are a couple of things I’ve learned over the years that really give your cuttings a boost:
- Bottom Heat is Your Friend: If you’re going the stem cutting route and want faster results, place your pots on a heat mat designed for seedlings. This gentle warmth encourages root formation from below, mimicking ideal soil temperatures.
- Don’t Disturb Too Soon: Resist the urge to tug on your cuttings to see if they have roots! Let them settle in. You’ll often see new leaf growth as a sign that roots are forming. For cuttings in soil, wait a good 4-6 weeks before gently trying to see if there’s resistance when you nudge the stem.
Aftercare & Troubleshooting
Once you see roots appearing – whether in water or peeking out from the soil – it’s time for a little extra love.
- For water-rooted cuttings: Once your roots are ½ to 1 inch long, carefully plant them into your well-draining potting mix. Treat them like a newly potted plant, keeping the soil consistently moist but not soggy.
- For soil-rooted cuttings: When you gently tug and feel resistance, your cutting has rooted! Continue to keep the soil consistently moist for the first few weeks, gradually transitioning to less frequent watering as the plant establishes itself.
- Troubleshooting: The most common culprit for failure is rot. If your cutting turns black and mushy, or if it develops a foul smell, it’s likely rotted. This usually happens due to overwatering or poor drainage. Brown, crispy leaves can indicate too much direct sun or not enough humidity. If you see a bit of rot, try to trim away the affected parts with a clean knife and re-pot in fresh, dry soil, ensuring better drainage and less moisture.
Grow On!
Don’t get discouraged if your first few attempts aren’t perfect. Propagation is a journey, and like all good things in gardening, it requires a little patience. Take your time, observe your cuttings, and enjoy the process of watching new life emerge. You’ll be a Melodinus pro before you know it!
Resource: