Multiply the Magic: Growing More Cornus foemina from Your Own Garden
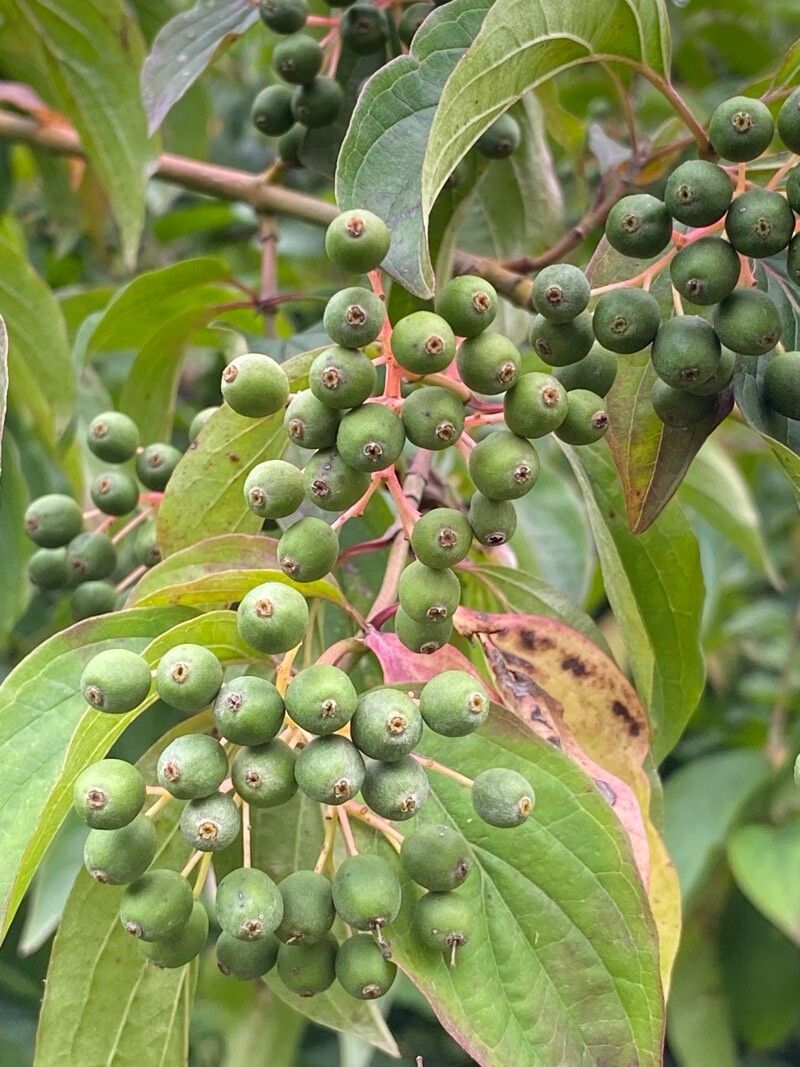
There’s something truly special about Cornus foemina, isn’t there? Those beautiful, often vibrantly colored stems, especially in winter, are like nature’s little fireworks display. And for me, the most rewarding part of any plant is being able to create more of it. Propagating your own Cornus foemina is a wonderfully satisfying endeavor, a chance to fill your garden with these beauties for free (well, almost!). If you’re new to plant propagation, don’t fret. Cornus foemina is actually quite forgiving, making it a great candidate for beginners looking to expand their green thumb.
The Best Time to Start
When it comes to Cornus foemina, softwood cuttings taken in late spring to early summer are your golden ticket. You know, when the new growth is still flexible but has started to firm up a little. You want that pliable yet determined energy. Late summer can also work, but spring offers a longer growing season for those new cuttings to establish themselves before the cooler weather arrives.
Supplies to Gather
Before you dive in, let’s get you set up with the essentials. Don’t worry, it’s not rocket science!
- Sharp Pruning Shears or a Knife: Clean cuts are crucial for preventing disease.
- Rooting Hormone (Optional but Recommended): This little powder or gel can significantly boost your success rate.
- Potting Mix: A good, well-draining mix is key. I often use a blend of equal parts peat moss and perlite, or a commercial seed-starting mix.
- Small Pots or Trays: Clean containers with drainage holes are a must.
- Plastic Bag or Clear Dome: To create a mini-greenhouse effect.
- Watering Can with a Fine Rose: To keep things gentle.
Propagation Methods: Let’s Get Our Hands Dirty!
There are a few ways to coax new life from your Cornus foemina, but my go-to for this shrub is stem cuttings.
Stem Cuttings: The Most Reliable Route
- Select Your Parent Plant: Choose a healthy, vigorous Cornus foemina. Look for stems that are about pencil-thick and have at least two sets of leaves.
- Take the Cuttings: Using your clean shears, take cuttings that are about 4-6 inches long. Make the cut just below a leaf node (where a leaf attaches to the stem). Remove the lower leaves, leaving just two or three at the top. If the leaves are very large, I like to snip them in half to reduce water loss.
- Prepare the Cuttings: Dip the cut end of each cutting into your rooting hormone, tapping off any excess.
- Plant Your Cuttings: Fill your pots or trays with your prepared potting mix. Make a little hole in the soil with your finger or a pencil. Gently insert the cut end of the Cornus cutting into the hole, ensuring the nodes where you removed the leaves are buried. Firm the soil around the cutting.
- Create a Humid Environment: Water the soil thoroughly. Then, cover the pots or tray with a plastic bag (you can tie it to a stake or use rubber bands) or a clear plastic dome to maintain high humidity. This is vital for softwood cuttings.
- Find a Cozy Spot: Place your pots in a bright location that gets indirect light. Avoid direct sun, as it can scorch the delicate cuttings.
The “Secret Sauce”: My Insider Tips
Over the years, I’ve learned a few tricks that seem to make all the difference.
- Bottom Heat is Your Friend: If you have access to a heat mat, gently warming the soil from below can really speed up root development. It mimics the warmth of summer soil and encourages those roots to get going.
- Patience is a Virtue (and a Necessity!): Don’t keep constantly poking at your cuttings to check for roots. I wait at least 3-4 weeks before I even consider gently tugging on them. If there’s resistance, you’re likely on the right track!
- Cleanliness is Next to Greenness: I can’t stress this enough – always use clean tools and pots. This habit alone has saved me from countless fungal infections and saved many a potential plant.
Aftercare & Troubleshooting: Nurturing Your New Sprouts
Once you feel that tell-tale tug of developing roots (or see new growth appearing), it’s time for a bit more focused care.
- Gradually Acclimate: As your cuttings develop roots, start to gradually remove the plastic covering to get them used to less humid conditions. Do this over a week or so.
- Water Wisely: Continue to water when the top inch of soil feels dry. Overwatering is the quickest way to cause trouble.
- Watch for Signs of Failure: The most common issue you’ll see is rot. If your cutting turns black or mushy at the base, it’s likely succumbed to rot. This often happens due to too much moisture without enough air circulation or a lack of good drainage. If you see this, sadly, it’s best to discard it and start again, ensuring better ventilation next time. Yellowing leaves can sometimes mean too much direct sun or not enough water, but with cuttings, rot is usually the bigger culprit.
Keep Growing!
Propagating Cornus foemina is such a rewarding journey. It takes a little bit of practice, a dash of patience, and a whole lot of love. Don’t be discouraged if your first attempt isn’t perfect. Every gardener learns from their successes and their setbacks. Enjoy the process, and soon you’ll have a little forest of your own beautiful Cornus foemina to admire!
Resource:
https://identify.plantnet.org/k-world-flora/species/Cornus%20foemina%20Mill./data