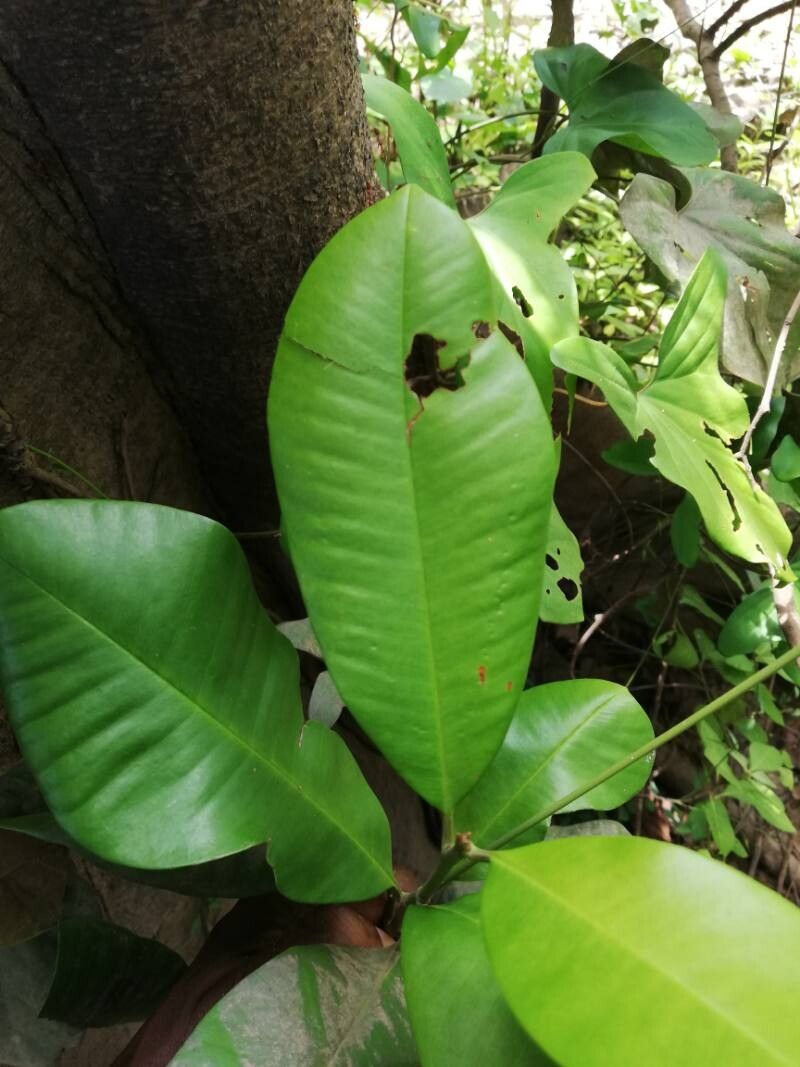
Oh, hello there! Come on in, pull up a chair. Let’s chat about plants. Today, I want to talk about a truly special one: Manilkara obovata, often called the Australian Bulletwood or Balzan. If you’re looking for a plant that’s a bit unusual, offers lovely dark green foliage, and throws out delicate white flowers that smell divine, then this is for you. And you know what’s even more rewarding than admiring one? Growing your own!
Why Propagate Manilkara obovata?
There’s a certain magic in taking a small piece of a plant and coaxing it to become a whole new life. It’s a way to share the beauty of your garden, to have more of this wonderful tree without buying it, and to deeply connect with the plant’s life cycle. Now, a confession: Manilkara obovata isn’t the easiest plant for a complete beginner to propagate. It can be a bit particular. But don’t let that deter you! With a little patience and the right approach, you absolutely can succeed. Think of it as a delightful challenge.
The Best Time to Start
For Manilkara obovata, the sweet spot for propagation is right when the plant is actively growing, but not stressed. Late spring into early summer is usually your best bet. You’re looking for semi-hardwood cuttings – that’s wood that’s firm but still has a little flexibility, not brand-new, floppy growth or old, woody stems. Think of a pencil’s thickness and a touch of that resistance when you bend it.
Supplies You’ll Need
Here’s what I like to have on hand when I’m ready to get started:
- Sharp Pruning Shears or a Grafting Knife: Clean cuts are crucial.
- Rooting Hormone: A good quality powder or gel specifically for woody cuttings.
- Well-Draining Potting Mix: A blend of perlite, coarse sand, and a bit of peat moss or coco coir works wonders for me. Avoid heavy, water-retentive soils.
- Small Pots or Seed Trays: Clean is key!
- Plastic Bags or a Propagation Dome: To create a humid environment.
- Mist Bottle: For keeping things moist.
- Optional: Bottom Heat Mat: This can be a game-changer for encouraging root development.
Propagation Methods
While you might find information on other methods, I find stem cuttings to be the most reliable for Manilkara obovata.
Stem Cuttings:
- Select Your Cuttings: Head out to your Manilkara obovata. Look for healthy stems that are about 4-8 inches long and as I mentioned, that semi-hardwood stage. Make a clean cut just below a leaf node (where a leaf attaches to the stem).
- Prepare the Cuttings: Gently strip off the lower leaves. You want to expose several leaf nodes where future roots will emerge. If the leaves are large, you can cut them in half to reduce water loss through transpiration.
- Apply Rooting Hormone: Dip the cut end of each cutting into your rooting hormone, tapping off any excess. Make sure it’s coated well.
- Pot Them Up: Fill your clean pots with your well-draining mix. Make a small hole with a pencil or your finger and gently insert the bottom 1-2 inches of the cutting. Firm the soil around it to ensure good contact.
- Create Humidity: Water the soil gently until it’s moist but not soggy. Then, cover the pots with a plastic bag or a propagation dome. You want to create a mini-greenhouse effect. If you’re using a bag, use stakes to keep it from touching the leaves.
- Find a Suitable Spot: Place the pots in a bright location, but out of direct, harsh sunlight. They like warmth, so a spot with consistent, moderate temperatures is ideal. If you have a bottom heat mat, now’s the time to use it.
The “Secret Sauce” (Pro Tips)
Here are a few things I’ve learned over the years that really seem to help:
- Cleanliness is Paramount: Always use clean tools and pots. Fungus and bacteria are your enemy when trying to root cuttings, and they love nothing more than a dirty environment.
- Don’t Overwater: This is perhaps the most common mistake. The soil should be consistently moist, not waterlogged. Soggy soil will cause your cuttings to rot before they can root. Check the moisture level by feeling the soil; it should feel slightly damp to the touch.
- Bottom Heat is Your Friend: If you can supply gentle warmth from below, it makes a huge difference. It encourages the roots to start developing from the bottom up, giving your cuttings that much-needed boost. A heat mat set to around 75-80°F (24-27°C) is perfect.
Aftercare & Troubleshooting
Once your cuttings have rooted – and this can take anywhere from a few weeks to a couple of months – you’ll start to see new growth appearing. This is your sign!
- Acclimatize Gradually: Once you see roots (you might need to gently check a cutting or see healthy growth), start to gradually remove the plastic cover over a week or so. This allows the new plant to get used to the drier air in your home.
- Watering: Continue to water when the top inch of soil feels dry.
- Light: Keep them in bright, indirect light.
Troubleshooting:
- Wilting or Yellowing Leaves: This can be a sign of being too wet or too dry. Check your watering schedule. It could also be a lack of sufficient humidity initially, especially if the leaves droop before you’ve covered them.
- Rotting at the Base: This is the most disheartening, but it often comes down to overwatering or poor drainage. If you see mushy stems, unfortunately, that cutting is likely lost. Learn from it and try again with drier soil and good airflow.
- No Growth: Patience is key! Some plants are slow starters. Ensure they have adequate light and consistent, moderate warmth. If after months there’s absolutely no sign and the stem feels soft, it’s probably not going to make it.
Keep at It!
Growing plants from cuttings is a journey. There will be successes, and there will be times when things don’t go as planned. Don’t get discouraged! Each attempt teaches you something new. Savor the process, enjoy the quiet moments of plant care, and celebrate every tiny new leaf that emerges. You’ve got this!
Resource: