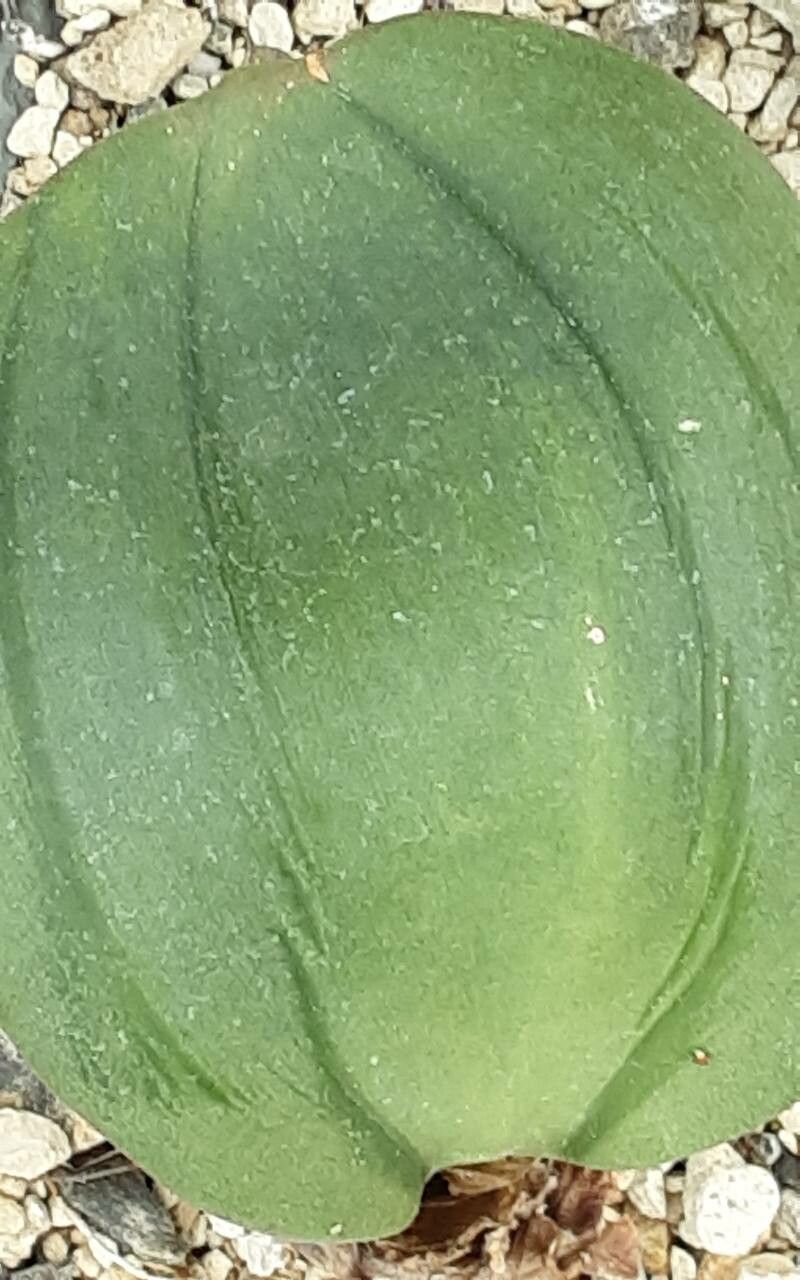
Oh, the Rauhia decora! If you’re looking for a plant that brings a touch of the tropics indoors with its lush, dramatic foliage, you’ve found a winner. These beauties are known for their substantial leaves, often with an elegant droop, and they just have a way of making any space feel more alive.
Propagating your own Rauhia decora is incredibly rewarding. There’s a special kind of joy in nurturing a tiny cutting into a mature plant, all from your own green-thumb efforts. Now, I won’t sugarcoat it entirely – Rauhia decora can be a little fussy, but with a good understanding of its needs, it’s far from impossible, even for those newer to the propagation game. Think of it as a rewarding project more than a beginner’s cakewalk.
The Best Time to Start
For the highest success rates with Rauhia decora, aim for spring or early summer. This is when the plant is in active growth. It has the energy to push out roots and adapt to its new surroundings more readily. You can certainly try it at other times, but you’ll likely see more vigorous rooting if you give it the warmth and longer daylight hours of the warmer months.
Supplies You’ll Need
Gathering your tools before you begin always makes the process smoother. Here’s what I like to have on hand:
- Sharp, clean pruning shears or a knife: For making clean cuts.
- Potting mix: A well-draining mix is crucial. I often use a blend of a good quality houseplant soil with some perlite or orchid bark for extra aeration.
- Small pots or propagation trays: Choose containers with drainage holes.
- Rooting hormone (optional but recommended): This can give your cuttings a significant boost.
- Plastic bag or propagation dome: To create a humid environment.
- Watering can or spray bottle: For gentle watering.
- Labels: Trust me, you’ll thank yourself later!
Propagation Methods
I find two methods work wonderfully for Rauhia decora: stem cuttings and division.
Stem Cuttings
This is my go-to method for increasing my collection quickly.
- Take the Cutting: Using your clean shears, select a healthy, mature stem. Look for one that has at least 2-3 sets of leaves. Cut just below a leaf node (where the leaf attaches to the stem). This is where new roots are most likely to form. Aim for cuttings that are about 4-6 inches long.
- Prepare the Cutting: Gently remove the lower leaves from the cutting, leaving just one or two at the very top. This prevents them from rotting in the soil.
- Apply Rooting Hormone (Optional): Dip the cut end of the stem into your rooting hormone, tapping off any excess.
- Plant the Cutting: Fill your small pot with your prepared potting mix. Make a hole with your finger or a pencil, and gently insert the cut end of the stem. Firm the soil gently around the cutting to ensure good contact.
- Water Gently: Water the soil lightly. You want it to be moist, but not waterlogged.
- Create Humidity: Place the pot inside a plastic bag or cover it with a propagation dome. This traps moisture and creates a humid microclimate that cuttings love. Ensure the plastic doesn’t directly touch the leaves.
- Provide Bright, Indirect Light: Place your cuttings in a spot that receives bright, but not direct, sunlight.
Division
If your Rauhia decora has become quite large and is starting to look a bit crowded, division is a fantastic way to get new plants.
- Remove the Plant from its Pot: Gently ease the entire plant out of its container.
- Examine the Root Ball: Gently loosen the soil around the roots. You’ll be looking for distinct sections of the plant that have their own root systems.
- Separate the Divisions: Carefully pull apart the plant at natural separation points. You can also use a clean knife or trowel to help if needed. Each division should have a healthy clump of roots and at least one or two stems.
- Pot Up the Divisions: Plant each division in its own pot filled with fresh potting mix.
- Water Thoroughly: Water each new pot well.
- Place in a Good Spot: Keep them in bright, indirect light.
The “Secret Sauce” (Pro Tips)
Here are a couple of things I’ve learned over the years that really make a difference:
- Bottom Heat is Your Friend: Rauhia decora roots are lazy critters! Providing a little warmth from below, especially for stem cuttings, can significantly speed up root development. A seedling heat mat works wonders here. Just place your pot on top of it.
- Don’t Drown Your Cuttings: This is probably the most common mistake. Cuttings don’t have established roots to take up much water. It’s far better to err on the side of slightly dry than constantly soggy. Allow the top inch of soil to dry out between waterings.
- Patience with Leaf Rot: If the lower leaves on your stem cuttings start to look a bit sad or rot, don’t despair immediately. Sometimes they’re just sacrificing themselves to fuel root growth. Remove them as soon as you notice them going brown and mushy to prevent spreading any nastiness.
Aftercare & Troubleshooting
Once you see signs of new growth – tiny leaves emerging or you feel a gentle tug when you carefully inspect the roots – congratulations! This means your cutting or division has successfully rooted.
Continue to keep the soil consistently moist but not soggy. Gradually reduce the humidity by opening up your plastic bag or dome a little more each day until it’s completely removed. You can now transition your new plant to a slightly larger pot if needed.
The biggest issue you’ll likely encounter is rot, often due to overwatering or poor drainage. You’ll see stems turning mushy and black. If this happens, act fast. Try to salvage any healthy parts, remove the rotted bits, and repot in fresh, dry soil. Sometimes, adding more perlite to your mix can help prevent this in the future.
A Little Encouragement to Grow On
Propagating plants is a beautiful journey of learning and patience. Not every cutting will make it, and that’s perfectly okay! Celebrate the successes, learn from the failures, and most importantly, enjoy the process of nurturing life. Your Rauhia decora family will be thriving before you know it. Happy gardening!
Resource:
https://identify.plantnet.org/k-world-flora/species/Rauhia%20decora%20Ravenna/data