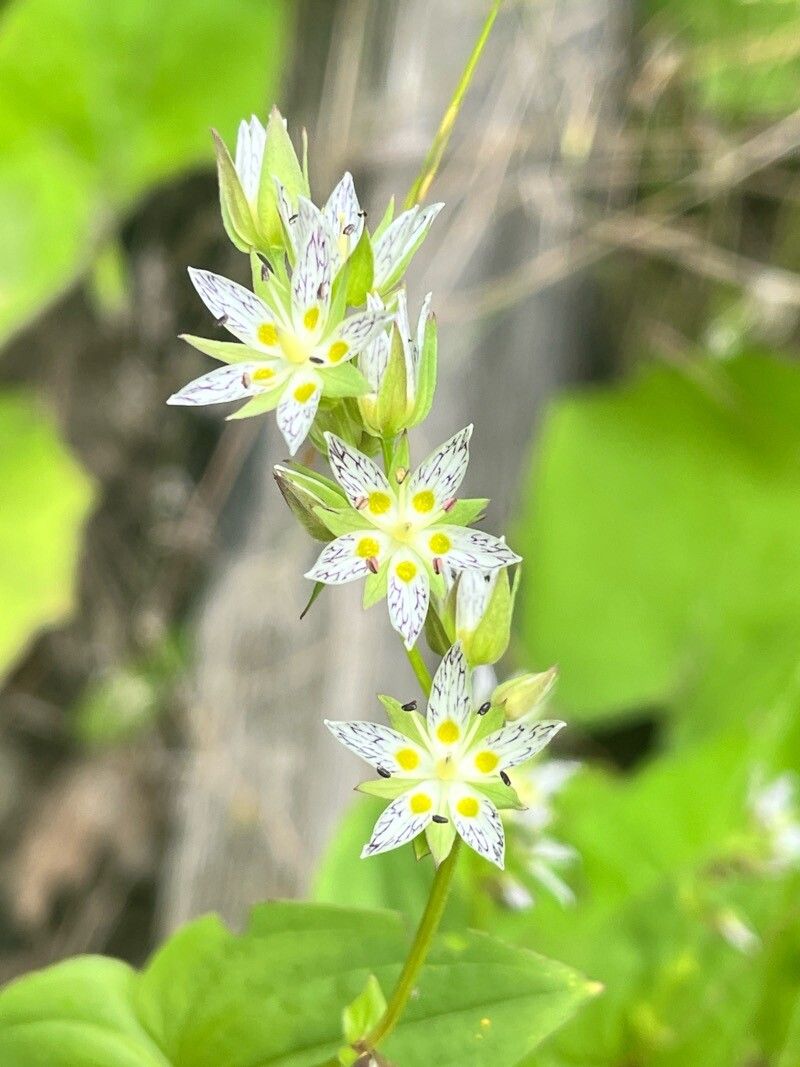
Oh, Swertia cordata! What a gem. If you’ve ever admired its delicate star-shaped flowers, a lovely shade of pale blue or violet, and thought, “I wish I had more of those,” you’re in the right place. And the good news is, propagating it is wonderfully rewarding, though it can be a touch finicky for absolute beginners. But don’t let that deter you! With a little patience and some insider know-how, you’ll be well on your way to a whole patch of these beauties.
Getting Started: When to Make Your Move
The best time to propagate Swertia cordata is generally in late spring or early summer, just as the plant is entering its active growing season. This is when it has the most energy to dedicate to producing new roots and shoots. You want to work with healthy, vigorous stems that haven’t yet flowered. Think bright, green growth, not woody old stems.
What You’ll Need to Get Going
Gathering your supplies beforehand makes the whole process so much smoother. Here’s what I usually have on hand:
- Sharp pruning shears or a clean, sharp knife: For making clean cuts.
- Small pots or trays: About 3-4 inches in diameter is perfect. Make sure they have drainage holes!
- A good quality potting mix: I like a light, well-draining blend. A mix of peat moss, perlite, and a little compost works wonders. You can also get specific seed-starting or propagation mixes.
- Rooting hormone (optional but recommended): This can give your cuttings a significant boost. Look for one that’s suitable for herbaceous cuttings.
- A watering can with a fine rose or a spray bottle: For gentle watering.
- Plastic bags or a propagator lid: To create a humid environment.
Bringing New Swertia to Life
Swertia cordata is usually propagated from stem cuttings. It’s my go-to method for this plant, and it usually yields the best results.
- Select your cuttings: Find a healthy, non-flowering stem. Cut a piece that is about 4-6 inches long. Make your cut just below a leaf node. A leaf node is that little bump on the stem where a leaf grows from – roots love to form there!
- Prepare the cutting: Gently strip off the lower leaves from the bottom half of the cutting. You want to leave just 2-3 leaves at the very top. This prevents the leaves from rotting when they’re buried or in water.
- Dip in rooting hormone: If you’re using rooting hormone, dip the cut end of the stem into it. Tap off any excess powder so you have a thin, even coating.
- Pot them up: Fill your small pots with your chosen potting mix. Make a hole in the center of the soil with your finger or a pencil. Gently insert the cut end of the stem into the hole, making sure at least one leaf node is buried. Firm the soil gently around the stem to ensure good contact.
- Water gently: Water the soil thoroughly until it’s moist but not waterlogged. You want the soil to feel like a wrung-out sponge.
- Create humidity: Cover the pot with a plastic bag or place it in a propagator lid. This creates a mini-greenhouse effect, keeping the humidity high and preventing the cuttings from drying out. Prop up the bag with a couple of stakes if it touches the leaves.
My “Secret Sauce” Tips
Over the years, I’ve learned a few tricks that seem to make all the difference.
- Bottom heat is your friend! If you have a heat mat designed for seedlings or cuttings, placing your pots on it can speed up root development significantly. The warmth encourages root growth from below.
- Cleanliness is crucial. Always use sterile tools and pots. Rot is the enemy of propagation, and a clean start helps prevent it. A quick rinse of your pots and a wipe-down of your shears with rubbing alcohol is a good habit.
Nurturing Your New Shoots
Once your cuttings have rooted – you’ll know this when you see new leaf growth or when they resist a gentle tug – it’s time for a little extra care.
- Gradually acclimate them: Once they are well-rooted, slowly remove the plastic covering over a week or so. This helps them adjust to lower humidity.
- Keep them moist: Continue to water them when the top inch of soil feels dry. They’re still young and a bit delicate.
- Watch out for rot: The most common issue is rot, which usually happens if the soil is too wet or the humidity is too high for too long. If you see stems turning mushy and black, it’s likely rot. Unfortunately, there’s not much you can do once it takes hold, so prevention is key. Ensure good air circulation and don’t overwater.
A Season of Promise
Propagating Swertia cordata is a journey, and like all good gardening adventures, it requires a dash of patience. Don’t get discouraged if every single cutting doesn’t make it. Some will inevitably fail, but the ones that thrive will bring you such joy. Enjoy the process of nurturing these new plants, and soon you’ll have more of that beautiful blue in your garden than you can count! Happy propagating!
Resource: