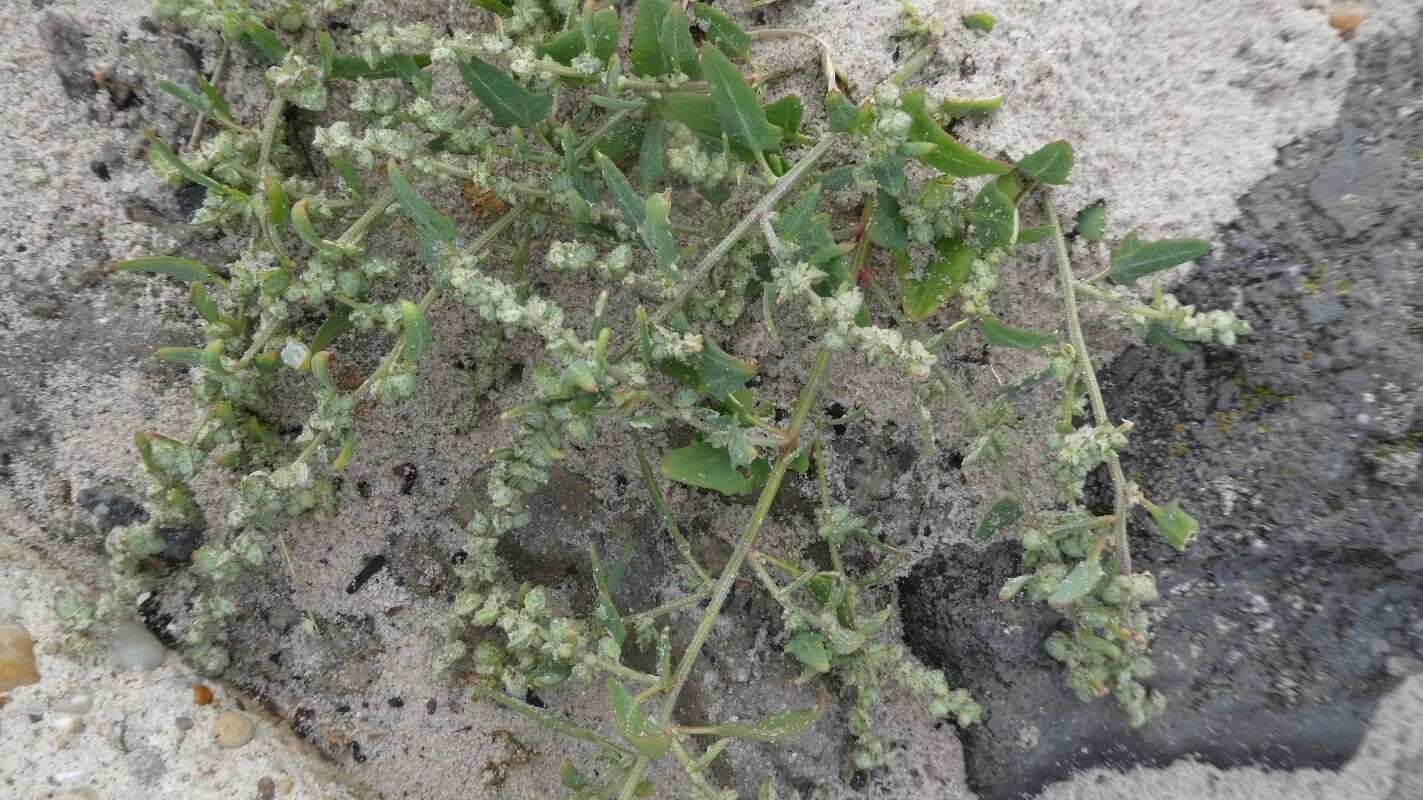
Oh, hello there, fellow plant enthusiast! It’s so good to have you here. Today, we’re diving into the wonderful world of propagating Atriplex glabriuscula, or as some of us lovingly call it, the Orache. This coastal beauty, with its silvery-green leaves and slightly salty charm, really brings a unique texture and resilience to any garden. And the best part? Bringing more of this charming plant into your life by propagating it yourself is incredibly rewarding. Don’t let the botanical name scare you; Orache is actually quite forgiving, making it a lovely plant for beginners eager to try their hand at propagation.
The Best Time to Start
For the highest success rate with Atriplex glabriuscula, I always recommend taking cuttings in late spring to early summer. This is when the plant is in its active growth phase, meaning it has plenty of energy to put into developing new roots. You’ll be looking for those nice, firm, semi-hardwood stems – not the brand new, floppy bits, but also not the woody, mature branches.
Supplies You’ll Need
Gathering your tools beforehand makes the whole process so much smoother. Here’s what I usually have on hand:
- Sharp pruning shears or a clean, sharp knife: For making clean cuts.
- Rooting hormone (optional but recommended): A little boost can really help things along.
- Well-draining potting mix: I like a blend of perlite, peat moss, and a bit of coarse sand. A standard seedling or succulent mix works too.
- Small pots or seed trays: Clean ones, of course!
- Watering can with a fine rose: For gentle watering.
- Plastic bags or a propagator lid: To create a humid environment.
- Labels and a permanent marker: So you don’t forget what you’ve planted!
Propagation Methods
Orache is quite adaptable, and I’ve had great luck with a couple of methods.
Stem Cuttings
This is my go-to for Orache, and it’s surprisingly easy.
- Select your stems: Look for healthy, non-flowering stems that are about 4-6 inches long.
- Make the cut: Using your clean shears or knife, make a cut just below a leaf node (where a leaf attaches to the stem). This is where the magic happens for root formation.
- Prepare the cutting: Gently remove the lower leaves, leaving just a few at the top. This prevents them from rotting in the soil. If the leaves are very large, you can even snip them in half.
- Apply rooting hormone (optional): Dip the cut end into your rooting hormone. You don’t need much, just enough to coat the bottom inch or so.
- Plant the cuttings: Fill your pots with your well-draining mix. Make a small hole in the center with a pencil or your finger and insert the cutting, ensuring the leaf nodes are below the soil surface. Gently firm the soil around it. Don’t overcrowd your pots; give each cutting its own space.
- Water gently: Water thoroughly to settle the soil, but avoid waterlogging.
- Create humidity: Cover the pots with a plastic bag, supporting it with stakes so it doesn’t touch the leaves, or use a propagator lid. This traps moisture and encourages rooting.
- Place in bright, indirect light: Find a warm spot with plenty of light, but out of direct, hot sun.
Once you’ve got your cuttings potted, be patient! Rooting can take anywhere from 3 to 6 weeks, sometimes a bit longer. You’ll know they’re ready when you feel a gentle tug when you try to wiggle them slightly, or better yet, when you see new leaf growth.
Water Propagation (with a caveat!)
While I prefer soil propagation for Orache, you can try water propagation, but with a key adjustment.
- Prepare the cutting: Follow steps 1 and 2 above.
- Remove lower leaves: Essential here, as any submerged leaves will rot.
- Place in water: Put the cuttings in a clean jar or vase of room-temperature water.
- The crucial bit: Ensure no leaves are submerged in the water. This is the biggest mistake people make with water propagation – leaves touching water will rot and can take the whole cutting down with them.
- Change water regularly: Change the water every few days to keep it fresh and prevent bacterial growth.
- Place with light: Similar to soil cuttings, give them bright, indirect light.
- Transplant promptly: Once you see a good root system developing (a few inches long), transplant them into soil as soon as possible. Plants that stay in water too long can struggle to adapt to soil.
The “Secret Sauce” (Pro Tips)
Here are a couple of things I’ve learned over the years that really make a difference:
- Bottom Heat is Your Friend: For stem cuttings, placing your pots on a gentle heat mat can significantly speed up root formation. It mimics the warmth of the soil in summer and gives those roots a lovely cozy environment to develop. Just a mild warmth is perfect.
- Don’t Over-Water (Seriously!): This is a big one for any propagation, and Orache is no exception. Soggy soil is a fast track to rot. The goal is consistently moist, not wet. Feel the soil with your finger; if it feels damp, leave it be. If it feels dry an inch down, then it’s time to water.
Aftercare & Troubleshooting
Once you see signs of new growth or feel that root tug, your little Orache is ready to graduate!
- Gradual Acclimation: If you used
Resource:
https://identify.plantnet.org/k-world-flora/species/Atriplex%20glabriuscula%20Edmondston/data