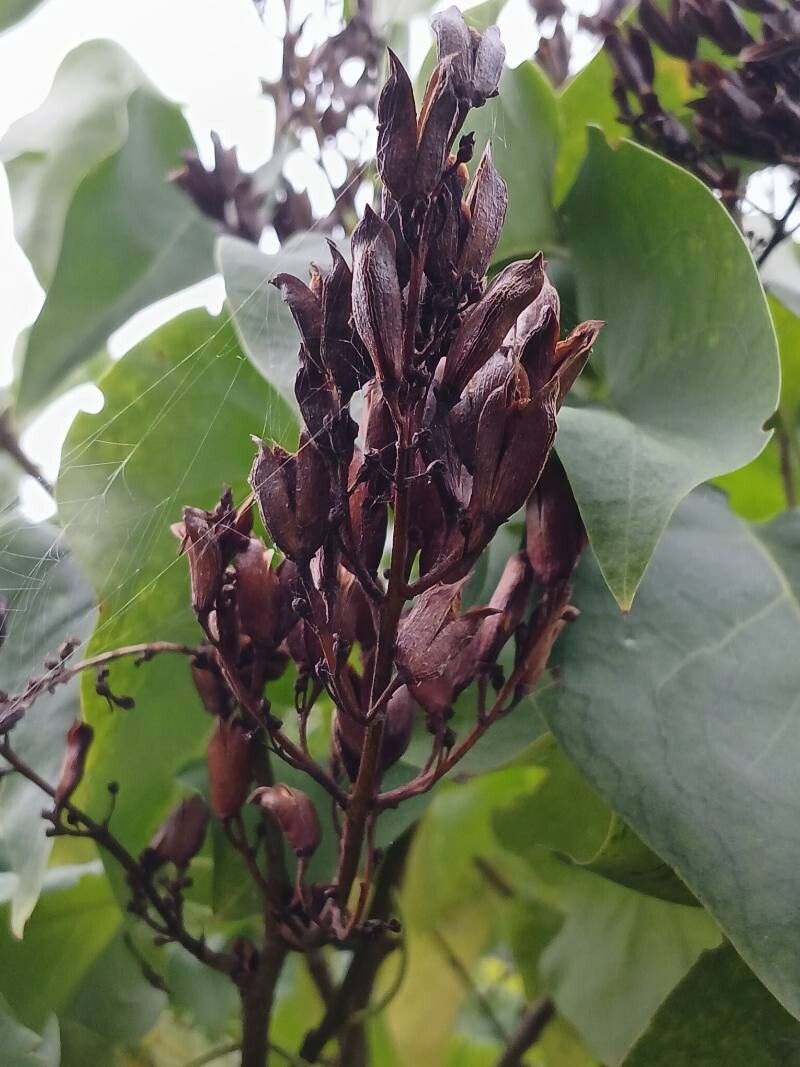
Oh, lilacs! There’s something so utterly magical about them, isn’t there? That intoxicating fragrance, the vibrant panicles of blooms… they’re a true harbinger of spring in so many gardens. And the best part? You can bring that lilac joy to even more corners of your yard by propagating them yourself. It’s incredibly rewarding to nurture a tiny cutting into a full-fledged shrub. Now, for the good news: Syringa vulgaris, the common lilac, is generally quite forgiving, making it a wonderful plant for beginners looking to dip their toes into propagation.
The Best Time to Start
The sweet spot for propagating lilacs from cuttings is typically late spring to early summer. You’re looking for what we call “semi-hardwood” cuttings. This means the stem is starting to firm up after the vigorous new growth of spring but hasn’t fully hardened into old wood. You can test this by gently bending a potential stem; it should snap cleanly, not just flop over.
Supplies You’ll Need
Here’s what I always have on hand when I’m propagating lilacs:
- Sharp, clean pruning shears or a sharp knife: Essential for making clean cuts.
- Rooting hormone: Available powdered or liquid, this really gives your cuttings a boost.
- A well-draining potting mix: I prefer a blend of equal parts peat moss or coco coir and perlite or coarse sand. This ensures good aeration and prevents waterlogging.
- Small pots or propagation trays: Clean ones, of course!
- A plastic bag or dome: To create a humid environment.
- Water: For moistening the soil and misting.
- Labels: So you don’t forget what you planted where!
Propagation Methods
Let’s get our hands dirty!
1. Stem Cuttings (My Favorite for Lilacs)
This is my go-to method for lilacs.
- Take Your Cuttings: In late spring or early summer, select healthy, non-flowering shoots from your lilac plant. Aim for pieces about 4-6 inches long. Make your cuts just below a leaf node (where a leaf attaches to the stem).
- Prepare the Cuttings: Remove the leaves from the bottom half of the cutting. You can also take off the two smallest leaves at the top and pinch off any flower buds – we want all that energy to go into roots, not blooms.
- Dip in Rooting Hormone: Moisten the bottom of each cutting with a bit of water, then dip it into the rooting hormone, tapping off any excess.
- Plant the Cuttings: Fill your pots with your prepared potting mix. Make a small hole in the center of each pot with a pencil or your finger. Gently insert the cuttings, ensuring the rooting hormone-coated end is covered by the soil.
- Water and Cover: Water the soil thoroughly until it drains out the bottom. Then, cover the pot with a plastic bag or propagation dome to maintain high humidity. You can use stakes to keep the plastic from touching the leaves.
- Place in a Bright Spot: Put your pots in a location that receives bright, indirect light. Avoid direct sun, which will scorch your tiny new plants.
2. Division (The Easiest Way)
Lilacs often produce “suckers” or new shoots from the base. This is the most straightforward method if your lilac is already established.
- Dig Gently: In early spring or fall, when the plant is dormant, carefully dig around the base of the lilac.
- Separate the Shoots: Look for established shoots that have their own roots. You can often gently pry these away from the parent plant with your hands or a trowel. If they’re stubborn, use your clean spade or knife to make a clean cut, ensuring each division has roots.
- Replant Immediately: Plant the divisions in their new spots, watering them in well.
The “Secret Sauce” (Pro Tips)
- Bottom Heat is Your Friend: If you’re doing stem cuttings indoors, placing your pots on a heating mat designed for seedlings can dramatically increase rooting success rates. It mimics the warmth of summer soil, encouraging root development.
- Don’t Let Leaves Get Soggy: When you mist your cuttings or water them, try your best to keep the leaves dry, especially if they are covered by plastic. Excess moisture on the leaves can encourage fungal diseases like powdery mildew, which we definitely don’t want!
- Patience with the Parent Plant: When taking cuttings, don’t be tempted to take too many from one branch or one plant. Always leave plenty of healthy foliage on the mother plant so it can continue to thrive and produce more blooms next year.
Aftercare & Troubleshooting
Once your cuttings have started to root – you’ll know when you see new leaf growth or gentle resistance when you tug lightly – it’s time to start weaning them off their humid environment. Gradually open the plastic bag or dome a little more each day over a week. Keep the soil consistently moist but not waterlogged. If you see wilting after it’s been in the high humidity, it might be a sign of too much stress or insufficient roots.
The biggest issue you’ll face is rot. If cuttings turn black and mushy, it usually means they’re getting too much moisture and not enough air. Make sure your soil mix is well-draining and avoid overwatering. If you see signs of mold on the soil, remove the affected parts and ensure good air circulation.
Happy Planting!
Propagating lilacs is a journey, and like all good gardening endeavors, it teaches us patience. Don’t be discouraged if some cuttings don’t make it; that’s part of the learning curve! Celebrate the successes, learn from the challenges, and before you know it, you’ll have more of those beautiful, fragrant lilacs to enjoy. Happy gardening!
Resource:
https://identify.plantnet.org/k-world-flora/species/Syringa%20vulgaris%20L./data