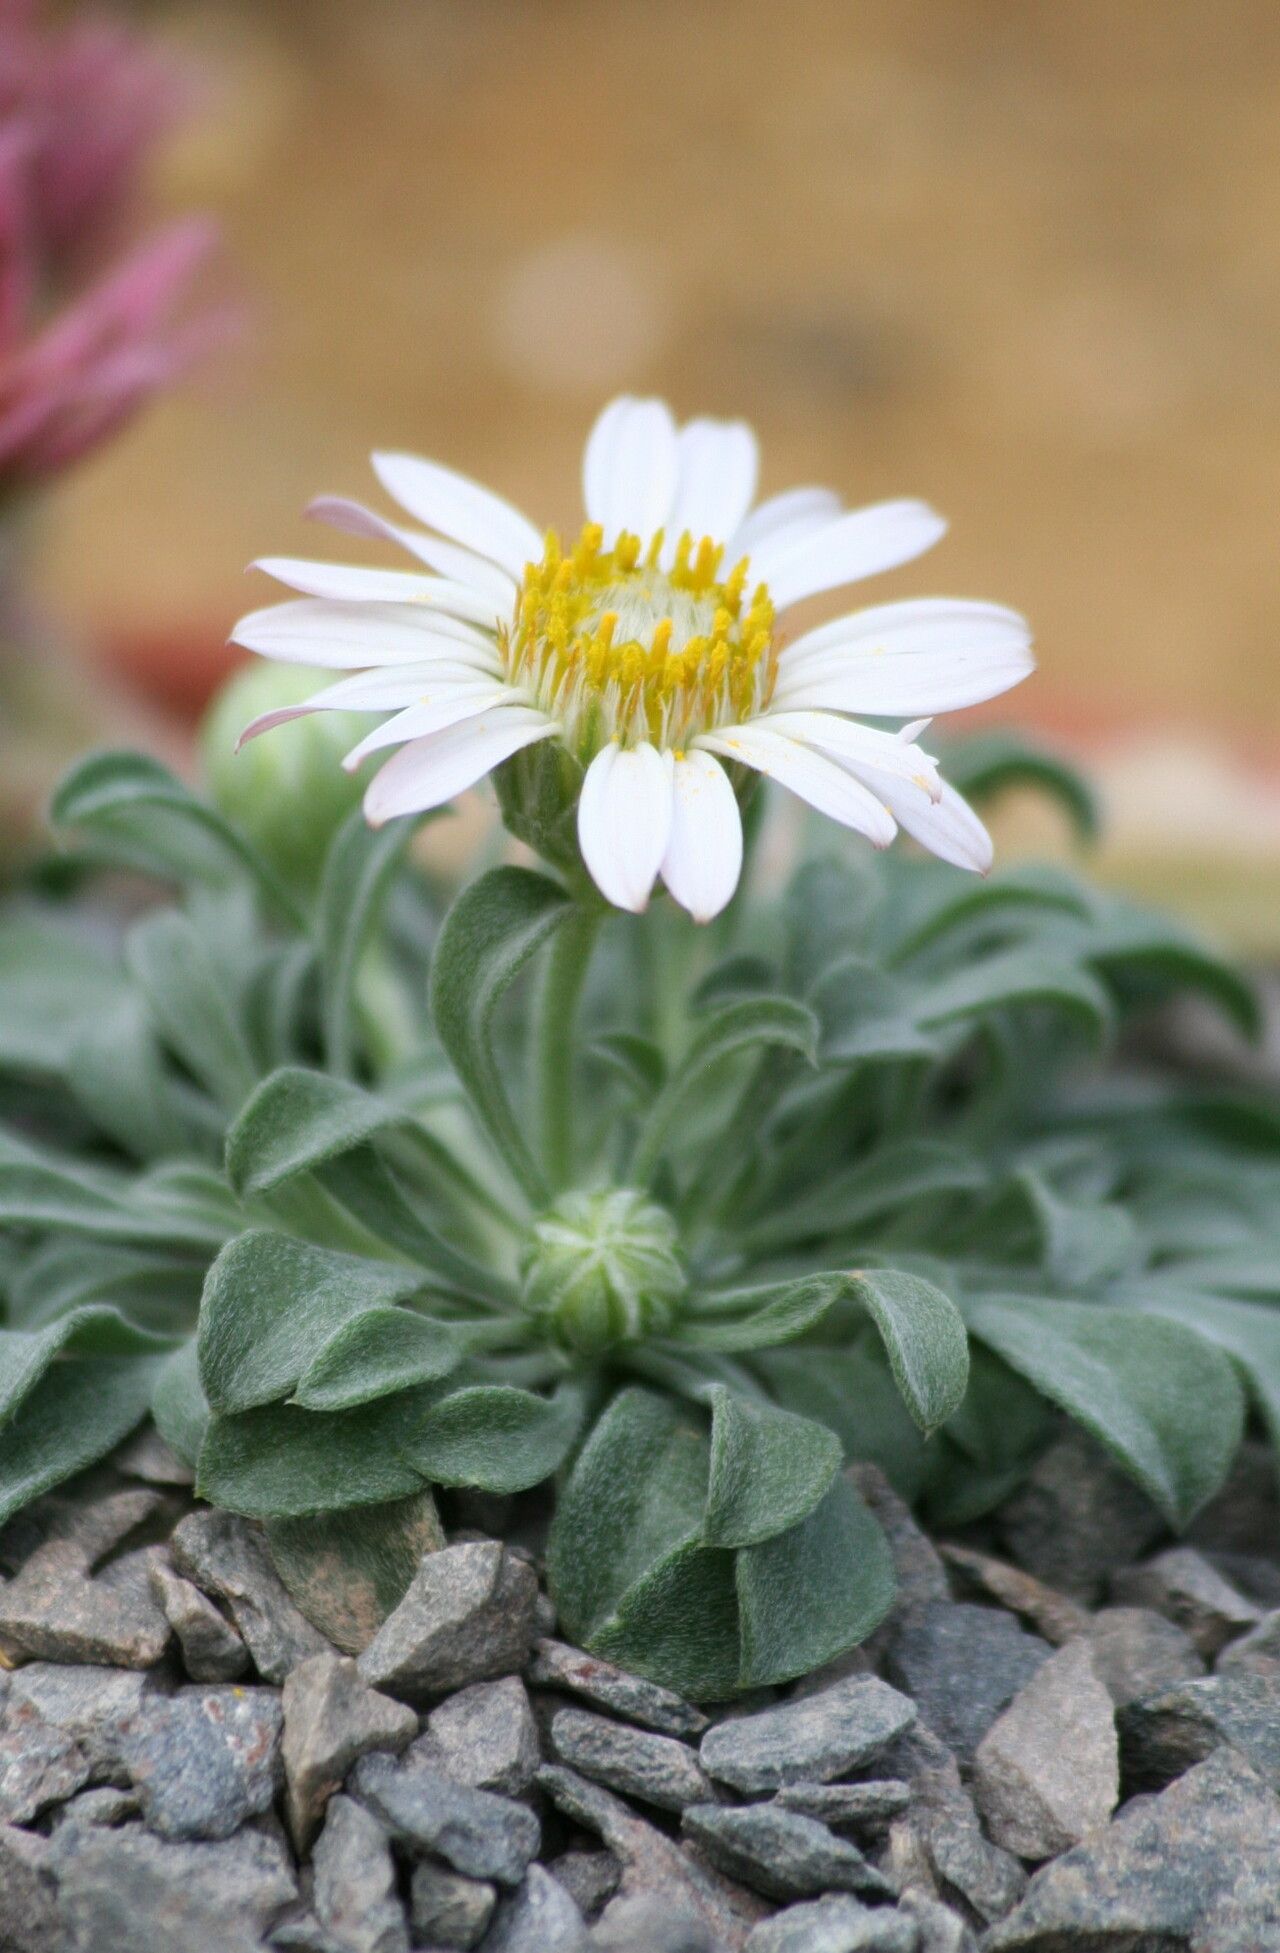
Oh, Townsendia mensana! If you’re looking for a little burst of sunshine for your garden, you’ve found it. These little alpine daisies, often called desert daisies, are just delightful with their cheerful, bright yellow petals. They bring such a lovely pop of color and a touch of the wild west right to our gardens. And honestly, there’s something incredibly satisfying about creating new life from an existing plant. It’s like magic, but the kind you can cultivate. Now, I won’t lie, Townsendia can be a smidge fussy to propagate, so it might not be the absolute easiest plant for a complete beginner, but with a little patience and these tips, you’ll be well on your way!
The Best Time to Start
For Townsendia mensana, I find spring is your golden ticket. This is when the plant is really waking up after its cool-season slumber and has that fresh, vigorous growth. Waiting until after the plant has finished its main bloom cycle, usually in late spring to early summer, is also a fantastic time. You’ll be working with healthy, developing stems that are full of energy and ready to put down roots. Avoid trying to propagate when it’s extremely hot or the plant is stressed.
Supplies You’ll Need
Here’s what I like to have on hand:
- Sharp, clean pruning shears or a sharp knife: For making precise cuts.
- A small trowel or dibber: For making holes in the soil.
- Rooting hormone powder: This is optional but can give you a nice boost, especially with trickier plants. I tend to reach for it for woody-stemmed beauties.
- A gritty, well-draining potting mix: Think cactus and succulent mix, or a blend of equal parts potting soil, perlite, and coarse sand. Good drainage is paramount!
- Small pots or seedling trays: With drainage holes, of course!
- Watering can with a fine rose or a spray bottle: For gentle watering.
- Clear plastic bags or a propagation dome: To create a humid environment for cuttings.
Propagation Methods
Townsendia mensana does best with stem cuttings, and it’s how I’ve had the most consistent success.
Taking Cuttings:
- During your chosen time (late spring to early summer), look for healthy, non-flowering stems.
- Using your sharp pruning shears or knife, take cuttings that are about 2-4 inches long. Make your cut just below a leaf node (where the leaves attach to the stem). This is where the magic happens for root formation.
- Gently remove the lower leaves from the cutting. You want to keep the top couple of sets of leaves, but bare stem at the bottom is what you’ll be planting.
Preparing and Planting Cuttings:
- (Optional) Dip the cut end of the stem into rooting hormone powder. Tap off any excess.
- Fill your small pots or trays with your gritty potting mix.
- Using your dibber or trowel, create a small hole in the soil for each cutting.
- Carefully insert the cut end of the stem into the hole, making sure the bottom leaf nodes are below the soil surface.
- Gently firm the soil around the cutting to ensure good contact.
- Water thoroughly but gently so the soil is moist, not soggy.
The “Secret Sauce” (Pro Tips)
Here’s where things get a little more personal. After years of gardening, you pick up on the little things that make a difference:
- Humidity is Key, But Not Soggy: This is my biggest one. Once you’ve planted your cuttings, place them in a tray covered with a clear plastic bag or a propagation dome. This traps humidity, which is crucial for the cuttings to develop roots before they dry out. However, ensure there’s some air circulation – you don’t want them to sit in stagnant, super-wet air, as that’s an invitation for rot. I often prop open one corner of the bag slightly.
- Bottom Heat Helps: If you can provide a little gentle warmth from below (think a seedling heat mat), it really encourages root development. Townsendia appreciates a bit of warmth to get things going, but again, avoid extreme heat that can cook your cuttings. Aim for consistently mild temperatures.
Aftercare & Troubleshooting
Once your cuttings are planted and under cover, place them in a spot with bright, indirect light. Direct sun can scorch them. Continue to keep the soil consistently moist but not waterlogged.
You’ll start to see new leaf growth or feel a gentle tug when you try to wiggle the cutting – that’s your sign of successful rooting! This can take anywhere from 4 to 8 weeks, or sometimes even longer, so patience is truly a virtue here.
The biggest thing to watch out for is rot. If you see stems turning mushy, black, or smelling funky, it’s usually a sign of too much moisture and not enough airflow. Unfortunately, with soft cuttings, rot is often game over. If you catch it early, you might be able to save a section, but it’s best to start fresh if it’s widespread. Overwatering is the most common culprit, so err on the side of caution.
A Encouraging Closing
Propagating Townsendia mensana might take a little bit of effort, but the reward of seeing those little daisies multiplying in your garden is worth every bit of it. Don’t be discouraged if your first few attempts aren’t perfect. Gardening is all about learning and experimenting. Enjoy the process of nurturing those tiny cuttings, and soon you’ll have even more of these little rays of sunshine to share! Happy growing!
Resource:
https://identify.plantnet.org/k-world-flora/species/Townsendia%20mensana%20M.E.Jones/data