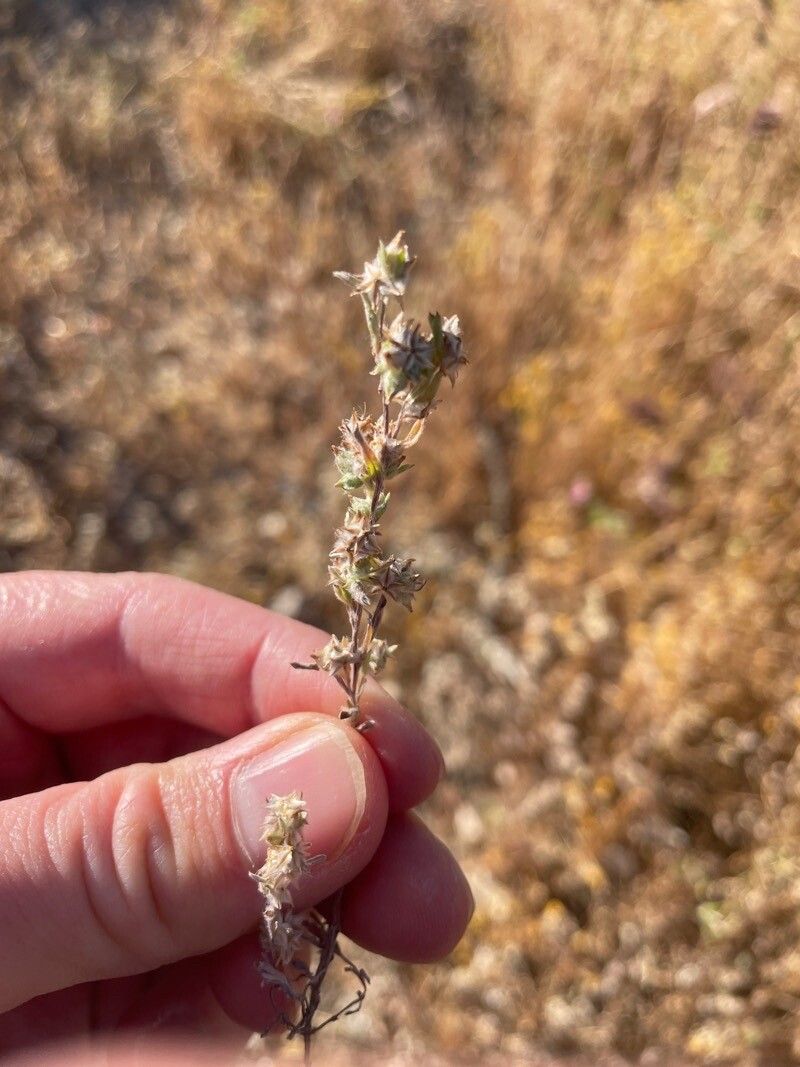
Hey there, garden friends! Pull up a chair and let’s chat about a truly special California native: Calycadenia multiglandulosa, often charmingly called sticky gumweed. Those dainty, sunshine-yellow daisy-like blooms are an absolute delight in the late summer and fall garden, attracting all sorts of pollinators. And the best part? It’s surprisingly rewarding to bring more of these beauties into your life by propagating them. Now, for beginners, I’d say Calycadenia falls into the “worth a try, but maybe not your very first plant” category. It’s not overly complicated, but it does appreciate a bit of specific care.
The Best Time to Start
My sweet spot for propagating Calycadenia is late spring to early summer. This is when the plant is actively growing and has plenty of fresh, young material to work with. You want to take cuttings from stems that are firm but still a bit flexible – not woody, and definitely not floppy and new.
Supplies You’ll Need
Gathering your supplies beforehand makes the whole process much smoother. Here’s what I like to have on hand:
- Sharp, clean pruning shears or a craft knife: Essential for making clean cuts.
- Rooting hormone (optional, but recommended): A powder or gel that encourages root development.
- A well-draining potting mix: I typically use a blend of equal parts perlite, coco coir, and a little bit of compost. You can also find pre-made cactus or succulent mixes.
- Small pots or trays: Clean containers with drainage holes are a must.
- A spray bottle: For misting.
- Plastic bags or a propagator lid: To create a humid environment.
Propagation Methods
For Calycadenia multiglandulosa, I find stem cuttings to be the most reliable method.
- Take Your Cuttings: With your clean shears, carefully snip 3-4 inch lengths from the tips of healthy stems. Look for those semi-firm, non-flowering shoots. Make your cut just below a leaf node – where a leaf joins the stem. This is a prime spot for roots to emerge.
- Prepare the Cuttings: Gently remove the lower leaves from the cutting, leaving just a few at the very top. This prevents them from rotting when you insert the cutting into the soil. If your stems are particularly sticky (hence the name!), you might want to wear gloves.
- Apply Rooting Hormone (if using): Dip the cut end of the stem into your rooting hormone, tapping off any excess.
- Plant Your Cuttings: Fill your clean pots with your prepared potting mix. Moisten the mix so it’s damp but not waterlogged. Make small holes in the soil with your finger or a pencil. Insert the cuttings into these holes, ensuring the lower leaf nodes are buried. Gently firm the soil around the base of each cutting.
- Create Humidity: Water the soil very lightly, just enough to settle it in. Then, place the pots into a plastic bag or cover them with a propagator lid. This creates a mini-greenhouse effect, which is crucial for cuttings.
The “Secret Sauce” (Pro Tips)
Here are a couple of things I’ve learned over the years that really boost success with Calycadenia:
- Think “Airflow, Not Soggy Bottoms”: Even though we’re creating humidity, drainage is paramount. Don’t let your pots sit in standing water. If you see condensation building up heavily inside the plastic bag, open it up for a few hours to let them breathe. Overwatering is the quickest way to invite rot.
- Consider Bottom Heat: If you have a propagation mat or can place your pots on a slightly warm surface (like near an appliance that generates gentle heat), it can make a world of difference. This warmth encourages root development from the bottom up.
Aftercare & Troubleshooting
Once your cuttings are planted and happy under their humidity dome, patience is key! Check your cuttings every few days. You’re looking for any signs of life.
- Rooting: After about 4-6 weeks, you should start to see new growth or feel a gentle resistance when you lightly tug on a cutting. If they feel firm and have new leaves, they’ve likely rooted!
- Acclimation: Once rooted, slowly acclimate them to open air. Gradually increase the time they are exposed to ambient humidity over a week or so, before removing the bag or lid completely.
- Watering: Water lightly when the top inch of soil feels dry.
- Troubleshooting: The most common issue is rot. If your cutting turns black and mushy, it’s likely succumbed to rot. This usually means it was too wet or didn’t have enough airflow. Don’t be discouraged! Just discard the failed cutting and try again with a fresh one.
A Encouraging Closing
Propagating plants is such a rewarding journey. It’s a wonderful way to share the beauty of your garden and connect with nature on a deeper level. Be patient with your Calycadenia cuttings, offer them a little extra care, and soon you’ll be enjoying even more of those cheerful, golden blooms. Happy gardening!
Resource:
https://identify.plantnet.org/k-world-flora/species/Calycadenia%20multiglandulosa%20DC./data