Hello, fellow garden enthusiasts! It’s so lovely to have you here, ready to dive into the wonderful world of growing new plants. Today, we’re going to talk about a truly special tree, Celtis tournefortii, often known as the Golden Chain Hackberry or Mediterranean Hackberry. Its elegant, cascading branches adorned with lovely golden autumn color make it a real showstopper. And the best part? You can easily bring more of this beauty into your garden by propagating it yourself! Don’t worry if you’re new to this; propagating Celtis tournefortii is quite forgiving, and I’m here to guide you every step of the way.
The Best Time to Start
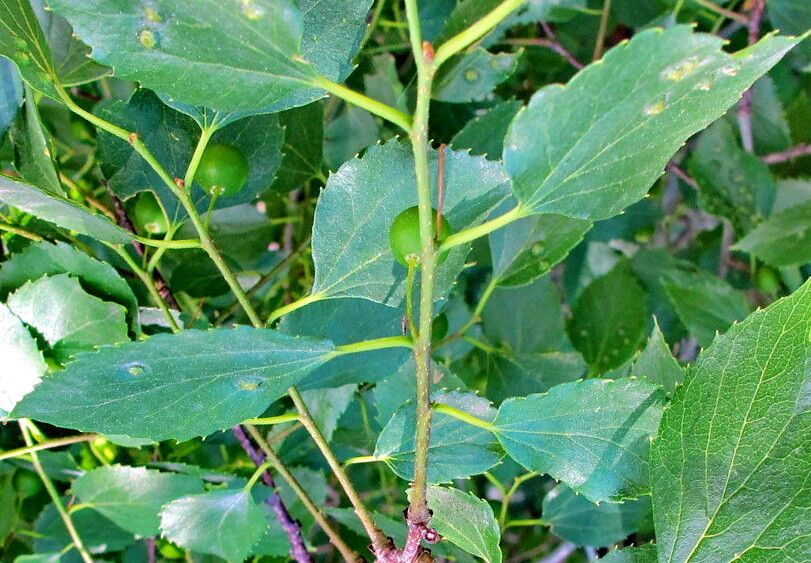
For the highest success rates with Celtis tournefortii, late spring to early summer is your golden window. This is when the plant is actively growing, and your cuttings will have the energy they need to develop roots. Aim for cuttings taken from new, semi-hard wood – it’s not too soft and green, nor is it old and woody. You’ll be able to tell by how the stem bends; it should be flexible but not floppy.
Supplies You’ll Need
Here’s what you’ll want to have on hand to make propagation a breeze:
- Sharp, clean pruning shears or a sharp knife: For making clean cuts.
- Rooting hormone (optional but recommended): Powder or gel formulations work well.
- Well-draining potting mix: A good blend for cuttings usually involves peat moss or coco coir, perlite, and a bit of sand.
- Small pots or trays: Clean ones, of course!
- Plastic bags or a propagation dome: To create a humid environment.
- Watering can with a fine spray: To water gently.
- Rubbing alcohol: For sterilizing your tools.
Propagation Methods
Let’s get our hands dirty with the most common and effective ways to multiply your Celtis tournefortii.
Stem Cuttings
This is my go-to method for Celtis tournefortii, and it’s quite reliable.
- Select your stems: Find healthy, vigorous shoots on your established tree. You’re looking for those semi-hardwood pieces I mentioned earlier.
- Take your cuttings: Using your clean shears, cut lengths of about 4-6 inches. Make the cut just below a leaf node (where a leaf attaches to the stem). This is where the magic of rooting often happens.
- Prepare the cuttings: Gently remove the leaves from the bottom two-thirds of the cutting. You can leave one or two leaves at the top to help with photosynthesis, but trim any large leaves in half to reduce water loss.
- Apply rooting hormone: Lightly dip the cut end of each cutting into your rooting hormone, tapping off any excess.
- Plant your cuttings: Fill your clean pots with your well-draining potting mix. Make a hole in the center with your finger or a pencil, and insert the cutting. Gently firm the soil around it.
- Create humidity: Water the soil gently until it’s moist but not soggy. Then, cover the pot with a plastic bag, propped up with stakes so it doesn’t touch the leaves, or place it under a propagation dome.
Water Propagation (Less Common for Trees, but Worth a Try)
While not as primary for trees, some gardeners have success with water.
- Take your cuttings: Follow steps 1-3 from the stem cutting method.
- Place in water: Find a clean glass or jar and fill it with fresh water. Place your prepared cuttings in the water, ensuring no leaves are submerged. You might need to remove more lower leaves for this.
- Change water regularly: Change the water every few days to keep it fresh and prevent rot.
The “Secret Sauce” (Pro Tips)
Here are a couple of tricks I’ve learned over the years that can really boost your success rates:
- Bottom Heat is Your Friend: If you can provide a gentle warmth from below, say with a seedling heat mat, it encourages root development much faster. Just place your pots on the mat within their humid environment.
- Don’t Drown Your Cuttings: While humidity is key, overwatering is the enemy. Soggy soil is a sure way to invite rot. Feel the soil; if it feels damp, wait to water. The plastic bag should mostly keep things moist inside.
Aftercare & Troubleshooting
Once you start seeing new growth, it means roots are forming!
- Gradually Acclimate: Once roots are established (you might see them peeking out the drainage holes or feel resistance when gently tugging), slowly reduce the humidity. Open the plastic bag a little each day for a week or so.
- New Potting: Once your cuttings are well-rooted and you’ve acclimated them, you can transplant them into their own small pots. Continue to keep them in a bright spot with indirect light and ensure the soil stays consistently moist.
- Signs of Trouble: The most common issue is rot. You’ll notice cuttings turning black and mushy. This is usually due to too much moisture and not enough air circulation. If you see this, unfortunately, it’s best to discard the affected cutting and review your watering and humidity levels for the remaining ones. Yellowing leaves can sometimes mean they need a bit more light, but don’t rush them into direct sun.
Growing new plants is such a rewarding journey. It teaches you patience and observation, and there’s nothing quite like the thrill of seeing a tiny cutting develop into a thriving plant. Don’t be discouraged if not every cutting makes it. Gardening is a process of learning and adapting. Just keep trying, enjoy the magic of growth, and soon you’ll have a whole grove of Celtis tournefortii to share! Happy propagating!
Resource:
https://identify.plantnet.org/k-world-flora/species/Celtis%20tournefortii%20Lam./data