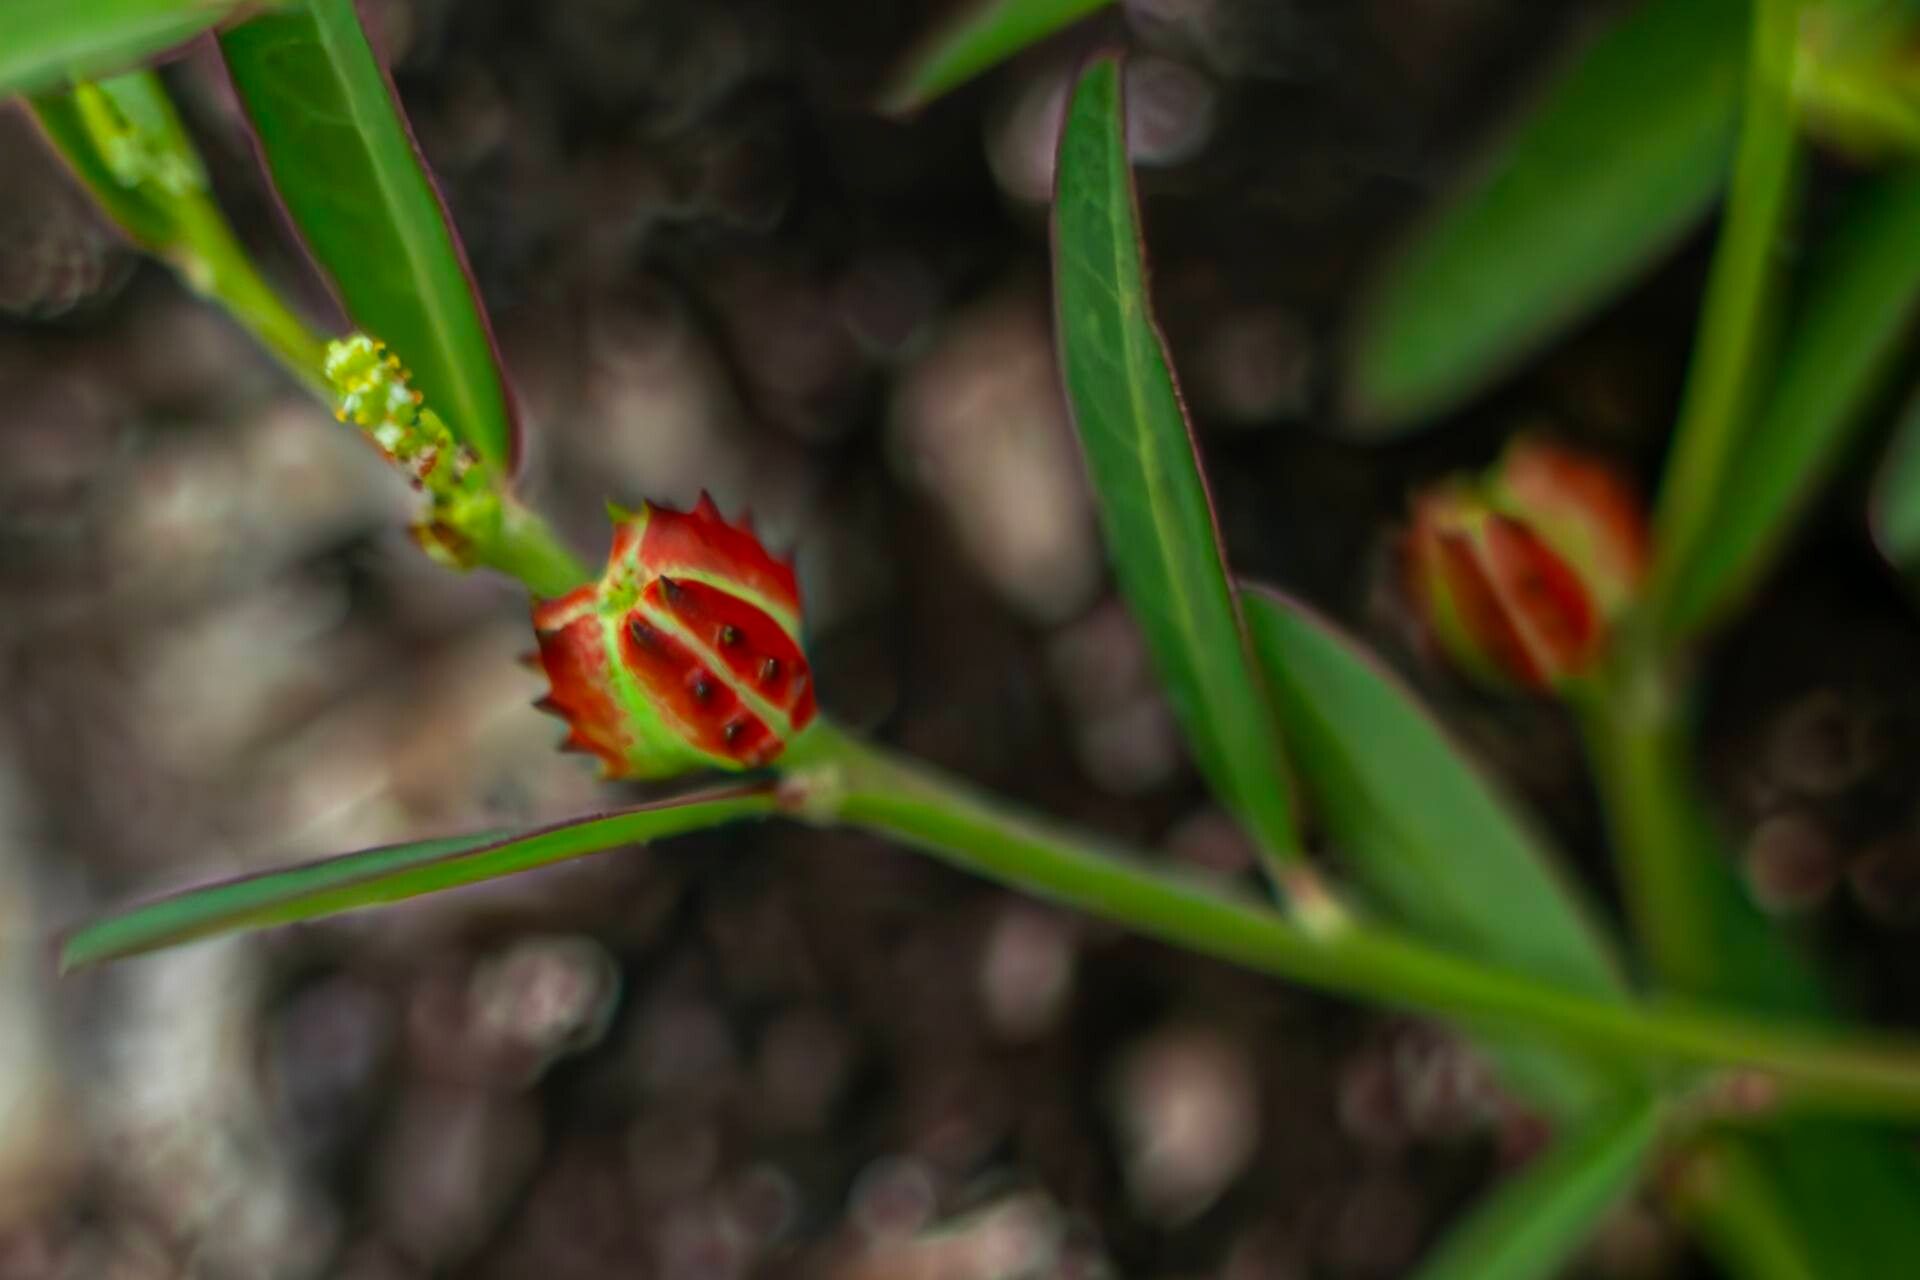
Hey there, fellow garden enthusiasts! I’m so excited to chat with you today about a real gem in the plant world: Microstachys chamaelea. This little beauty, with its charming foliage and often subtle, delightful blooms, brings a lovely texture and a touch of wildness to any garden space. And the most rewarding part? You can easily bring more of its magic into your life by propagating it yourself! For those of you just starting out, don’t worry one bit. While it can be a little finicky at times, with a bit of patience and the right guidance, propagating Microstachys chamaelea is absolutely within your reach.
The Best Time to Start
When it comes to getting new Microstachys chamaelea babies, spring is truly your golden ticket. Think about it: the plant is just waking up, bursting with new growth and energy. This vigorous stage means cuttings taken now have a fantastic chance of striking root. Late spring, as things are really getting going, is also a prime time. You want to catch it before the intense heat of summer sets in, which can stress delicate new propagations.
Supplies You’ll Need
Gathering your tools beforehand makes the whole process so much smoother. Here’s what I usually have on hand:
- Sharp, clean pruning shears or a razor blade: For making nice, clean cuts that heal well.
- Rooting hormone (optional, but recommended): A little dip can give your cuttings a significant boost. I prefer a powder form for ease of use.
- Well-draining potting mix: A good blend of peat or coco coir, perlite, and some compost works wonders. You want something airy that won’t hold too much moisture.
- Small pots or seed trays with drainage holes: Cleanliness is key here!
- Plastic bags or a clear propagation lid: To create a mini-greenhouse effect.
- A watering can with a fine rose or a spray bottle: For gentle watering.
- Labeling stakes: Because trust me, you’ll forget which is which!
Propagation Methods
Microstachys chamaelea is quite amenable to stem cuttings, which is often the easiest way to go.
Stem Cuttings
- Select your parent plant: Look for healthy, vigorous stems that are not flowering. You want semi-hardwood cuttings, meaning they’re no longer pencil-soft but not woody and mature either.
- Make the cut: Using your sharp shears, take cuttings that are 6-8 inches long. Make the cut just below a leaf node – that little bump where a leaf attaches to the stem. This is where the magic happens and roots are most likely to form.
- Prepare the cuttings: Gently remove the lower leaves, leaving only the top few intact. If you’re using rooting hormone, dip the cut end into it, tapping off any excess.
- Plant your cuttings: Fill your small pots with your prepared potting mix. Make a hole with a pencil or your finger and insert the cuttings, ensuring at least one leaf node is below the soil line. Gently firm the soil around them.
- Water and cover: Water the soil thoroughly but gently until it starts to drain from the bottom. Then, cover the pot with a plastic bag or propagation lid to maintain high humidity. This is crucial!
The “Secret Sauce” (Pro Tips)
Here are a few little tricks I’ve picked up over the years that really seem to help Microstachys chamaelea cuttings thrive:
- The “Heel” Trick: Sometimes, you can get a little piece of the older stem attached when you take your cutting – this is called a heel. If you can get one without damaging the main cutting, it often provides an extra boost for rooting.
- Bottom Heat is Your Friend: If you have the space and inclination, placing your pots on a gentle heating mat can significantly speed up root development. It mimics that lovely warmth underground that encourages roots to explore. Just a mild warmth, nothing too hot!
- Don’t Overcrowd: Give your cuttings a little breathing room. If they’re too close, they’re more prone to fungal issues, and you want those leaves to have good air circulation.
Aftercare & Troubleshooting
Once your cuttings are planted and cozied up in their mini-greenhouses, the waiting game begins! Keep the soil consistently moist but not waterlogged. Check the soil moisture by gently touching the surface; if it feels dry, give it a light watering. You’ll want to ventilate the covers daily for about 5-10 minutes to prevent fungal diseases.
You’ll know your Microstachys chamaelea cuttings are rooting when you see new leaf growth and perhaps a gentle tug on the stem reveals some resistance. This can take anywhere from 4-8 weeks, sometimes longer. Be patient!
The most common issue you’ll encounter is rot. If you see wilting, mushy stems, or a blackening at the soil line, it’s a sign of too much moisture and poor air circulation. Unfortunately, rotten cuttings are usually a lost cause, so it’s best to discard them to prevent it from spreading. Make sure your soil is airy and you’re watering judiciously.
A Gentle Encouragement
Watching a new plant emerge from a tiny cutting is one of the most magical things a gardener can experience. Don’t be discouraged if your first attempt isn’t perfect. Every single plant I’ve ever propagated has taught me something new. Keep trying, observe your plants closely, and most importantly, enjoy the journey. Happy propagating!
Resource:
https://identify.plantnet.org/k-world-flora/species/Microstachys%20chamaelea%20(L.)%20Müll.Arg./data