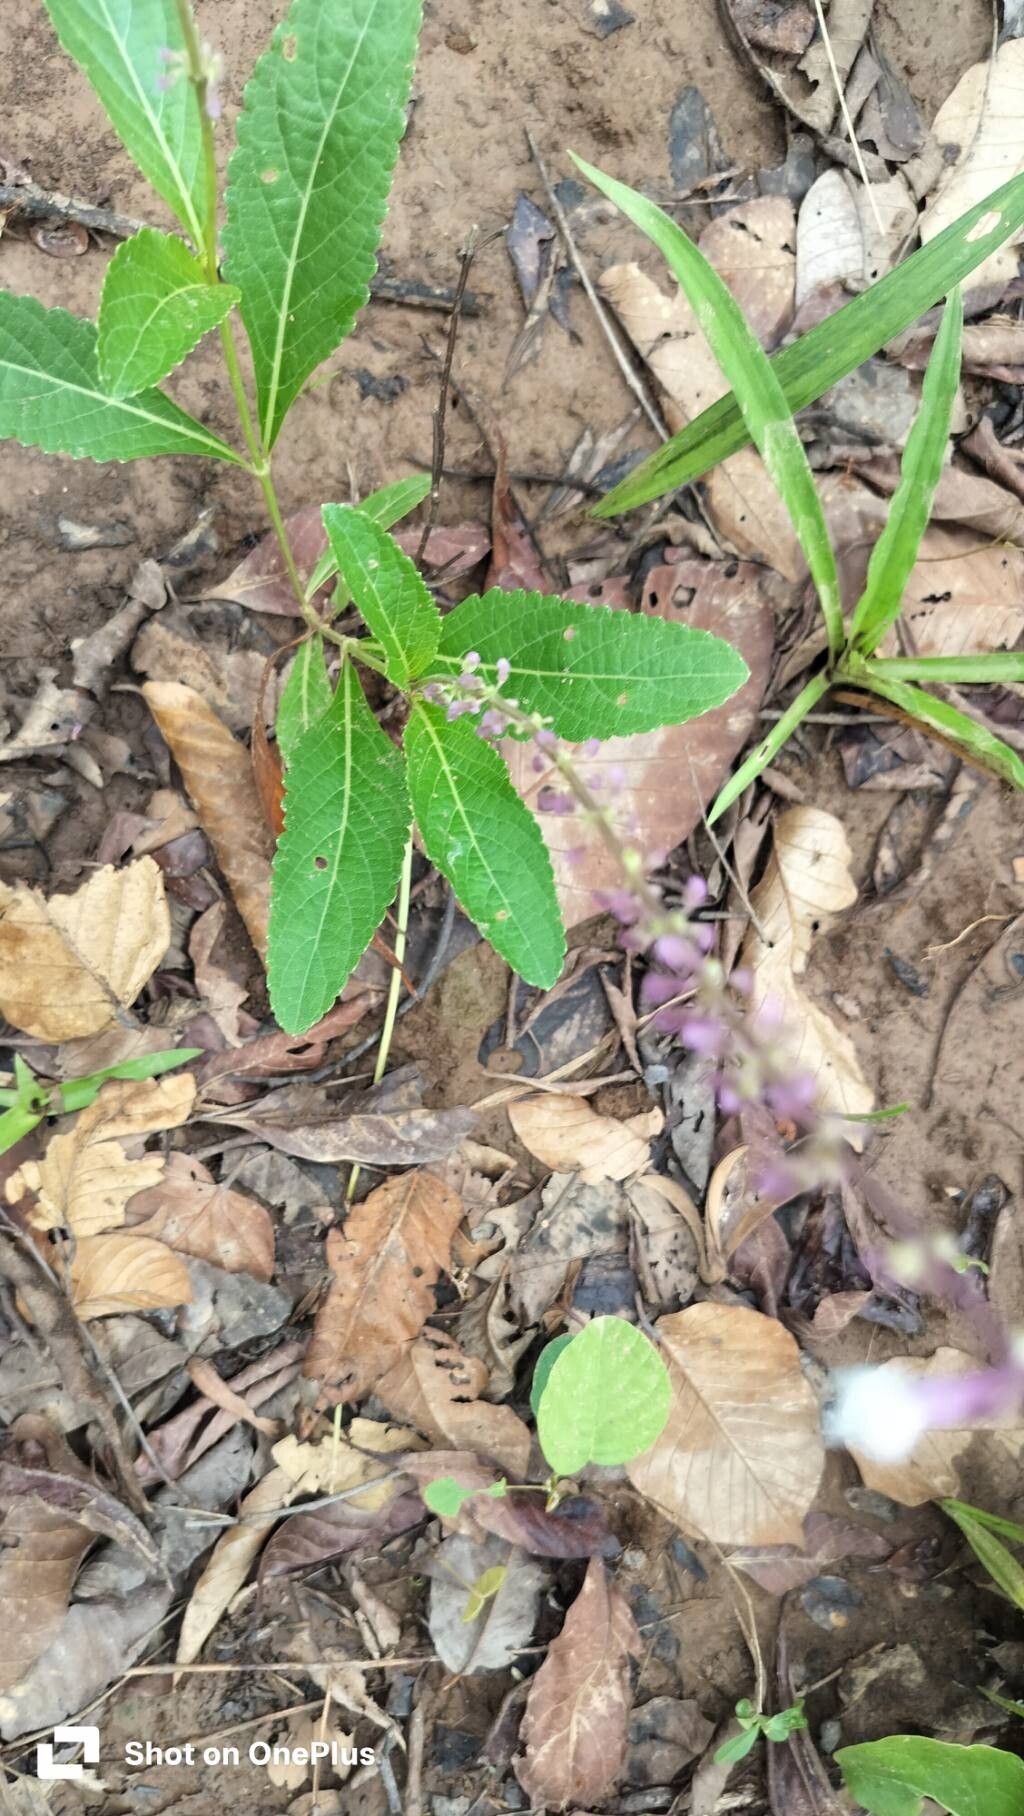
Hello, fellow plant lovers! Today, we’re diving into the delightful world of Orthosiphon thymiflorus, also known as Kidney Weed or Cat’s Whiskers. If you’re drawn to plants with delicate, charming flowers and a generous spirit – this is one you’ll want to get to know better! Its airy blooms are a magnet for pollinators, and honestly, just seeing it cascade in a pot or sprawl in the garden brings a smile to my face. And the best part? Propagating it is surprisingly accessible. I’d say this is a wonderfully rewarding plant for beginners looking to expand their green collection without too much fuss.
The Best Time to Start
For Orthosiphon thymiflorus, you’ll find the best success rate when you propagate during its active growing season. This usually means late spring through mid-summer. These warmer months provide the energy the plant needs to readily form new roots. You can also have good luck in early autumn, especially if you live in a milder climate and can provide a bit of protection from the first frosts. Basically, when the plant is enthusiastically putting out new leafy growth, it’s ready to share!
Supplies You’ll Need
Gathering your tools is half the fun, isn’t it? Here’s what I usually have on hand:
- Sharp pruning shears or a clean knife: For taking clean cuttings.
- Potting mix: A well-draining mix is key. I often use a blend of standard potting soil with perlite or coarse sand added.
- Small pots or seed trays: Whatever you have available, just make sure they have drainage holes.
- Rooting hormone (optional but helpful): A powder or gel can give your cuttings a little boost.
- Plastic bags or a clear propagation lid: To create a humid environment for your cuttings.
- Watering can or spray bottle: For gentle watering.
Propagation Methods
Orthosiphon thymiflorus is a champion of propagation, and I find two methods work beautifully: stem cuttings and water propagation.
Stem Cuttings
This is my go-to method, and it’s incredibly straightforward.
- Take your cuttings: On a healthy, non-flowering stem, use your sharp shears to take a cutting that’s about 4-6 inches long. Cut just below a leaf node (where the leaf meets the stem). This is where roots love to emerge.
- Prepare the cutting: Gently remove the leaves from the bottom half of the cutting. You want to avoid any leaves being buried in the soil or touching the water later.
- Apply rooting hormone (optional): Dip the cut end into your rooting hormone, tapping off any excess.
- Plant your cutting: Fill your small pot with your well-draining potting mix. Make a small hole in the center with your finger or a pencil. Insert the cutting, ensuring the bottom leaf nodes are below the soil line. Gently firm the soil around the stem.
- Water gently: Water thoroughly but gently, allowing excess water to drain away.
- Create humidity: Cover the pot with a plastic bag, propping it up with a stick or two so it doesn’t touch the leaves. Alternatively, use a clear propagation lid. Place the pot in a bright spot out of direct sunlight.
Water Propagation
If you’re feeling extra cautious or just love watching roots grow, water propagation is wonderfully visual!
- Prepare the cuttings: Follow steps 1 and 2 from the stem cutting method.
- Place in water: Find a clean jar or glass. Fill it with clean water. Place your prepared cuttings in the water, ensuring that no leaves are submerged. The leaf nodes you cleared should be the only parts in the water.
- Find a spot: Place the container in a bright spot, away from direct sun.
- Change the water: Change the water every 2-3 days to keep it fresh and prevent bacterial growth. You’ll start to see tiny white roots emerge from the nodes within a few weeks.
The “Secret Sauce” (Pro Tips)
These little tricks have made all the difference for me over the years!
- Don’t let leaves touch the water (for water propagation): This is critical! Submerged leaves will rot quickly, often taking your cutting with them. If a leaf accidentally dips in, trim it off immediately.
- Bottom warmth is your best friend: For stem cuttings, popping them on a heated propagation mat can significantly speed up root formation. It mimics the warmth of summer soil and gives those roots a real nudge.
- Patience is a virtue, and so is misting: If your cuttings are looking a bit droopy, a gentle misting of the leaves can revive them. Just be sure not to overwater the soil, as that’s a fast track to rot.
Aftercare & Troubleshooting
Once you see a good amount of root growth (usually a couple of inches for water propagation, or when the cutting shows signs of new leaf growth for soil propagation), it’s time to move your new plant into its own pot.
- For water-propagated cuttings: Gently plant them into your well-draining potting mix as you would a stem cutting. Water well.
- For soil-propagated cuttings: Continue to keep them in a high-humidity environment until they are actively growing. Water when the top inch of soil feels dry. Gradually acclimate them to lower humidity over a week or two by opening the bag or lid a little more each day.
Common Signs of Failure: The most frequent issue is rot. If your cuttings turn mushy or black, it’s usually a sign of too much moisture and not enough air circulation. If you see this, remove the affected cutting and check the moisture levels of others. Sometimes, they just don’t take – and that’s okay! Gardening is an experiment, and not every attempt is successful.
A Encouraging Closing
Watching a tiny cutting transform into a flourishing plant is one of the most satisfying experiences in gardening. Be patient with your Orthosiphon thymiflorus, trust the process, and don’t be afraid to experiment. Happy propagating, and may your gardens be ever green!
Resource: