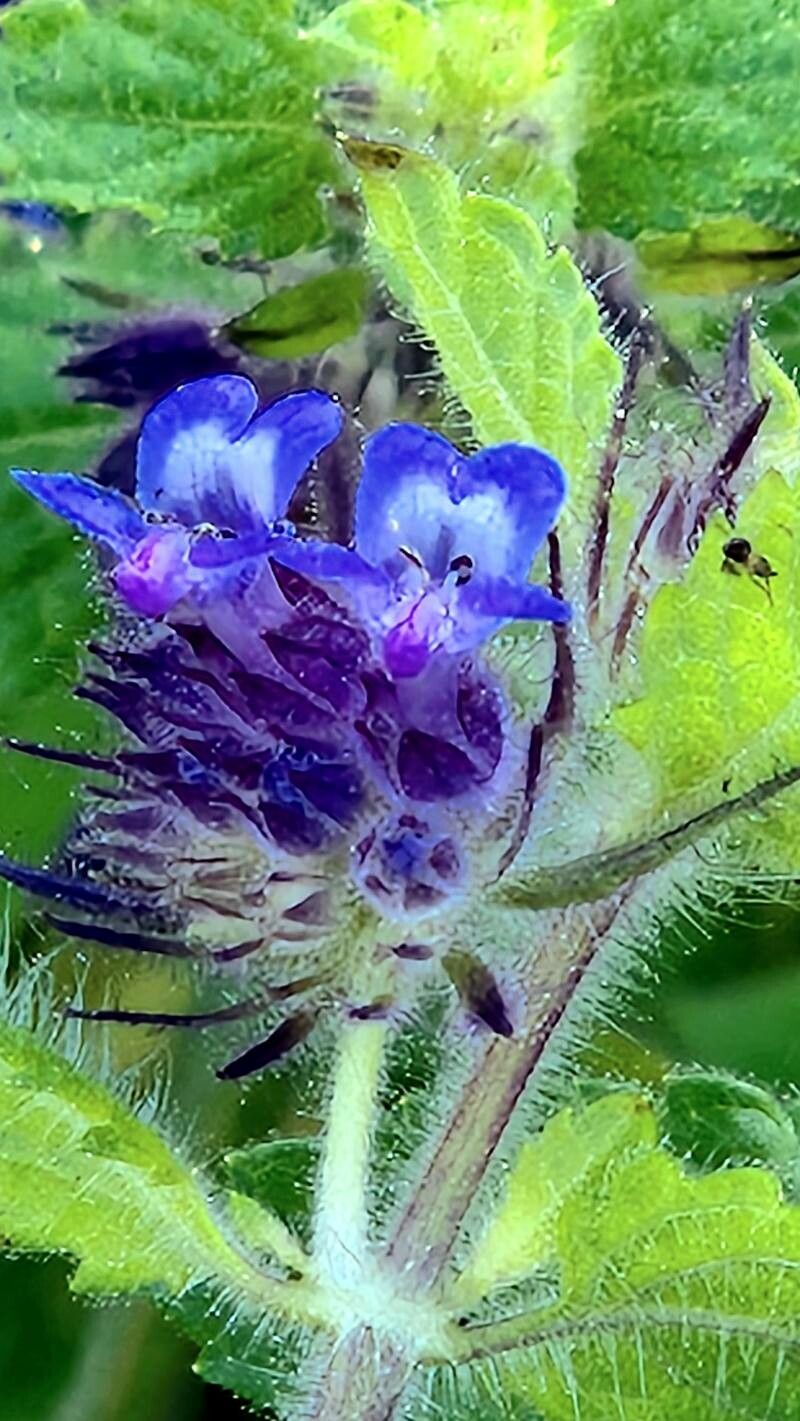
Hello fellow plant lovers! Today, we’re diving into the wonderful world of Marsypianthes chamaedrys. You might know it as the charming “Pincushion Plant” or “Chameleon Plant” for its delightful, almost fuzzy, little blooms that can shift in color. It’s a real statement maker in any garden, and there’s something incredibly satisfying about creating new plants from your existing ones. If you’ve ever admired yours and wished for more, you’re in the right place! While it’s not always the absolute easiest plant for a complete beginner, with a little care and these tips, you’ll be well on your way to success.
The Best Time to Start
For Marsypianthes chamaedrys, spring and early summer are your golden windows. This is when the plant is actively growing and has plenty of energy to put into rooting. You’re looking for stems that are producing new, healthy growth – not old, woody bits. Think of it as catching the plant at its most vigorous!
Supplies You’ll Need
Here’s what you’ll want to have on hand before you begin:
- Sharp, clean pruning shears or scissors: Essential for taking clean cuts.
- Small pots or seed trays: For your new cuttings.
- Well-draining potting mix: I like a blend of peat moss or coco coir with perlite or coarse sand to ensure good aeration.
- Rooting hormone (optional but recommended): This gives your cuttings a little boost.
- Plastic bags or a propagation dome: To create a humid environment.
- Watering can with a fine rose: For gentle watering.
Propagation Methods
Let’s get our hands dirty! I find stem cuttings to be the most effective and straightforward method for Marsypianthes chamaedrys.
Stem Cuttings
- Select your stems: Look for healthy, non-flowering shoots that are about 4-6 inches long. Gently bend a stem; if it snaps cleanly, it’s likely a good candidate.
- Make the cut: Using your sharp tools, make a clean cut just below a leaf node. A leaf node is where a leaf attaches to the stem. This is where the magic of rooting happens!
- Prepare the cutting: Gently remove the lower leaves, leaving just two to four leaves at the top. This prevents them from rotting in the soil.
- Apply rooting hormone (if using): Dip the cut end of the stem into your rooting hormone. Tap off any excess.
- Plant your cuttings: Fill your small pots with your pre-moistened potting mix. Make a small hole with your finger or a pencil and insert the cut end of the stem, firming the soil gently around it.
- Create humidity: Water gently after planting. Then, cover the pot with a clear plastic bag or a propagation dome. This creates a mini-greenhouse, keeping the humidity high, which is crucial for cuttings to root.
The “Secret Sauce” (Pro Tips)
You know, after years of coaxing plants to grow, I’ve picked up a few tricks. Here are a couple that have made a real difference for me with this type of plant:
- Don’t let those lower leaves touch the soil! I know I mentioned it above, but it bears repeating. If the leaves are submerged, they’re just going to rot, and that can spread to the cutting itself. Keep them elevated.
- Bottom heat is your friend. If you have a heating mat designed for seedlings or cuttings, great! Placing your pots on one can significantly speed up rooting, especially if your room temperature is a bit on the cooler side. It encourages root development from below.
Aftercare & Troubleshooting
Once your cuttings are planted and tucked into their humid little homes, patience is key! Keep the soil consistently moist but not waterlogged. You can check the moisture by gently touching the surface of the soil. When you see new growth – tiny leaves unfurling – that’s a very good sign! This usually takes a few weeks.
Once you notice strong new growth and some resistance when you gently tug the cutting, it’s time to start acclimatizing it to normal conditions. Gradually open the plastic bag over a few days before removing it entirely. You can then begin to water it as you would any other young plant.
The most common issue you’ll encounter is rot. If your cuttings turn mushy and black, or start to look sad and wilted, they’ve likely rotted. This is usually due to too much moisture and poor air circulation. Sometimes, it’s just a casualty of propagation, and you’ll need to start again with fresh cuttings. Don’t get discouraged!
So there you have it! Growing more of these beautiful Marsypianthes chamaedrys is an achievable and rewarding endeavor. Remember to choose healthy material, create the right environment, and give them time and care. Happy propagating!
Resource: