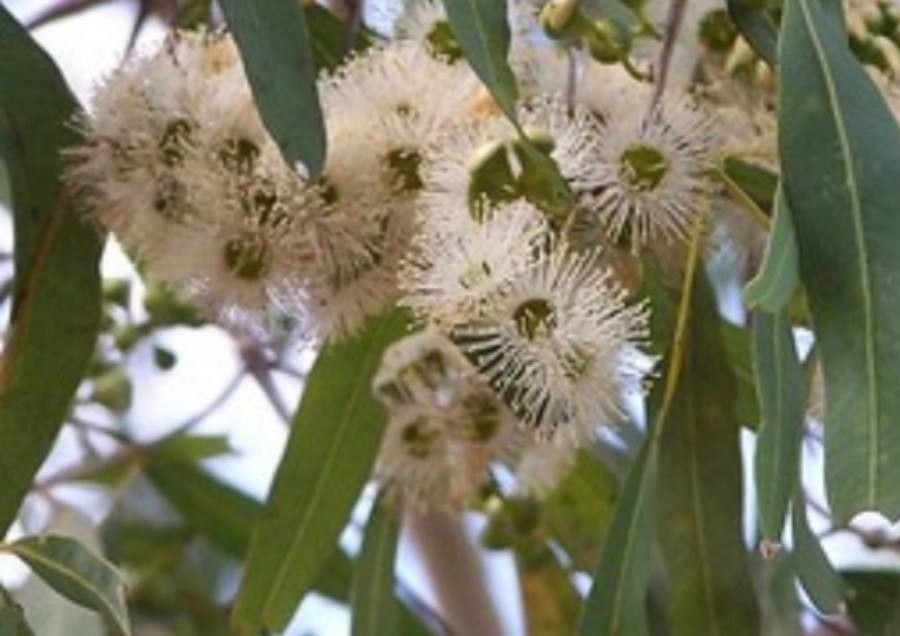
Hey there, fellow garden enthusiasts! Today, we’re going to dive into the wonderfully rewarding world of propagating Corymbia tessellaris, or as it’s more commonly known, the Queensland Bloodwood. If you’ve ever admired its striking tessellated bark, its delicate white flowers, or the way it gracefully attracts local birdlife, you’re not alone. Those of us who’ve grown them know they’re just a special kind of tree, and getting more of them just feels right.
Now, you might be wondering if this is a project for the seasoned pro or if us beginners can give it a whirl. Honestly, Corymbia tessellaris can be a bit of a trickster when it comes to propagation, particularly from cuttings. It’s not the “stick-it-in-dirt-and-hope-for-the-best” kind of plant. But with a little patience and the right approach, it’s definitely achievable, and the joy of watching a tiny cutting develop into a star in your garden is immense.
The Best Time to Start
Timing is everything, isn’t it? When it comes to Corymbia tessellaris, your best bet is to take cuttings during the active growing season. For most of us, that means late spring through summer. You want to be aiming for semi-hardwood cuttings, which are a bit more mature than brand-new, soft growth but not yet woody. Think of it as that perfect moment when a stem is firm but still has a good bit of flexibility.
Supplies You’ll Need
Gathering your tools before you start is half the battle, in my book. Here’s what you’ll want to have on hand:
- Sharp, sterile pruning shears or a sharp knife: Crucial for making clean cuts that heal well. Give them a wipe with rubbing alcohol before you start.
- Potting mix: A well-draining mix is absolutely essential. I like a blend of perlite, coarse sand, and a good quality potting soil – something that won’t hold too much moisture.
- Small pots or trays: About 4-6 inches deep is ideal for encouraging strong root growth. Make sure they have drainage holes.
- Rooting hormone (optional but recommended): A powder or gel will significantly increase your chances of success. Look for one with a medium to high concentration of IBA.
- Plastic bags or a propagator lid: To create a humid environment for the cuttings.
- Bottom heat (optional but very beneficial): A heat mat can make a huge difference in root development.
- Spray bottle: For misting.
Propagation Methods: Stem Cuttings
This is where the magic happens, and for Corymbia tessellaris, stem cuttings are generally the most common and successful method.
- Select your parent plant: Choose a healthy, vigorous specimen. Look for stems that are upright and show good vigor.
- Take the cuttings: Using your sterile shears, cut sections of stem that are between 4 to 6 inches long. Make your cut just below a leaf node (where a leaf attaches to the stem). Try to take several cuttings; it’s a numbers game, and not all will strike!
- Prepare the cuttings: Gently remove the lower leaves, leaving only the top few at the tip of the cutting. This reduces water loss. You can also take your knife and make a shallow slit (about 1 cm) on one or two sides of the bottom of the cutting, where you’ll apply the rooting hormone.
- Apply rooting hormone: Dip the cut end into your rooting hormone, tapping off any excess. This stuff can be a bit dusty, so be judicious.
- Pot them up: Fill your pots with your moistened, well-draining potting mix. Make a hole in the center with a pencil or your finger.
- Insert the cuttings: Place the prepared cuttings into the holes, ensuring the hormone-coated end is well within the mix. Gently firm the soil around them.
- Create humidity: Water the soil gently, then cover the pots with a clear plastic bag or a propagator lid. Make sure the leaves don’t touch the plastic. You want to create a little greenhouse effect.
The “Secret Sauce” (Pro Tips)
You didn’t think I’d leave you without a few insider tricks, did you? Here are a couple of things I’ve learned over the years that can really boost your success with these beauties:
- Bottom heat is your friend: Seriously, if you can get your hands on a heat mat, use it! Corymbia tessellaris roots much better when the soil temperature is consistently warm, around 20-24°C (68-75°F). This encourages root formation from the get-go.
- Don’t be tempted to overwater: This is a common pitfall. While humidity is key, waterlogged soil is a recipe for rot. Stick your finger into the soil – if it feels moist to the second knuckle, you’re probably fine. A light misting from your spray bottle is usually all you need to keep the leaves hydrated inside your propagator.
Aftercare & Troubleshooting
Once your cuttings are potted up and feeling cozy in their humid little homes, the real waiting game begins.
- Patience is key: It can take anywhere from several weeks to a few months for roots to develop. Resist the urge to pull them out and check constantly!
- Check for roots: A gentle tug is your best indicator. If the cutting resists strongly, you likely have roots. You might also see new leaf growth, which is a very good sign.
- Acclimatization: Once you see good root development, it’s time to start acclimatizing them to normal conditions. Gradually increase ventilation by opening the propagator lid or poking a few more holes in the plastic bag over a week or two.
- Troubleshooting: The most common problem you’ll encounter is rot. If a cutting turns black and mushy, it’s a goner. This is usually a sign of too much moisture or poor air circulation. Another sign of failure is wilting that doesn’t perk up even when watered – this usually means the roots haven’t formed or have rotted off. If this happens, don’t despair! Just make a note of what you think went wrong and try again.
A Encouraging Closing
Propagating Corymbia tessellaris might take a bit more care than some other plants, but oh, the satisfaction when you see those tiny roots taking hold! Don’t be discouraged if your first attempts aren’t perfect. Gardening is a journey of learning and experimenting, and each plant teaches us something new. So, grab your shears, get your hands in the soil, and enjoy the process of growing these magnificent Queensland Bloodwoods from scratch. Happy propagating!
Resource: