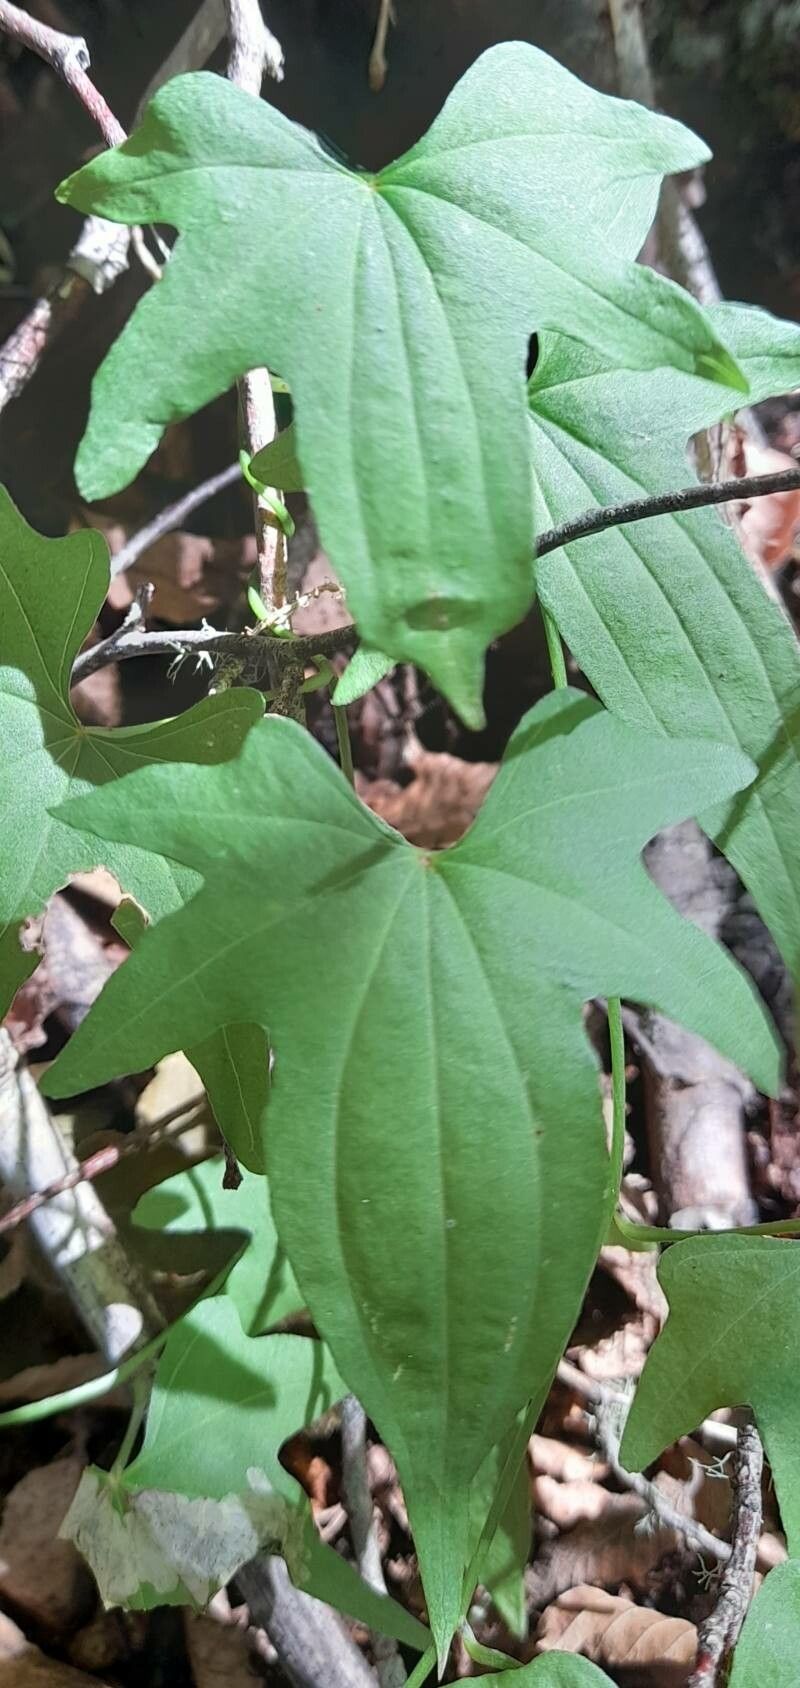
Hello garden friends! If you’ve ever swooned over the lush, almost jungle-like foliage of Dioscorea andina, or maybe its fascinating aerial tubers, you’re in for a treat. Propagating this beauty from your own collection is incredibly satisfying. While it might seem a tad intimidating at first glance, trust me, with a little guidance and patience, you’ll be well on your way to sharing the magic of Dioscorea andina with the world (or just your own garden!). It’s not a difficult plant to propagate, but it does appreciate a bit of understanding.
The Best Time to Start
For the highest success rate, wait until spring when your Dioscorea andina is showing signs of active growth. You’ll see new shoots emerging from the soil or the vines beginning to unfurl. This is when the plant has the energy and resources to put into developing new roots and foliage. Trying to propagate during its dormant period is usually a recipe for disappointment.
Supplies You’ll Need
Here’s what you’ll want to have on hand:
- Sharp pruning shears or a clean knife: For making clean cuts.
- Small pots or propagation trays: With drainage holes, of course.
- A well-draining potting mix: I like a blend of equal parts peat moss, perlite, and coco coir. You can also add a little horticultural charcoal to help keep things fresh.
- Rooting hormone (optional but recommended): A powder or gel form can give your cuttings a helpful boost.
- Plastic bags or a small propagator: To create a humid environment.
- Water: For moistening the soil and for water propagation.
- A marker and labels: To keep track of your projects!
Propagation Methods
Dioscorea andina is wonderfully versatile, and you have a couple of excellent options for making more plants.
Stem Cuttings: The Classic Approach
This is my go-to method for Dioscorea andina.
- Take your cuttings: In spring, select a healthy, non-flowering stem. Using your sharp shears, make a cut just below a leaf node (that’s the little bump where a leaf attaches to the stem). Aim for cuttings that are about 4-6 inches long, with at least two to three leaf nodes.
- Prepare the cuttings: Gently remove the lower leaves from your cutting, leaving only the top one or two. This prevents them from rotting in the soil. If your leaves are quite large, you can even cut them in half to reduce water loss.
- Apply rooting hormone: Lightly dip the cut end of the stem into rooting hormone, tapping off any excess. This step is optional, but I find it speeds things up and increases the success rate, especially for fussier plants.
- Plant your cuttings: Fill your small pots with your prepared potting mix. Make a hole in the center with your finger or a pencil, and gently insert the cutting, ensuring at least one leaf node is buried in the soil. Firm the soil gently around the stem.
- Water and cover: Water the soil thoroughly until it’s moist but not soggy. Then, place the pot inside a plastic bag or propagator, creating a mini greenhouse. This humidity is crucial for preventing the cuttings from drying out.
Separating Tubers (If you’re lucky!)
Sometimes, Dioscorea andina will produce small tubers that can be separated and planted individually.
- Gently unearth: When you’re repotting your plant in spring, carefully inspect the root ball. If you find small, potato-like tubers detached from the main root system, you can separate them.
- Plant the tubers: Plant each tuber about an inch deep in its own pot with well-draining soil.
- Water and wait: Water lightly and keep the soil consistently moist. These often take longer to sprout than stem cuttings, so patience is key!
The “Secret Sauce” (Pro Tips)
Here are a few tricks I’ve learned over the years that make a big difference:
- Bottom heat is your friend: Dioscorea andina loves warmth for root development. Place your pots on a heating mat designed for plant propagation. This gentle warmth from below encourages faster root formation, significantly improving your chances.
- Air circulation is key to preventing rot: While humidity is essential, stagnant air can lead to fungal issues. Ventilate your propagator daily by opening the bag or lid for a few minutes. This allows for fresh air exchange and helps prevent unpleasant surprises like rot.
- Don’t disturb too early: Resist the urge to tug on your cuttings to see if they have roots. You could damage delicate new growth. Wait until you see new leafy growth emerging from the top of the cutting, which is a good indicator that roots have formed.
Aftercare & Troubleshooting
Once your cuttings have taken root and you see new growth (hooray!), it’s time for a little transition.
- Acclimatize gradually: Slowly reduce the humidity over a week or so. Start by opening the propagator for longer periods. Once new growth is clearly established, you can remove the bag entirely.
- Move to brighter light: Gradually introduce your new plant to brighter, indirect light. Avoid direct sun initially, as it can scorch tender new leaves.
- Watering: Continue to keep the soil consistently moist but not waterlogged. As the plant grows, you can water more deeply and less frequently, allowing the top inch of soil to dry out between waterings.
The most common problem you might encounter is rot. This usually happens due to overwatering or poor air circulation. Signs include mushy stems, yellowing leaves on a cutting that hasn’t rooted, or a blackening at the base of the stem. If you see this, it’s often best to discard the affected cutting and try again, ensuring better drainage and air circulation next time.
A Little Encouragement
Propagating plants is an act of faith and patience. You’re essentially taking a piece of something beautiful and coaxing it into a brand new life. Not every cutting will make it, and that’s perfectly okay! Think of it as a learning experience. Celebrate each success, learn from any setbacks, and enjoy the wonderful process of nurturing new green life. Happy propagating!
Resource:
https://identify.plantnet.org/k-world-flora/species/Dioscorea%20andina%20Phil./data