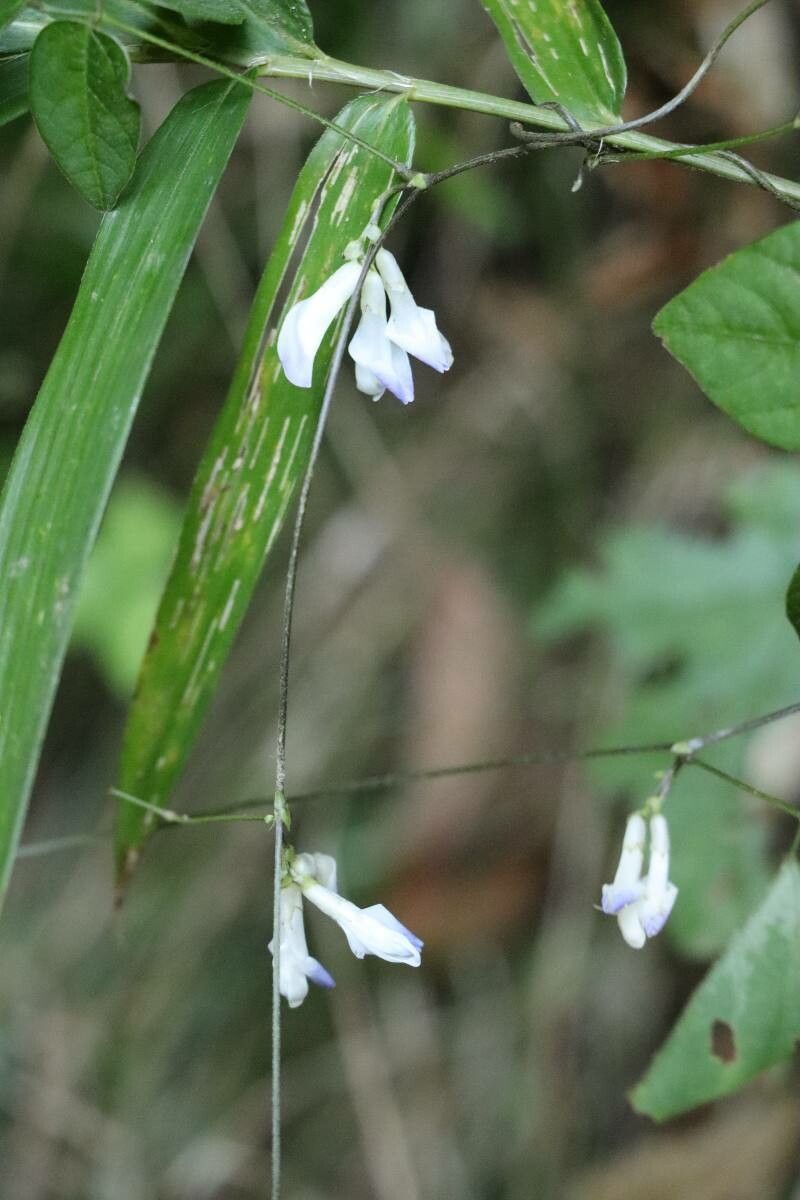
Hello, fellow plant enthusiasts! I’m so excited to talk to you today about a truly special climber: Amphicarpaea edgeworthii. You might know it better as the Himalayan Hog Peanut, and oh, what a gem it is! Its delicate, pea-like flowers are a subtle beauty, and the unique underground fruits it produces are simply fascinating. Plus, it’s a fantastic way to fill out a shady spot in your garden or train up a trellis. Propagating it yourself? It’s incredibly rewarding, and while it has its quirks, I’d say it’s a satisfying project for those with a bit of patience, rather than a complete beginner’s free-for-all. But we’ll get to that!
The Best Time to Start
For the highest success rate with Amphicarpaea edgeworthii, your best bet is to take cuttings in the late spring or early summer, right as the plant is in active growth. You’re looking for stems that are still somewhat flexible – not the rigid, woody old growth, but not the brand new, impossibly soft shoots either. A nice, semi-hardwood cutting is what we’re after.
Supplies You’ll Need
Gathering your tools beforehand makes the whole process smoother. Here’s what I keep handy:
- Sharp pruning shears or a clean utility knife: For making clean cuts on your cuttings.
- Rooting hormone: A powdered or liquid form works fine. I tend to reach for a powdered one.
- Small pots or seed trays: With drainage holes, of course!
- Well-draining potting mix: A good blend is 50% peat moss or coir and 50% perlite. This ensures good aeration.
- Plastic bags or a humidity dome: To create a humid environment for your cuttings.
- Watering can with a fine rose: For gentle watering.
Propagation Methods
We’ll focus on stem cuttings, as this is generally the most reliable method for Amphicarpaea edgeworthii.
- Prepare Your Cuttings: Select a healthy stem on your established plant. Make a clean cut just below a leaf node (where the leaf attaches to the stem). You want cuttings that are about 4-6 inches long. Remove the lower leaves, leaving just one or two at the very top. This prevents them from rotting in the soil.
- Apply Rooting Hormone: Dip the cut end of each stem into your rooting hormone powder. Give it a gentle tap to shake off any excess. This little boost can significantly increase your chances of success.
- Plant Your Cuttings: Fill your small pots with your prepared potting mix. Make a hole in the center of the soil with a pencil or your finger. Gently insert the rooting-hormone-dipped end of your cutting into the hole, making sure at least one leaf node is buried. Firm the soil gently around the stem.
- Create a Humid Environment: Water the soil lightly. Then, cover the pot with a clear plastic bag, sealing it with a rubber band, or place it under a humidity dome. This keeps the humidity high, which is crucial while the cuttings develop roots. Place the pots in a bright spot, but out of direct sunlight.
The “Secret Sauce” (Pro Tips)
Now, for a couple of things I’ve learned over the years that can really make a difference:
- Don’t Let Those Leaves Touch the Soil: Seriously, this is a big one. Any leaves that dip into the potting mix are just begging for fungal issues. Trim them off religiously.
- Bottom Heat is Your Friend: If you have a seedling heat mat, pop your pots on it. A little warmth from below can really encourage root development, especially if your propagation space is a bit on the cooler side. It mimics that lovely spring soil temperature.
Aftercare & Troubleshooting
Once your cuttings have been planted, keep the soil consistently moist but not waterlogged. You’ll know roots are forming when you gently tug on a cutting and feel resistance, or if you start to see new leaf growth. This can take several weeks, sometimes even a couple of months. Be patient!
The most common issue you might encounter is rot. If you see your cuttings turning mushy and black, it’s usually a sign of too much moisture and not enough airflow. Make sure your soil drains well and, if you’re using a plastic bag, open it up for a few hours each day to give them a chance to breathe. If a cutting looks clearly dead, don’t be afraid to pull it out and discard it to prevent any potential spread of rot to others.
A Warm Welcome to Your New Plants!
See? It’s not overly complicated, just a few key steps to follow and the right conditions to create. Propagating Amphicarpaea edgeworthii is a wonderful way to expand your garden or to share this unique plant with friends and family. Remember, gardening is a journey, and sometimes it’s about learning from those lovely plants. So, grab your tools, get your hands in the soil, and enjoy the process. Happy growing!
Resource:
https://identify.plantnet.org/k-world-flora/species/Amphicarpaea%20edgeworthii%20Benth./data