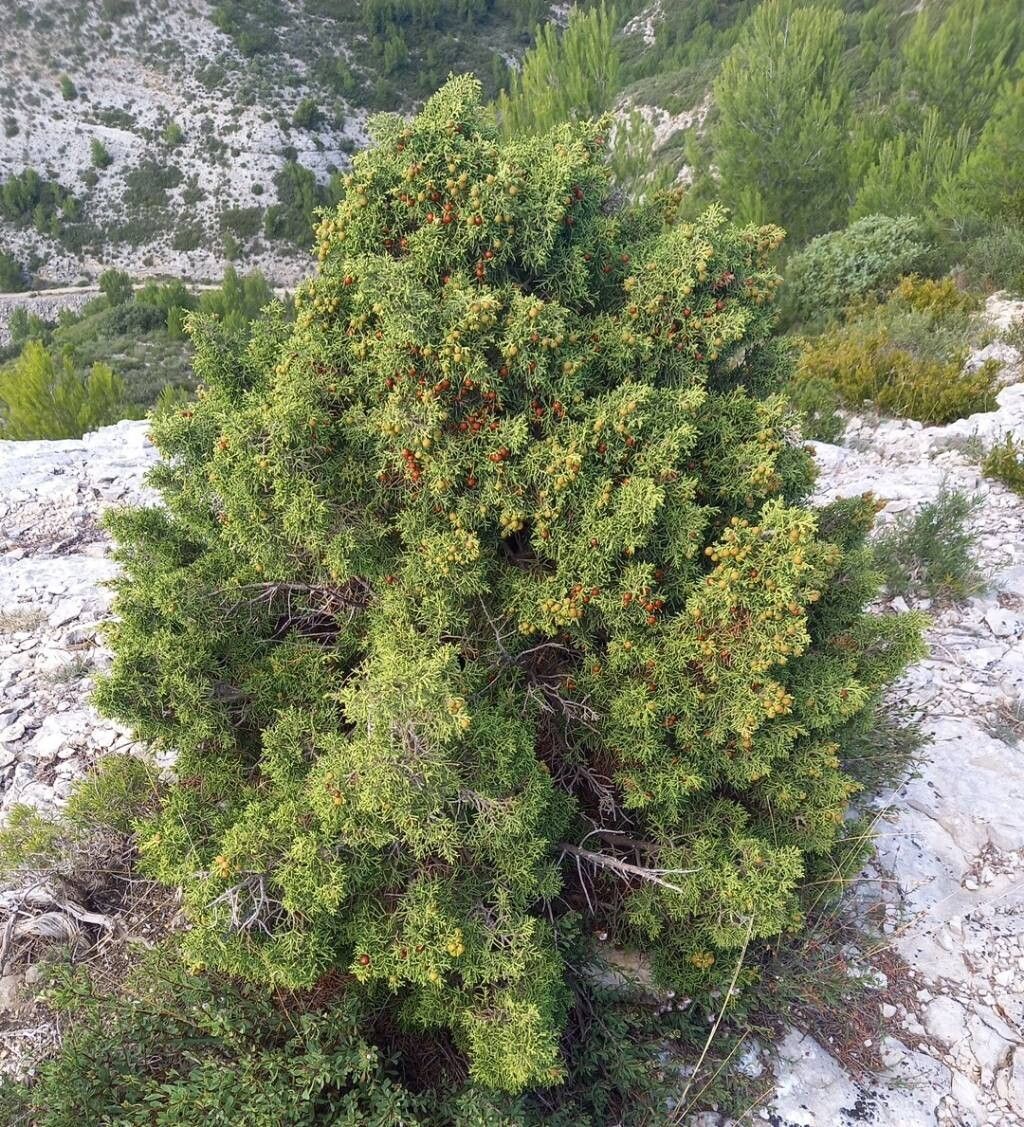
Hello fellow garden enthusiasts! Today, we’re diving into something truly special: propagating the beautiful Juniperus phoenicea, or Phoenician Juniper. If you’ve ever admired its silvery-green foliage and graceful, often architectural form in a garden or natural landscape, you’re not alone. Growing your own from cuttings is an incredibly rewarding way to expand your collection, create gifts for loved ones, or even design a miniature landscape.
Now, I’ll be honest, Junipers like Juniperus phoenicea can be a tad particular when it comes to propagation. While not impossibly difficult, they’re not quite a “stick it in the ground and hope for the best” situation. A little focused attention will go a long way, making it a satisfying challenge for those looking to step up their propagation game.
The Best Time to Start
For the highest success rate with Juniperus phoenicea, I always recommend working with semi-hardwood cuttings. This means taking them when the current season’s growth has started to mature but hasn’t fully lignified (become woody). The ideal time for this is typically during the late summer or early autumn, usually from August through September. The plant is actively growing, making it more receptive to rooting. You can also try taking them in the spring, just as new growth is emerging, but I find the autumn timing gives them a bit more time to establish before winter.
Supplies You’ll Need
Before you get your hands dirty, let’s gather our tools. Having everything ready makes the process much smoother!
- Sharp Pruning Shears or Knife: Sterilized, of course, to make clean cuts and prevent disease.
- Rooting Hormone: A powder or liquid rooting hormone specifically formulated for woody plants will significantly boost your chances. Look for one containing IBA (Indole-3-butyric acid).
- Potting Mix: A well-draining mix is crucial. I like a blend of equal parts perlite, coarse sand, and a good quality peat-free potting compost. You can also buy specialized cactus or succulent mixes.
- Small Pots or Trays: Clean pots with drainage holes are essential. I often use 4-inch pots or cell trays.
- Plastic Bags or Propagation Dome: To create a humid environment for your cuttings.
- Gravel or Small Pebbles (optional): For drainage at the bottom of pots.
- Watering Can or Spray Bottle: Gentle watering is key.
- Labels: Don’t forget to label your cuttings!
Propagation Methods: The Step-by-Step
We’ll focus on the most reliable method for Junipers: stem cuttings.
- Select Your Cuttings: Head out to your Juniperus phoenicea. Look for healthy, current-year’s growth that feels somewhat firm but still has some flexibility. They should be about 4-6 inches long.
- Make the Cut: Using your sterilized shears, take your cutting just below a leaf node (where the leaves attach to the stem). A clean, angled cut is best.
- Prepare the Cutting: Gently strip away the foliage from the bottom half to two-thirds of the cutting. You want to expose the part of the stem that will go into the rooting medium. Make sure there are no leaves that will end up below the soil line.
- Apply Rooting Hormone: Dip the stripped end of the cutting into your rooting hormone. Tap off any excess.
- Plant Your Cuttings: Fill your clean pots with your well-draining potting mix. Make a hole in the center with a pencil or your finger. Gently insert the cutting, ensuring the base is well-covered by the potting mix. Firm the soil gently around the stem to ensure good contact.
- Water Gently: Water the pots thoroughly but gently, allowing excess water to drain away. You don’t want the soil to become waterlogged.
- Create Humidity: Place the pots inside a clear plastic bag, ensuring the bag doesn’t touch the cuttings, or cover them with a propagation dome. This traps moisture and humidity, which is vital for rooting. Seal it loosely or poke a few small holes for ventilation.
The “Secret Sauce” (Pro Tips)
Here are a few tricks I’ve learned over the years that can make a real difference:
- Bottom Heat is Your Friend: If you have a heat mat designed for seedlings, placing your pots on it can dramatically speed up root development. Junipers love a bit of warmth at the base.
- Don’t Drench, Mist: Once the cuttings are in their humid environment, resist the urge to water heavily. Instead, mist the foliage and the top of the soil periodically with a fine spray bottle, especially if using a bag. This keeps the leaves turgid without waterlogging the roots.
- Be Patient with the Leaves: If you’re doing water propagation (though I find cuttings in soil are more reliable for Junipers), make absolutely sure no leaves are submerged in the water. Rot sets in very quickly when leaves are constantly wet.
Aftercare & Troubleshooting
Once you’ve potted up your cuttings, it’s time for a bit of patience and observation.
Keep the pots in a bright, indirect light location. Avoid direct, scorching sun, which can quickly dry out the cuttings and their fragile developing roots. The key is consistent moisture, but not sogginess. Check the soil moisture every few days – it should feel slightly damp, like a wrung-out sponge.
The most common pitfalls are rot and desiccation. Rot usually shows up as a blackening and mushy stem base, often accompanied by yellowing and wilting leaves. This is usually a sign of overwatering and poor drainage. If you see this, unfortunately, that cutting is likely lost. Desiccation is when the cutting dries out too much. The leaves will become brittle and brown. This is where that humidity dome or plastic bag is so important!
You’ll know your cuttings have rooted when you gently tug on them and feel a slight resistance, or when you start to see new green growth appearing. This can take anywhere from 6 weeks to several months, so don’t get discouraged if it’s not immediate!
A Encouraging Closing
Propagating Juniperus phoenicea is an exercise in patience and a wonderful way to connect with your plants on a deeper level. Don’t be disheartened if not every cutting takes. Each attempt is a learning experience, and soon enough, you’ll have a small forest of your own beautiful Junipers to nurture and enjoy. Happy propagating!
Resource:
https://identify.plantnet.org/k-world-flora/species/Juniperus%20phoenicea%20L./data