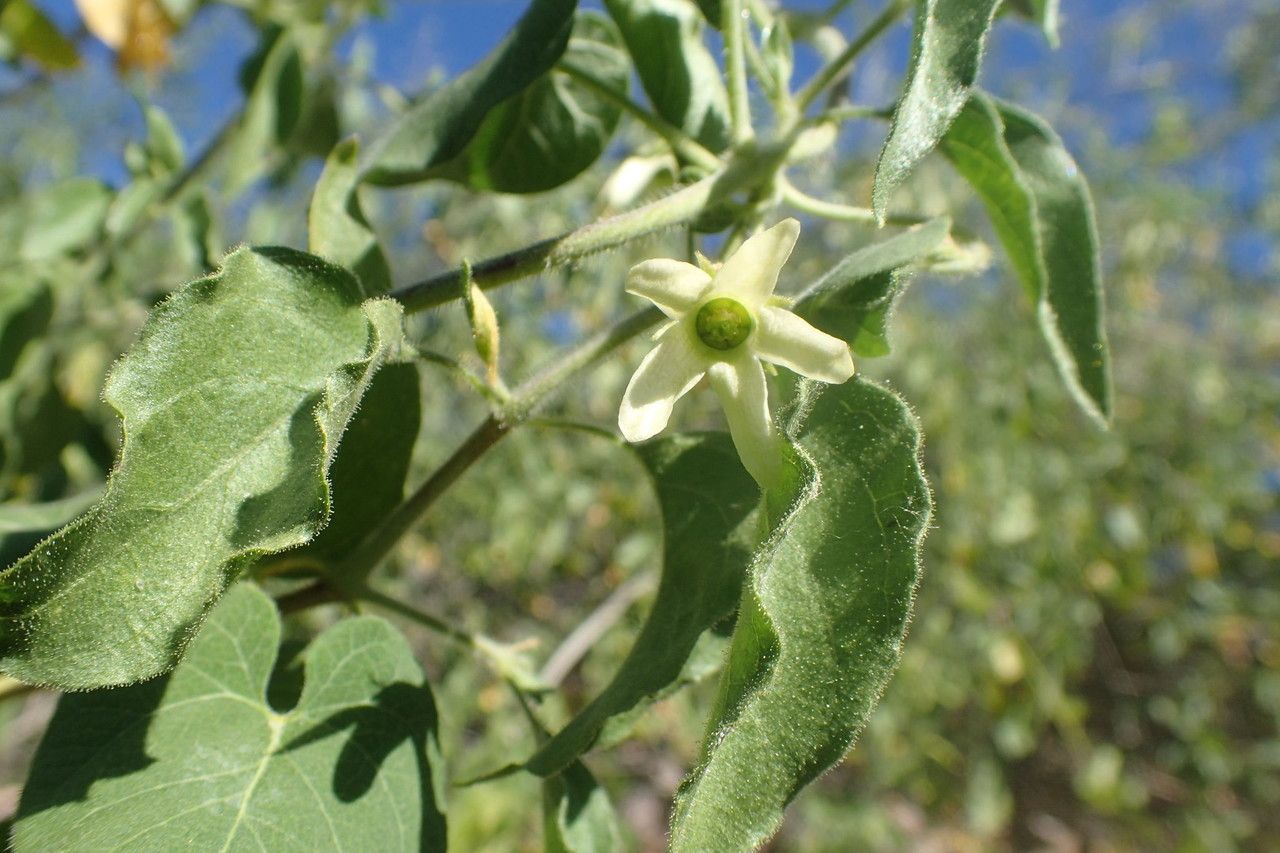
Oh, hello there! Come on in, grab a mug. I’m so glad you’re interested in Polystemma cordifolium. It’s a truly delightful plant, isn’t it? With those lovely heart-shaped leaves and often a subtle, sweet fragrance, it brings such a touch of grace to any space. And the joy of coaxing a whole new plant from a tiny piece of its parent? It’s pure magic, I tell you, and incredibly rewarding. Now, for those new to the gardening game, I’d say Polystemma cordifolium is a moderately easy plant to propagate. It’s not quite as foolproof as, say, a pothos, but with a little attention and these tips, you’ll be well on your way.
The Best Time to Start
Honestly, the best time to get your propagation party started is when your Polystemma cordifolium is in its active growth phase. For most of us, that means late spring through summer. The warmer temperatures and longer daylight hours give your cuttings the best chance to root and thrive. You want to see new, healthy growth on your parent plant, not something that looks tired or is struggling.
Supplies You’ll Need
Gathering your tools beforehand makes the whole process so much smoother. Here’s what I always have on hand:
- Sharp, clean pruning shears or a sharp knife: A clean cut is crucial to prevent disease.
- Rinsing bowl or container: For washing off your tools.
- Rooting hormone (optional, but recommended): A light dusting can really speed things up.
- Well-draining potting mix: I usually use a mix of equal parts peat moss or coco coir and perlite, or a specialized seed-starting mix.
- Small pots or containers: These should have drainage holes, of course!
- Plastic bags or a clear plastic dome: To create a humid environment.
- Water: For moistening your soil and for water propagation if you choose that route.
- Labels: Trust me, you’ll thank yourself later!
Propagation Methods
Let’s get our hands dirty! There are a couple of reliable ways to create new Polystemma cordifolium plants.
Method 1: Stem Cuttings
This is my go-to method for this plant.
- Take healthy cuttings: Choose a healthy stem that has at least two to three sets of leaves. Using your sharp pruning shears, make a clean cut just below a leaf node (where a leaf attaches to the stem). You’re looking for pieces about 4-6 inches long.
- Prepare the cutting: Gently remove the lower leaves, leaving just the top one or two sets. This prevents them from rotting when buried in the soil. If the leaves are very large, I might even cut them in half horizontally – it reduces water loss.
- Apply rooting hormone (optional): Dip the cut end into your rooting hormone powder, tapping off any excess.
- Plant your cutting: Moisten your well-draining potting mix. Make a small hole in the soil with your finger or a pencil. Gently insert the cut end of the stem into the hole, ensuring the leaf node where you removed the leaves is below the soil surface. Firm the soil gently around the cutting.
- Create humidity: Water lightly after planting. Then, cover the pot with a plastic bag or a clear plastic dome to maintain high humidity. Make sure the leaves don’t touch the plastic. You can use stakes to prop up the bag if needed.
- Placement: Place the pot in a bright location out of direct sunlight.
Method 2: Water Propagation
This method is a bit more visual, and some people find it easier to monitor.
- Take cuttings as described above.
- Remove all leaves except the top one or two.
- Place the cutting in a jar or glass of clean water. Make sure no leaves are submerged beneath the water’s surface. The leaf nodes should be submerged, but not the leaves themselves.
- Change the water every few days to keep it fresh and prevent bacterial growth.
- Place the jar in a bright location out of direct sunlight.
The “Secret Sauce” (Pro Tips)
Here are a few little tricks I’ve picked up over the years that make a big difference:
- Bottom Heat is Your Friend: If you’re really serious about rooting success, especially with stem cuttings, consider using a seedling heat mat. Placing your pots on a gentle heat source encourages root development from below, giving your cuttings a real boost. It mimics the warmth of summer soil.
- Don’t Drown Your Cuttings: Even in water propagation, I’m careful. If a leaf touches the water, it’ll likely turn mushy and eventually rot, which can spread to the rest of the cutting. Keep those leaves high and dry!
- Sterilize Everything: I can’t stress this enough. Using sterile tools and pots drastically reduces the chances of introducing diseases that can kill your precious cuttings before they even have a chance to root. A quick wash with hot, soapy water and a rinse with diluted bleach or rubbing alcohol works wonders.
Aftercare & Troubleshooting
Once you see signs of new growth, like tiny leaves or, even better, roots emerging from the drainage holes, your cutting is well on its way!
- For stem cuttings: As soon as you see good root development (usually after a few weeks), you can gradually acclimate your new plant to normal humidity by slowly opening the plastic bag or removing the dome over a few days. Continue to water as needed.
- For water propagation: Once you have a nice system of roots, typically 2-3 inches long, you can carefully transplant your cutting into well-draining potting mix, following the steps for stem cuttings. Water well initially.
Now, what if things don’t go as planned? The most common culprits are:
- Rotting: This is usually a sign of too much moisture and not enough air circulation. Make sure your soil mix is airy and that you aren’t overwatering. If you see mushy, black stems, unfortunately, that cutting is probably lost.
- Wilting: This can happen if the cutting is too dry, or if it’s in too much direct sun and losing water faster than it can absorb it. Ensure consistent moisture and avoid direct sun until roots are established.
A Encouraging Closing
Propagating plants is a journey, and like any good journey, it requires a bit of patience. Don’t be discouraged if your first attempt isn’t perfect. Each time you try, you learn something new. So, gather your supplies, pick out a healthy stem, and enjoy the process. Watching that little bit of green unfurl into a whole new plant is one of gardening’s greatest joys. Happy propagating!
Resource: