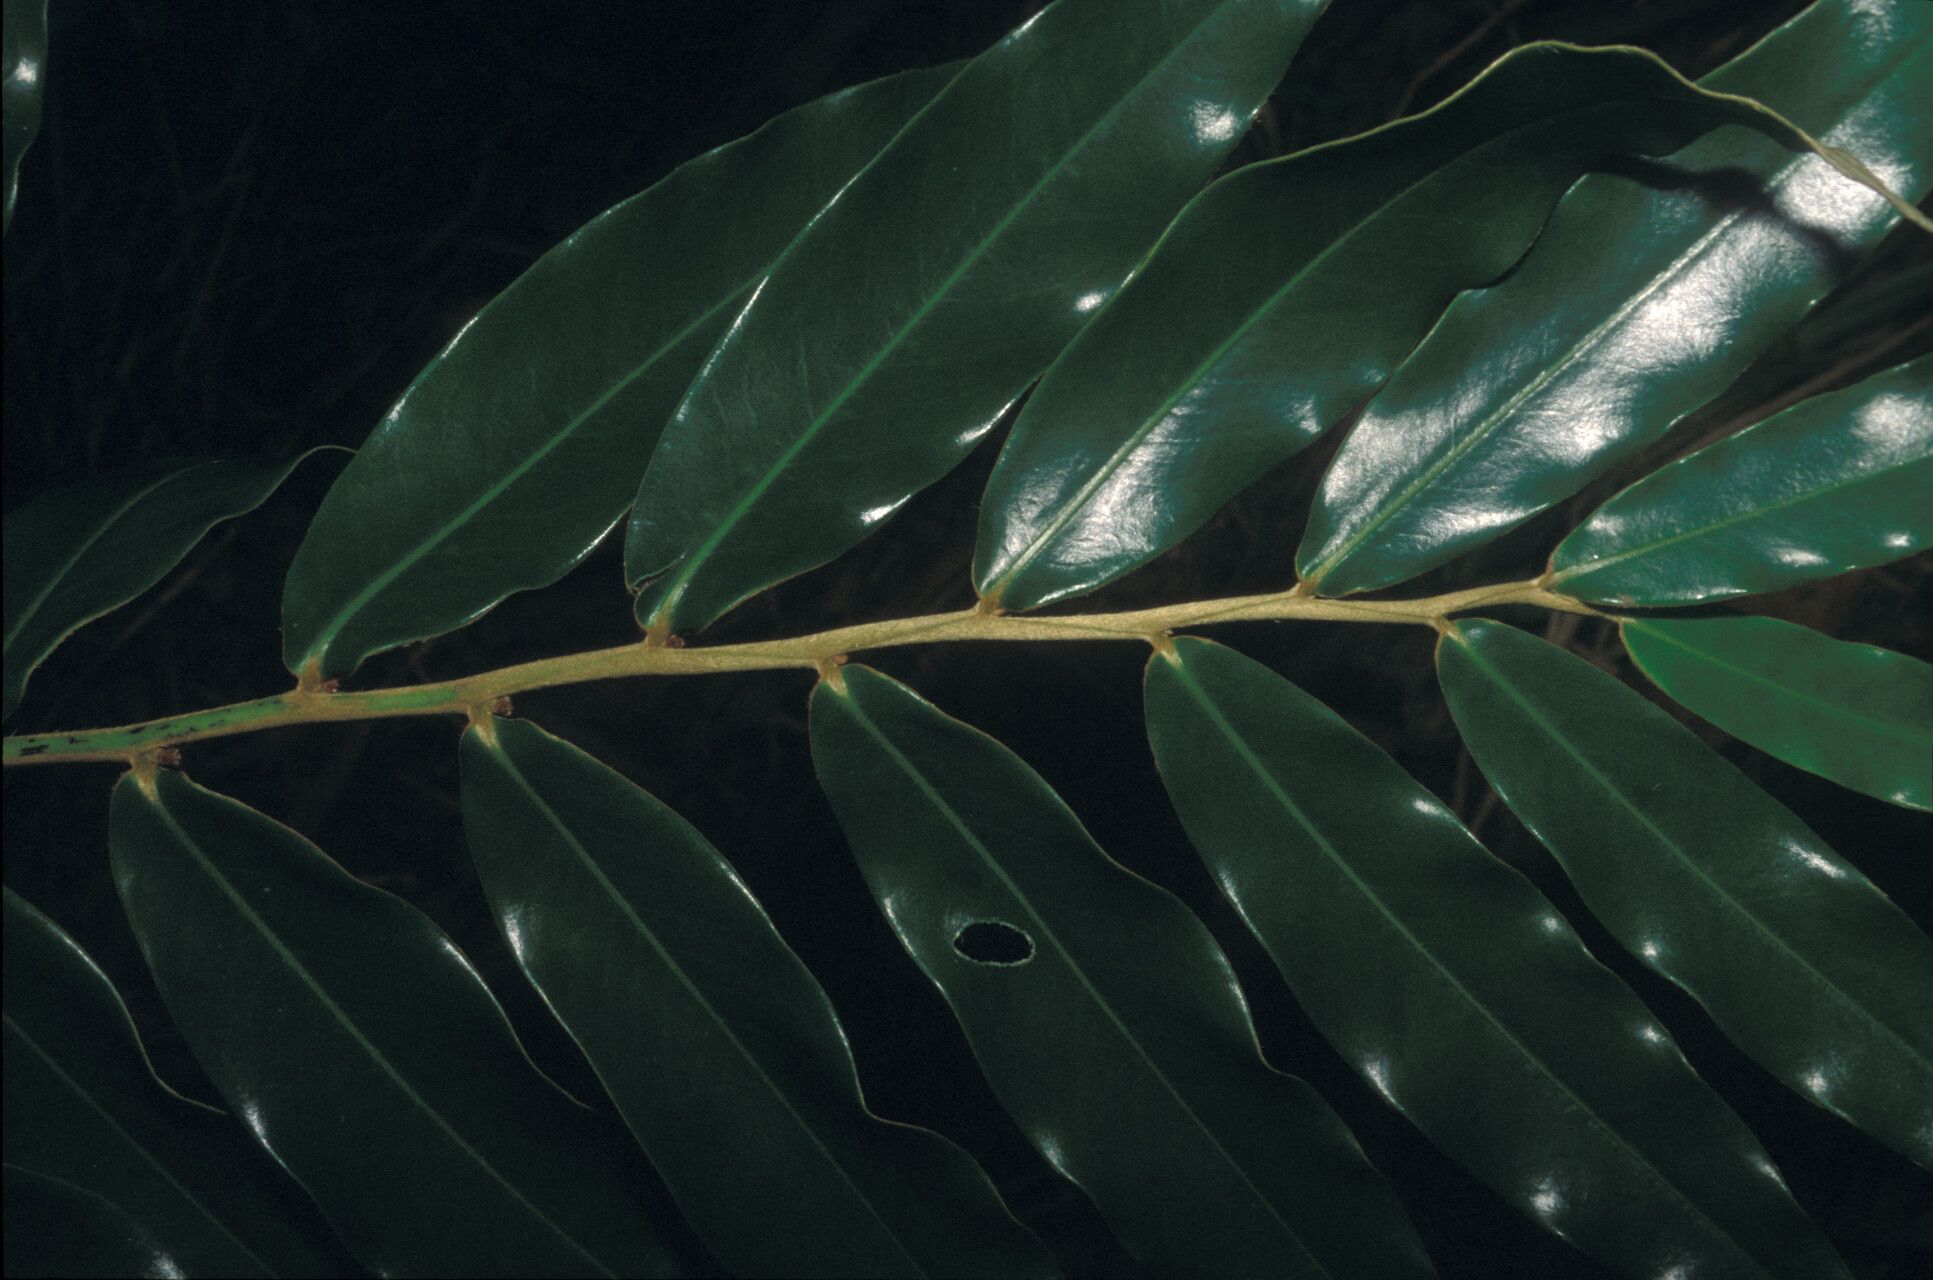
Hello fellow garden enthusiasts! Today, we’re diving into the delightful world of Diospyros dichroa, often known by its common name, the “false persimmon” or sometimes referred to by its botanical family as a type of ebony. If you’ve admired its glossy, dark green leaves and the promise of small, edible fruits (though the taste can be a bit tannic for some!), you might be wondering how to bring more of these beauties into your garden. Propagating Diospyros dichroa is a truly rewarding endeavor. While it’s not the absolute easiest plant for a novice gardener to propagate, with a little patience and following some tried-and-true methods, you’ll be well on your way to success.
The Best Time to Start
For the highest success rate with Diospyros dichroa, aim to take cuttings during the active growing season. This typically means late spring through mid-summer. During this period, the plant has plenty of energy stored, and the new growth is more vigorous, making it more receptive to rooting. Waiting until the plant has finished its initial flush of spring growth is a good strategy.
Supplies You’ll Need
Here’s your handy checklist of what you’ll want to have on hand:
- Sharp pruning shears or a clean knife: For taking cuttings cleanly. Sterilize them between cuts!
- Rooting hormone (optional but recommended): A powder or gel can significantly boost your success rate.
- Well-draining potting mix: A good blend is roughly equal parts peat moss or coco coir, perlite, and coarse sand. You want it to hold moisture but not become waterlogged.
- Small pots or propagation trays: Ensure they have drainage holes.
- Plastic bags or a propagator: To create a humid environment around your cuttings.
- Water (for water propagation): Clean, fresh water.
- Dibber or pencil: To make holes for the cuttings.
- Gloves (optional): Some people find sap from certain plants a bit sticky.
Propagation Methods
Let’s get our hands dirty with a couple of reliable methods for Diospyros dichroa.
Stem Cuttings
This is my go-to method for many woody plants, and it works wonderfully for the false persimmon.
- Select your cuttings: Look for healthy, semi-hardwood stems – that’s wood that’s not brand new and soft, but not old and rigid either. Aim for pencil-thickness stems that are about 4-6 inches long.
- Take your cuttings: Using your sterilized pruning shears or knife, make a clean cut just below a leaf node (where a leaf attaches to the stem). Remove any flowers or fruit developing on the cutting.
- Prepare the cuttings: Gently remove the leaves from the bottom half of the cutting. You can leave two to three leaves at the top to help with photosynthesis. If the remaining leaves are very large, consider cutting them in half horizontally to reduce water loss.
- Apply rooting hormone: Dip the cut end of the stem into your rooting hormone, tapping off any excess.
- Plant your cuttings: Fill your pots with your prepared potting mix. Make a hole with a dibber or pencil large enough for the stem. Insert the cutting into the hole, gently firming the soil around it.
- Water and cover: Water the potting mix thoroughly until it drains from the bottom of the pot. Then, cover the pots with clear plastic bags or place them in a propagator. This creates a mini-greenhouse, keeping the humidity high, which is crucial for rooting.
Water Propagation
While less common for woody shrubs like Diospyros dichroa, I’ve had success with this for some younger, greener stems, though it requires extra vigilance.
- Take cuttings: Follow steps 1 and 2 from the stem cuttings method.
- Prepare for water: Remove all leaves except for the top two or three.
- Place in water: Stand the cuttings in a clean jar or vase filled with fresh, room-temperature water. Ensure that no leaves are submerged; they will rot quickly.
- Change water regularly: Keep a close eye on the water and change it every 2-3 days to prevent bacterial growth.
- Monitor for roots: You should start to see small white roots emerging from the nodes within a few weeks. Once the roots are about an inch long, you can transplant them into pots with potting mix.
The “Secret Sauce” (Pro Tips)
Here are a couple of things I’ve learned over the years that can make a real difference:
- The magic of bottom heat: If you can, place your pots on a heated propagator mat. This gentle warmth from below encourages root development from the soil up, giving your cuttings that extra boost they need. I find it makes a huge difference, especially for trickier plants.
- Don’t over-water the soil: While cuttings need moisture, soggy soil is the fastest way to rot. The goal is consistently moist, not saturated. Feel the soil; if it feels dry to the touch an inch down, it’s time for a light watering. This is why that well-draining mix is so important!
Aftercare & Troubleshooting
Once you see signs of rooting – and that might be new leaf growth, or a gentle tug on the cutting meets resistance – it’s time to adjust their environment.
- Acclimatize slowly: For cuttings in humidity domes or bags, gradually increase ventilation over a week or two before removing the cover entirely. This prevents shock.
- Keep them happy: Continue to keep the soil consistently moist but not waterlogged. A brightly lit spot, but out of direct sun, is ideal. Once they have a decent root system, you can move them to larger pots and treat them as young plants.
- Watch for rot: The most common issue is rot. If your cuttings turn black and mushy, or develop fuzzy grey mold, it’s usually a sign of too much moisture and poor air circulation. Unfortunately, once rot sets in, it’s very hard to save them. In this case, remove the affected cuttings and reassess your watering and ventilation.
A Encouraging Closing
Propagating plants is a journey, and there will be times when things don’t go as planned. Don’t be discouraged! Each attempt is a learning experience. The satisfaction of watching a tiny cutting transform into a new plant is simply unmatched. Be patient, nurture your efforts, and enjoy the wonderful process of bringing more of the Diospyros dichroa into your life. Happy gardening!
Resource:
https://identify.plantnet.org/k-world-flora/species/Diospyros%20dichroa%20Sandwith/data