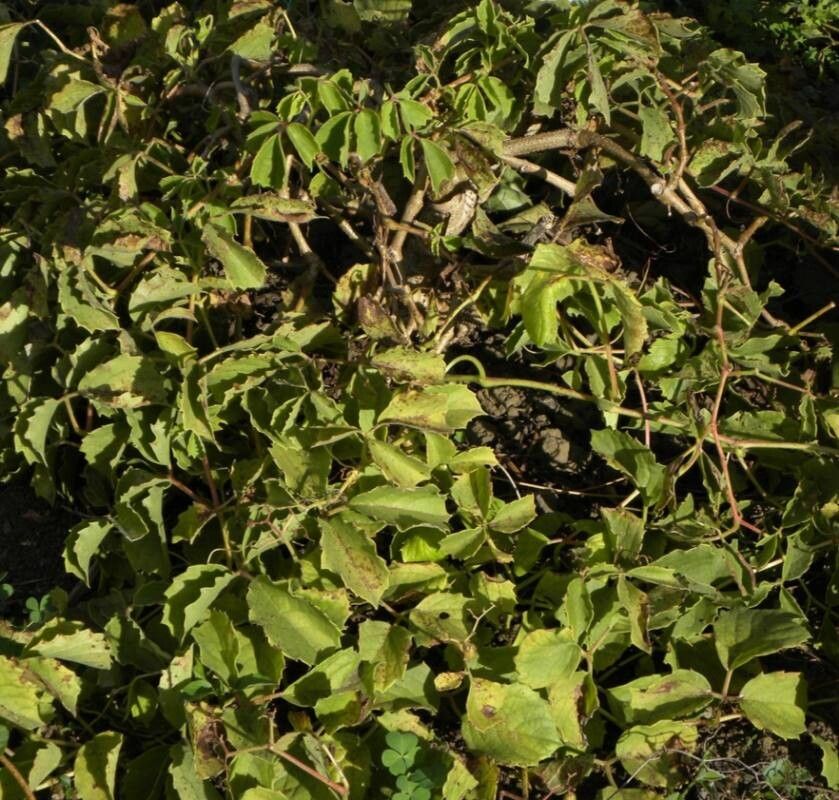
Hello green thumbs! Today, I want to talk about a really special plant that’s been capturing my heart for years: Cyphostemma natalensis, or as some of us affectionately call it, the “Grape Ivy” or “Zulu Giant.” It’s not a true ivy, mind you, but its cascading habit and those interesting, grape-like clusters of fruit (though often sparse indoors) make it a real showstopper. The succulent leaves can have a beautiful texture, and it forms such a lovely, trailing shape. It’s a plant that really rewards you for a little bit of attention, and propagating it is a wonderfully satisfying experience.
Now, is it a beginner-friendly plant to propagate? I’d say it’s moderately easy. You’ll have a much better chance of success if you follow a few key steps, but it’s not as fiddly as some of the rarer succulents out there. That’s the beauty of it – a little knowledge goes a long way!
The Best Time to Start
Honestly, for Cyphostemma natalensis, anytime during its active growing season is your best bet. Think late spring through summer, when the plant is really putting on new growth and has plenty of energy. You’ll see those lovely, plump stems developing, and those are the ones that will take cuttings most readily. Trying to propagate when the plant is dormant, usually in cooler months, is a recipe for disappointment.
Supplies You’ll Need
Here’s what you’ll want to have on hand for a smooth propagation session:
- Sharp, clean pruning shears or a sharp knife: Cleanliness is key to preventing disease.
- A rooting hormone powder or gel: While not always strictly necessary, it can give your cuttings a significant boost. I prefer a powder; it’s easy to work with.
- Well-draining potting mix: This is crucial. I like a mix of perlite, coarse sand, and a good quality succulent or cactus soil. A ratio of about 50/50 perlite and succulent soil works wonders.
- Small pots or seedling trays: Whatever you have that can hold your cuttings and allow for good drainage.
- Watering can or spray bottle: For gentle watering.
- Plastic bags or a propagation dome (optional): To create a humid environment for your cuttings.
Propagation Methods: Let’s Get Our Hands Dirty!
I find that stem cuttings are the most reliable way to propagate Cyphostemma natalensis. Here’s how I do it:
- Select Your Cuttings: Look for healthy, mature stems that are not flowering or fruiting. You want stems that have started to harden off a bit, not the super soft, new tips, but not woody old stems either. Aim for pieces about 4-6 inches long.
- Make the Cut: Using your clean pruning shears or knife, make a clean cut just below a leaf node. A leaf node is where a leaf attaches to the stem – this is where roots will likely form.
- Prepare the Cutting: Gently remove the lower leaves from the cutting. You want to expose a few leaf nodes without leaving too many leaves that will just sap energy. If the cutting has a large leaf at the top, you can even cut that in half to reduce water loss.
- Apply Rooting Hormone (Optional but Recommended): Dip the cut end of the stem into your chosen rooting hormone, tapping off any excess.
- Plant Your Cuttings: Fill your pots with your well-draining mix. Make a small hole with your finger or a pencil, and gently insert the prepared end of the cutting into the soil. Firm the soil gently around the base.
- Water and Cover: Water the soil lightly. You want it to be moist, not soggy. If you have a propagation dome or plastic bags, slide them over the pots to create a mini-greenhouse effect. Make sure the plastic doesn’t touch the leaves too much if possible.
The “Secret Sauce” (Pro Tips)
Here are a couple of things I’ve learned over the years that really make a difference:
- Let your cuttings callous over: Before you dip them in rooting hormone and plant them, let the cut end dry out for a day or two in a shaded spot. This allows a protective callus to form, which helps prevent rot. It’s like letting a wound heal before it’s exposed to moisture.
- Avoid overcrowding: When planting multiple cuttings in one pot, give them a little space. They need airflow to prevent fungal issues, and it makes it easier to keep an eye on each individual cutting as it roots.
Aftercare & Troubleshooting
Once your cuttings are planted, here’s what to do:
- Placement: Place the pots in a bright location, but out of direct, intense sunlight. Too much sun can scorch those delicate new cuttings.
- Watering: Water sparingly. The goal is to keep the soil consistently lightly moist, not wet. If you have the humidity dome, you might only need to water once a week. Check the soil with your finger.
- Rooting Time: Be patient! It can take anywhere from 3 weeks to a couple of months for Cyphostemma natalensis cuttings to root. You’ll know they’re rooting when you see new growth appearing, or if you gently tug on the cutting and feel resistance.
- Troubleshooting: The biggest issue you’ll face is rot. If a cutting turns mushy and black, or smells off, it’s likely rotted. This usually happens from overwatering or poor drainage. If you see this, remove the affected cutting immediately and review your watering habits and soil mix. Sometimes, even with the best care, a cutting might just fail to root. Don’t get discouraged!
A Small Step Forward
Propagating your Cyphostemma natalensis is a wonderful way to share the joy of this beautiful plant. It’s a lesson in patience and observation, and when you see those first tiny roots emerging, it’s a feeling like no other. Don’t be afraid to experiment a little, learn from any mishaps, and most importantly, enjoy the process of new life taking hold. Happy growing!
Resource: