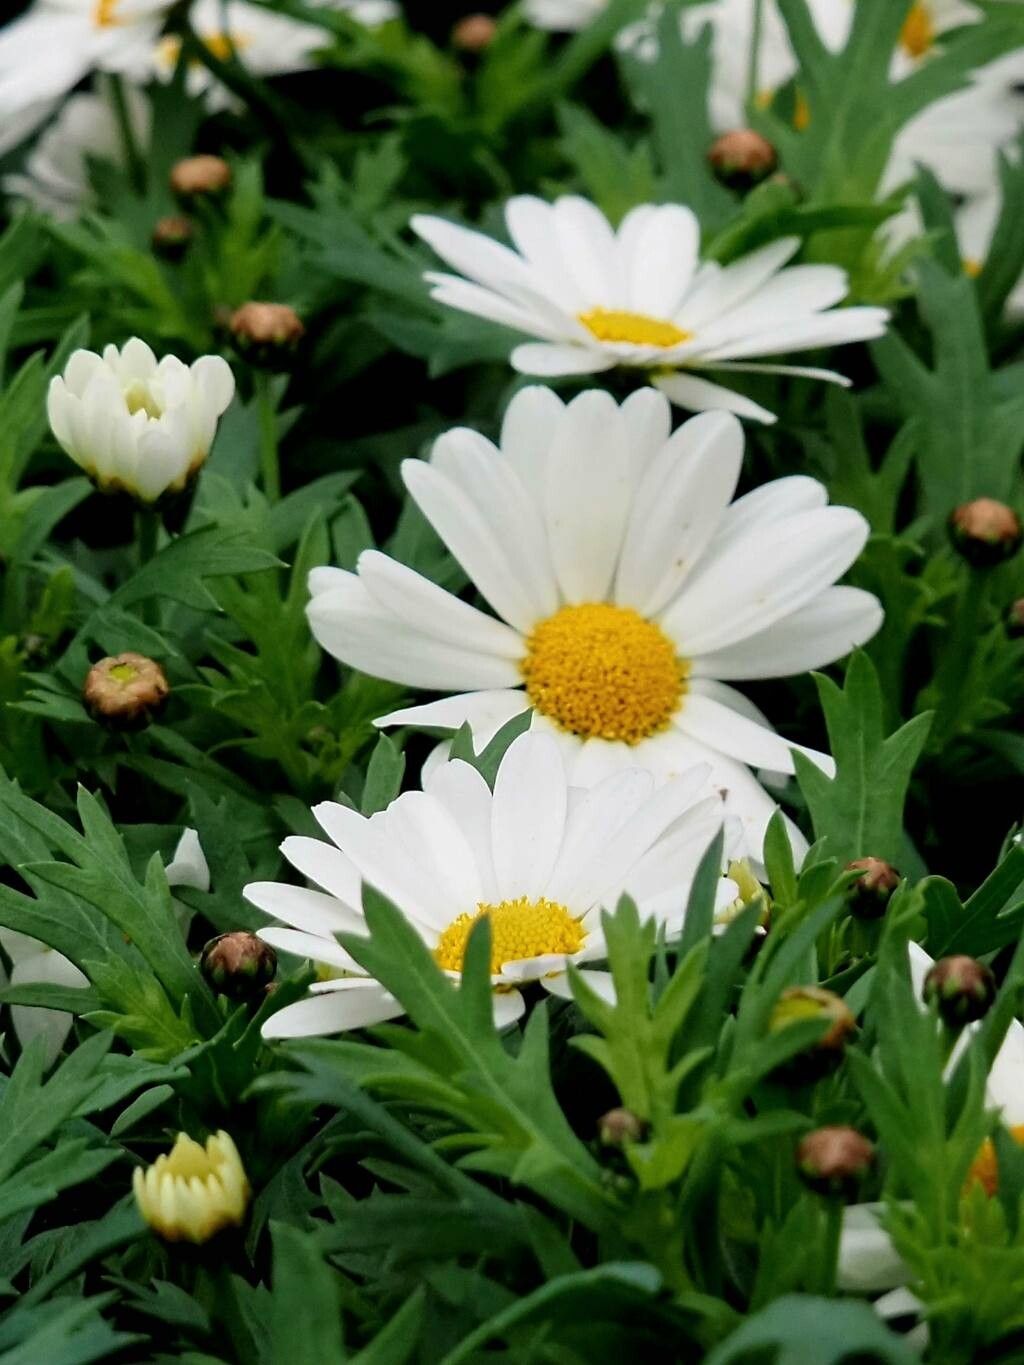
Ah, Argyranthemum frutescens! Those cheerful daisy-like blooms always bring a smile to my face. I’ve spent countless hours with these beauties, watching them fill pots and garden beds with their sunny disposition. And you know what’s even more rewarding? Growing them yourself from cuttings! It’s a fantastic way to multiply your garden’s floral power without spending a dime. For newcomers to propagation, I’d say Argyranthemum is a wonderfully forgiving plant to start with. You’ll likely find a lot of success with it.
The Best Time to Start
Timing is everything, isn’t it? For the highest success rate with your Argyranthemum cuttings, aim for late spring to early summer. This is when the plant is actively growing and has plenty of energy to put into forming new roots. You want to take cuttings from healthy, non-flowering stems, which you’ll usually find abundant during this time.
Supplies You’ll Need
Gathering your supplies before you begin makes the whole process smoother. Here’s what I always have on hand:
- Sharp Pruning Shears or a Knife: Cleanliness is key to preventing disease.
- Rooting Hormone (Optional but Recommended): Look for one specifically for stem cuttings.
- Potting Mix: A light, well-draining mix is vital. I often use a blend of seed-starting mix and perlite, or a specialized succulent/cactus mix.
- Small Pots or Seed Trays: Clean and ready to go. Drainage holes are a must!
- Small Stakes or Labels: To keep track of your cuttings.
- Plastic Bags or a Clear Dome: To create a humid environment.
Propagation Methods
I find stem cuttings to be the most reliable and rewarding method for Argyranthemum.
Stem Cuttings:
- Select Your Cuttings: Find healthy, vigorous stems that are about 4-6 inches long. Look for stems that are firm but not woody. Pinch off any flower buds you see – you want the plant’s energy to go into root development, not blooming.
- Make the Cut: Using your clean shears or knife, make a clean cut just below a leaf node. This is the point where a leaf grows from the stem, and it’s where roots are most likely to form.
- Prepare the Cutting: Gently remove the lower leaves from the bottom half of the stem. This prevents them from rotting once they’re in the soil or water. You can leave 2-3 sets of leaves at the top.
- Apply Rooting Hormone (Optional): Dip the cut end of the stem into your rooting hormone, tapping off any excess.
- Plant Your Cuttings: Fill your pots with your well-draining potting mix. Make a small hole with your finger or a pencil, and gently insert the cut end of the stem. Firm the soil gently around the stem to ensure good contact. You can place several cuttings in one pot, spacing them a couple of inches apart.
- Water Lightly: Water the soil gently to settle it. Avoid waterlogging the pot.
- Create Humidity: Cover the pot with a plastic bag, tenting it with small stakes so it doesn’t touch the leaves, or use a clear plastic dome. This keeps the humidity high, which is crucial for cuttings to root.
Water Propagation (A Quick Alternative):
While I lean towards soil for the most robust roots, water propagation can work too!
- Follow steps 1-3 above.
- Place your cuttings in a jar or glass of clean water, ensuring no leaves are submerged.
- Place the jar in a bright spot, out of direct sunlight.
- Change the water every few days to keep it fresh. You should see roots appear within a few weeks. Once the roots are about an inch long, you can transplant them into soil following the potting instructions above.
The “Secret Sauce” (Pro Tips)
Here are a few things I’ve learned over the years that can really boost your success:
- Don’t Rush Them: Patience is a virtue in gardening! Don’t tug on your cuttings to check for roots too early. You want them to be well-established.
- Bottom Heat is Your Friend: If you have a propagation mat or can place your pots on a warm surface (like the top of a refrigerator, if it’s not too hot!), this warmth can significantly speed up root formation.
- The “Snap Test” for Readiness: Once you think your cuttings have rooted – usually after 3-4 weeks – give a gentle tug. If there’s resistance, they’ve likely rooted! You can also look for new leaf growth.
Aftercare & Troubleshooting
Once you see signs of new growth, that’s a good indication your cuttings have rooted. At this point, you can gradually acclimate them to drier air by opening the plastic bag or dome a little each day. Continue to keep the soil consistently moist but not soggy.
The most common problem you might encounter is rot. This usually happens if the soil is too wet or if the humidity is too high for too long. If you see wilting, blackening stems, or slime, it’s a sign of rot. Unfortunately, once rot sets in, it’s hard to save the cutting. Prevention is key: good drainage and not overwatering are your best defense.
Happy Growing!
And there you have it! Propagating Argyranthemum is such a satisfying experience. The thrill of seeing those little roots emerge and then new leaves unfurl is truly special. Be patient with the process, enjoy the moment, and soon you’ll have a whole new wave of these cheerful flowers to brighten your garden!
Resource: