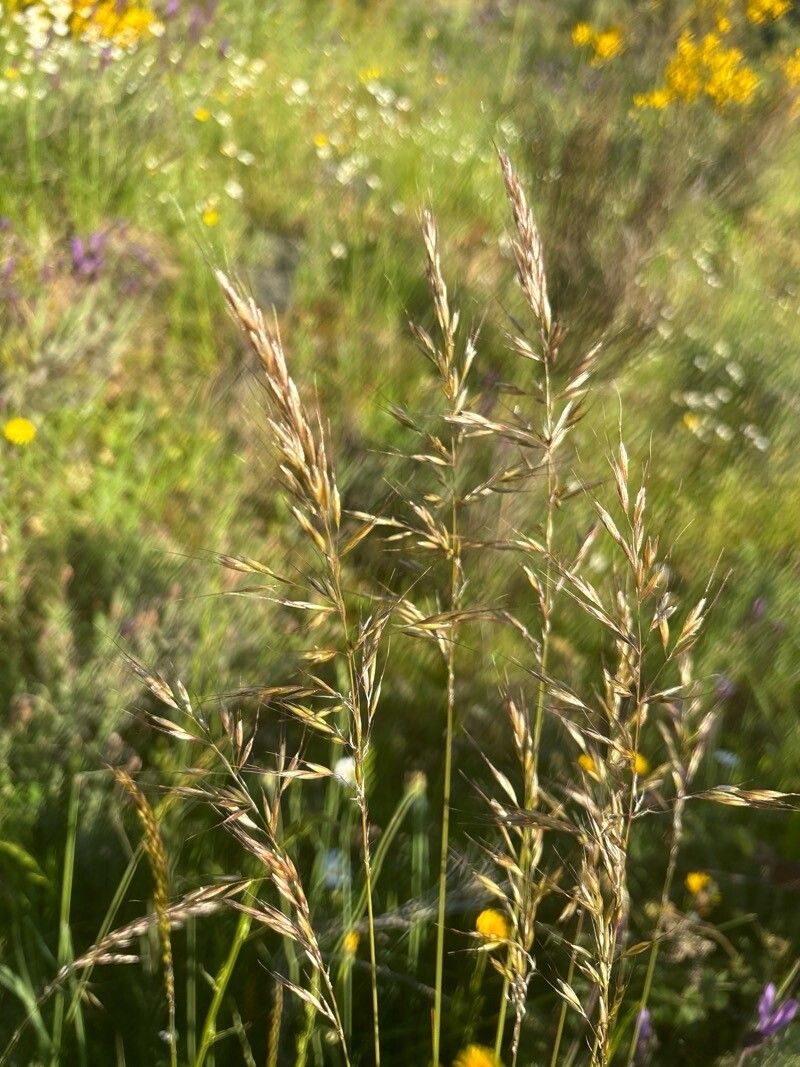
Hello, fellow garden lovers! I’m so glad you stopped by. Today, we’re diving into the wonderful world of propagating Arrhenatherum album, that lovely fluffy oat grass that adds such a delightful texture to any garden. Its silvery-green blades dance in the breeze, and its feathery seed heads bring a touch of airy softness. It’s a real charmer, and trust me, getting more of it for your own patch is incredibly satisfying.
Why Propagate Arrhenatherum album?
For seasoned gardeners, propagating Arrhenatherum album is a breeze. Even if you’re just starting your green-thumb journey, you’ll find this particular grass to be quite forgiving. It’s a rewarding plant to multiply because it allows you to fill in gaps in your established beds, create stunning drifts of grass, or even share these beauties with gardening friends. Plus, there’s a special kind of joy in watching something you started from a small piece grow into a magnificent plant.
The Best Time to Start
The sweet spot for propagating Arrhenatherum album is early spring. This is when the plant is waking up from its winter rest and has the most energy to put into new growth. You’ll want to work with plants that are actively growing but haven’t yet produced their main seed heads. Alternatively, late summer to early autumn, after the main flowering flush has passed but before the really cold weather sets in, can also be a good time, especially for division.
Supplies You’ll Need
Gathering your supplies beforehand makes the whole process smoother. Here’s what you’ll want to have on hand:
- Sharp, clean pruning shears or a knife: Essential for making clean cuts.
- Good quality potting mix: I prefer a blend that’s well-draining. A mix of sterilized loam, coarse sand, and perlite works wonders, or a good general-purpose potting soil amended with perlite.
- Small pots or trays: For starting your new divisions or cuttings. Make sure they have drainage holes!
- Labels: To keep track of what you’ve planted and when.
- Watering can or spray bottle: For gentle watering.
- (Optional) Rooting hormone: While not strictly necessary for Arrhenatherum album, it can give cuttings an extra boost.
Propagation Methods
There are two main ways to multiply Arrhenatherum album, and both are quite straightforward.
Method 1: Division (The Easiest!)
This is by far the simplest and most successful method for this grass. As your plant matures, it will naturally form clumps that can be divided.
- Gently dig up the parent plant. Use a trowel or shovel to loosen the soil around the base and carefully lift the entire clump.
- Clean off excess soil. Gently shake or brush away as much soil as you can from the roots. This allows you to see the structure of the clump.
- Divide the clump. You can do this by hand, gently pulling the sections apart. For tougher clumps, a sharp knife or even two garden forks inserted back-to-back can help you split it. Aim for divisions that have a good amount of roots and several healthy shoots.
- Replant immediately. Once you have your divisions, it’s best to replant them right away. Prepare some good potting mix in your pots or directly in the garden where you want them to grow.
- Water thoroughly. Give your newly planted divisions a good, gentle watering to help settle the soil and encourage root establishment.
Method 2: Stem Cuttings (For the Adventurous)
While division is king, you can also try taking cuttings from young, non-flowering stems.
- Take cuttings. In early spring or late summer, select a healthy, non-flowering stem from the edge of the clump. Using your clean shears, cut a piece about 4-6 inches long. Make the cut just below a leaf node (where a leaf attaches to the stem).
- Prepare the cuttings. Remove the lower leaves from the cutting, leaving just a few at the top. If you’re using rooting hormone, dip the cut end into it now.
- Plant the cuttings. Insert the cut end of the stem into pots filled with your well-draining potting mix. Make a small hole with your finger or a pencil to avoid rubbing off the rooting hormone. Plant the cuttings deep enough so that the remaining leaves support them.
- Provide humidity. Cuttings need consistent moisture and humidity to root. You can cover the pot with a clear plastic bag or a propagator lid, ensuring the leaves don’t touch the plastic.
- Place in bright, indirect light. Avoid direct sun, which can scorch young cuttings.
The “Secret Sauce” (Pro Tips)
Here are a few little tricks I’ve learned over the years that can really boost your success rates:
- Don’t be afraid to get dirty! When dividing, really get in there with your hands. You’ll feel where the plant naturally wants to separate, which often leads to cleaner divisions with less damage to the roots.
- The “Patience Pot” technique: For cuttings, I often use little plastic pots with a transparent lid. These create a mini-greenhouse effect. Just make sure to open the lid for a few minutes each day to allow for air circulation and prevent fungal issues.
- Bottom heat is your friend (for cuttings): If you’re taking cuttings, placing the pots on a seedling heat mat can significantly speed up root development. It mimics the warmth of spring soil, giving those young roots an encouraging nudge.
Aftercare & Troubleshooting
Once your divisions or cuttings show signs of new growth (which usually means they’ve established roots!), it’s time for a little extra attention.
For divided plants, keep the soil consistently moist but not waterlogged for the first few weeks. They’re essentially recovering from surgery, so a little extra care goes a long way.
For cuttings, this is the crucial stage. You’ll know they’ve rooted when you feel a slight resistance when gently tugging on a stem, or when you see new shoots emerging. Gradually acclimate them to drier air by removing the plastic cover for longer periods over a week or two.
Common problems to watch for:
- Rotting: This is the most common issue, especially with cuttings. It usually means too much moisture and not enough air circulation. If you see a cutting turning brown and mushy, unfortunately, it’s likely lost. Remove it immediately and try to improve airflow for any others.
- Wilting: This can happen if the plant is too dry or if it hasn’t rooted yet. Make sure the soil is moist. If it persists, it could be a sign the plant isn’t establishing.
A Little Patience Goes a Long Way
Propagating plants is a journey, not a race. There will be times when things don’t go exactly as planned, and that’s okay! The most important thing is to enjoy the process, learn from each attempt, and celebrate the successes. Witnessing those new little clumps of Arrhenatherum album take hold and grow into their own beautiful selves is a truly rewarding experience. Happy gardening!
Resource:
https://identify.plantnet.org/k-world-flora/species/Arrhenatherum%20album%20(Vahl)%20Clayton/data