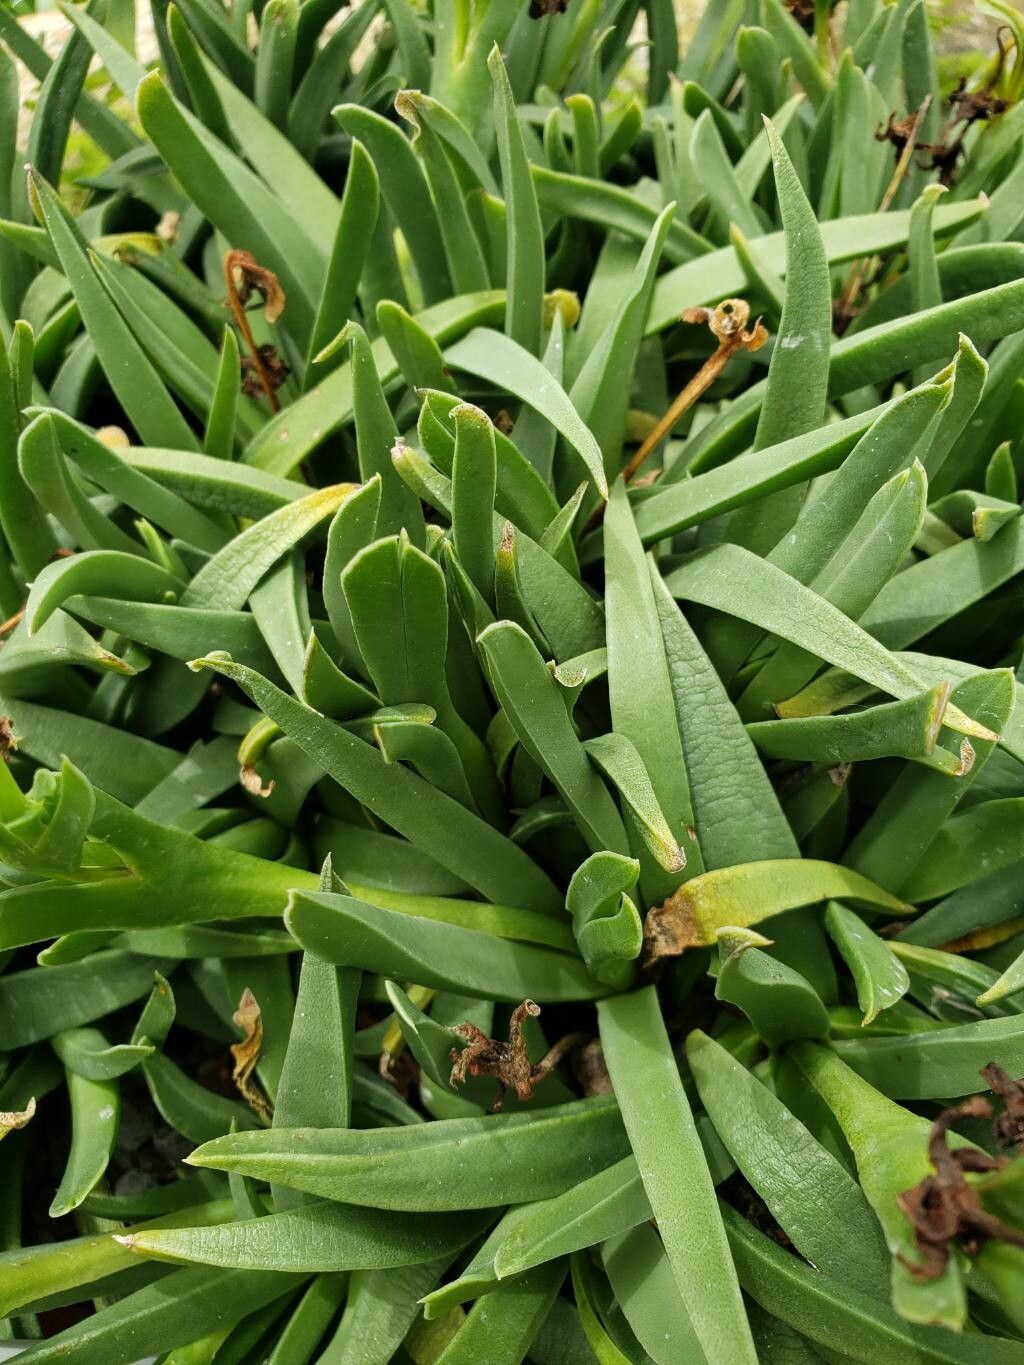
Oh, hello there! It’s wonderful to see you’re curious about Bergeranthus scapiger. Isn’t it a charmer? Those little succulent leaves, often tinged with a lovely reddish hue, and the cheerful star-shaped flowers it produces are just delightful in any garden or windowsill. And the best part? Sharing this beauty is incredibly rewarding. You’ll be happy to know that propagating Bergeranthus scapiger is quite straightforward, even for those just dipping their toes into the gardening world. It’s a wonderfully forgiving plant!
The Best Time to Start
For the highest chance of success with your Bergeranthus propagations, I always aim for spring or early summer. This is when the plant is actively growing and bursting with energy, meaning its cuttings or divisions will be best equipped to form roots quickly. You can also have good luck in late summer, but I find the slightly cooler temperatures of spring give the young plants a bit more breathing room to establish themselves before the intense heat of midsummer or the chill of autumn.
Supplies You’ll Need
Here’s what you’ll want to have on hand before you get started:
- Sharp pruning shears or a clean craft knife: For making clean cuts.
- Well-draining potting mix: A cactus and succulent mix is perfect, or you can create your own by mixing equal parts potting soil, perlite, and coarse sand.
- Small pots or seed trays: Clean and with drainage holes, of course!
- Rooting hormone (optional but recommended): A powder or liquid to encourage faster root development.
- Watering can or spray bottle: For gentle watering.
- Labels and a marker: To keep track of your new plants!
Propagation Methods
Bergeranthus scapiger is a generous plant and can be propagated in a couple of easy ways.
Stem Cuttings
This is my go-to method, as it’s fast and you can get multiple plants from a single parent.
- Select healthy stems: Look for mature stems that are at least 2-3 inches long. Avoid anything that looks leggy or weak.
- Make clean cuts: Using your sharp shears or knife, make a clean cut just below a leaf node (where the leaves attach to the stem).
- Remove lower leaves: Gently strip off the bottom few leaves to expose a bit of the stem. This will help prevent rot and give you a surface to plant.
- Let them callous: This is an important step! Place the cuttings in a dry, airy spot (out of direct sun) for 2-3 days. You’ll see the cut end dry out and form a little “scab.” This prevents rot when you plant them.
- Apply rooting hormone (optional): Dip the calloused end of the cutting into rooting hormone powder or liquid, tapping off any excess.
- Plant your cuttings: Fill your small pots with your well-draining mix. Make a small hole with your finger or a pencil and gently insert the calloused end of the cutting. Firm the soil gently around it.
- Water lightly: Water the soil just enough to moisten it, but don’t make it soggy. A spray bottle works well here.
Division
If your Bergeranthus is looking a bit crowded or you want to propagate it while tidying it up, division is a great option.
- Gently remove the plant from its pot: Turn the pot on its side and carefully slide the plant out. If it’s root-bound, you might need to gently loosen the soil from the sides.
- Examine the root ball: Look for distinct clumps or offsets that have their own roots.
- Separate the divisions: Carefully use your fingers or a clean knife to gently pull or cut apart the clumps. Try to ensure each division has at least a few roots attached.
- Pot up the divisions: Plant each division into its own small pot filled with your well-draining potting mix, just as you would a cutting. Water lightly.
The “Secret Sauce” (Pro Tips)
Here are a few little tricks I’ve picked up over the years that really make a difference:
- Don’t let the leaves touch the water (if water propagating): While some succulents can be rooted in water, for Bergeranthus, I find it leads to rot more often than not with cuttings. If you do try water propagation, ensure only the stem is submerged, not the leaves. But honestly, the soil method is much more reliable!
- GIVE THEM AIR! This is crucial. Once planted, don’t immediately put your cuttings or divisions in a closed terrarium or a plastic bag. They need good air circulation to prevent fungal issues. A bright spot with good airflow is best.
- Bottom heat works wonders: If you have a heat mat designed for seedlings, placing your pots on it can significantly speed up root formation. Just keep it on for a few hours a day, or consistently if your home is cool.
Aftercare & Troubleshooting
Once your cuttings or divisions are planted, place them in a bright spot that receives indirect sunlight. Direct sun can scorch those tender new plants. Water sparingly – only when the soil feels dry to the touch. Overwatering is the quickest way to doom a new propagation.
You’ll know your plants are establishing roots when you see new growth appearing. This can take anywhere from a few weeks to a couple of months, so patience is key!
The most common issue you might encounter is rot. If a cutting looks mushy, discolored, or starts to fall apart, it’s likely rotting. This is usually due to too much moisture and not enough air. If you see this, remove the affected cutting immediately and check the moisture level of the surrounding soil.
A Encouraging Closing
Watching a new plant emerge from a simple cutting or division is one of the most satisfying parts of gardening. Don’t be discouraged if a few don’t make it – it happens to all of us! Just keep trying, enjoy the process, and soon you’ll have a whole bunch of cheerful Bergeranthus scapiger to admire and share. Happy propagating!
Resource: