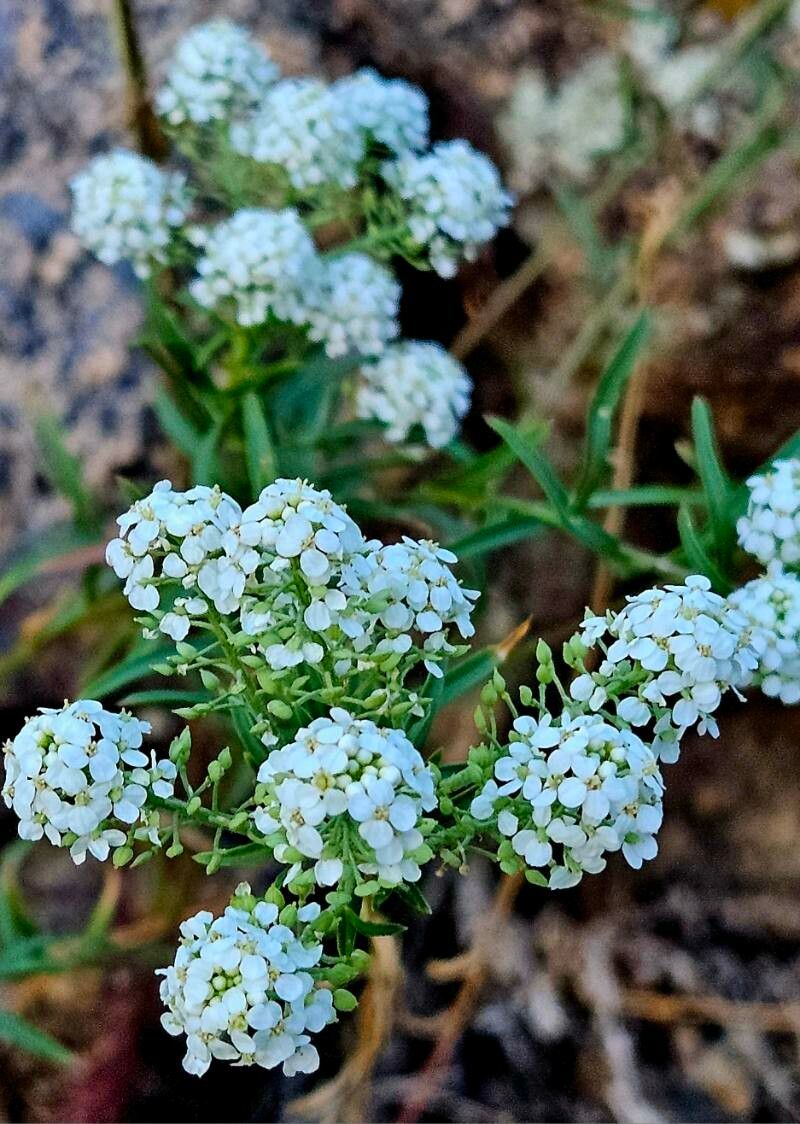
Oh, hello there! I’m so glad you’re curious about Lepidium montanum. This little gem, often called Mountain Pepperweed, is a delightful addition to any garden. Its delicate, often lacy foliage and subtle, peppery aroma are just lovely. And the best part? Bringing more of it into your life through propagation is incredibly rewarding. For beginners, I’d say it’s moderately easy. Some plants can be a bit fussy, but with a little attention, you’ll do wonderfully.
The Best Time to Start
For the highest success rate, I always aim to propagate Lepidium montanum in late spring or early summer. This is when the plant is in a strong growing phase. You’ll find it’s more vigorous, and its stems will have plenty of energy to put towards developing roots. Starting from seeds is also an option, and those are often sown in early spring, indoors or out depending on your climate.
Supplies You’ll Need
Gathering your supplies beforehand makes the whole process so much smoother. Here’s what I usually have on hand:
- Sharp pruning shears or a clean knife: For taking clean cuttings.
- Seed starting mix or a well-draining potting mix: You want something airy that won’t hold too much moisture. A mix of peat moss, perlite, and a little bit of sand works beautifully.
- Small pots or seedling trays: Clean ones are important to prevent disease.
- Rooting hormone (optional but recommended): This can give your cuttings a helpful boost.
- A spray bottle: For misting.
- A clear plastic bag or propagator lid: To create a humid environment for cuttings.
- Water: Of course!
Propagation Methods
Let’s get our hands dirty! Here are a couple of my favorite ways to multiply my Lepidium montanum.
Stem Cuttings
This is a fantastic method for getting a quick start.
- Select a healthy stem: Look for a stem that’s not too woody, but not brand new and floppy either. A stem that’s actively growing, about 4-6 inches long, is perfect.
- Make the cut: Using your sharp shears or knife, make a clean cut just below a leaf node. A leaf node is where a leaf attaches to the stem; this is where roots are most likely to form.
- Prepare the cutting: Gently remove the lower leaves from the stem, leaving just a couple of leaves at the top. This prevents the buried leaves from rotting.
- Apply rooting hormone (optional): Dip the cut end into your rooting hormone powder. Tap off any excess.
- Plant the cutting: Dip the cut end into your prepared potting mix and gently press the soil around it to secure it. Make a small hole first to avoid rubbing off the hormone.
- Water gently: Water the soil thoroughly but gently, so you don’t dislodge the cutting.
- Create humidity: Cover the pot with a clear plastic bag or a propagator lid. This traps moisture and creates the humid environment cuttings need. Place it in a bright spot, but out of direct sunlight, which can scorch the young leaves.
Water Propagation
Sometimes, the simplest methods are the most effective.
- Take your cutting: Follow the same steps as above to select and cut a healthy stem.
- Remove lower leaves: Again, make sure no leaves will be submerged in water.
- Place in water: Put the cutting in a small jar or vase filled with clean water.
- Position: Place the jar in a bright location, away from direct sun.
- Change water regularly: Every few days, change the water to keep it fresh and prevent bacterial growth. You’ll start to see tiny white roots emerging from the leaf nodes.
- Plant when ready: Once the roots are about an inch long, gently transplant the cutting into a small pot filled with your well-draining potting mix.
The “Secret Sauce” (Pro Tips)
Here are a few things I’ve learned over the years that really make a difference.
- Ditch the tap (sometimes): If your tap water is very hard, consider using filtered or distilled water for your cuttings, especially if you’re water propagating. Hard water can sometimes interfere with root development.
- Bottom heat is your friend: For stem cuttings, placing your pots on a gentle heating mat can significantly speed up root formation. It mimics the warmth of spring soil and encourages those roots to get going.
- Don’t be too eager: Resist the urge to constantly pull the cuttings up to check for roots. You can gently tug on the cutting – if there’s resistance, you have roots! Too much disturbance can damage new, delicate root systems.
Aftercare & Troubleshooting
Once you see those first tiny roots peeking out from the drainage holes of your pot, or extending in your water jar, it’s time to celebrate!
When your cuttings have developed a good root system, you can gradually acclimate them to drier conditions. If they were under a plastic bag, you can start by opening it for a few hours a day, eventually removing it completely. Continue to water when the top inch of soil feels dry. They’ll need bright, indirect light.
Now, what if things don’t go as planned? The most common issue you might encounter are signs of rot. This usually happens if the cuttings are kept too wet or in poor air circulation. The stems might turn mushy and black. If you see this, unfortunately, that particular cutting is likely lost. Remove it immediately to prevent it from spreading. Preventative care – good drainage, appropriate watering, and decent airflow – is your best defense.
A Encouraging Closing
See? Not so daunting, is it? Propagating Lepidium montanum is about patience and observation. Each little success is a miniature triumph. Enjoy the process, feel the connection to your plants, and soon you’ll have a whole collection of your own Mountain Pepperweed to share and cherish. Happy gardening!
Resource:
https://identify.plantnet.org/k-world-flora/species/Lepidium%20montanum%20Nutt./data