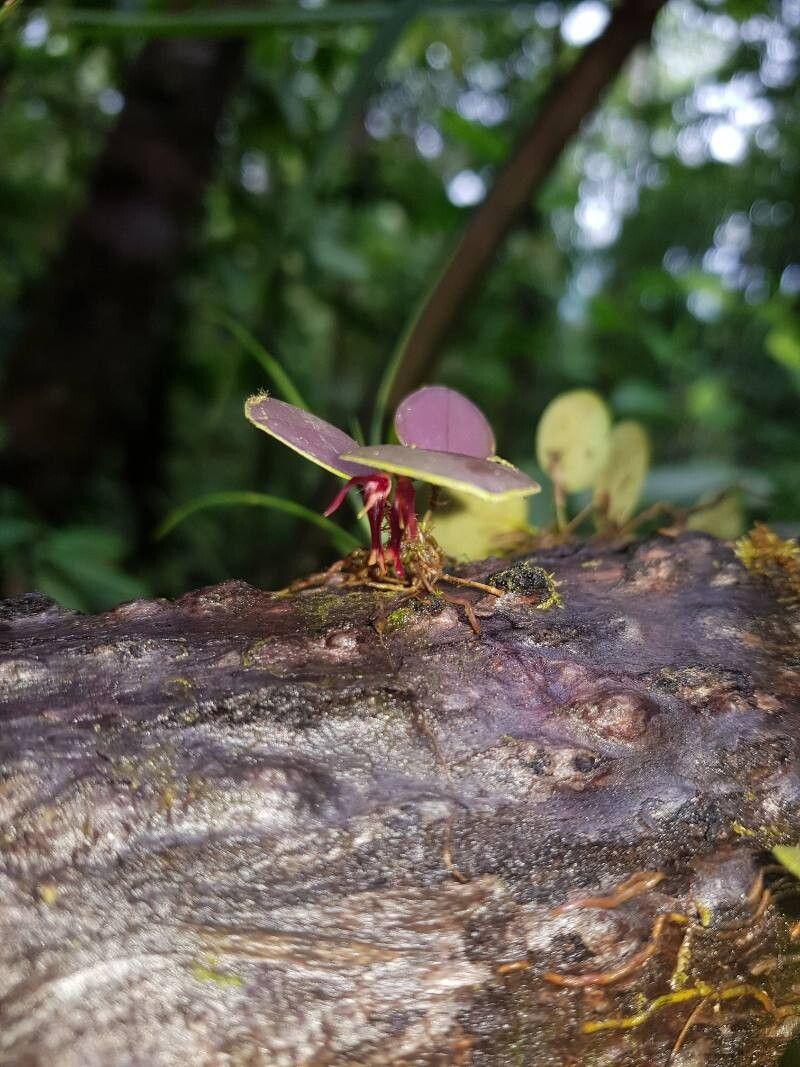
Oh, hello there! Come on in, grab a cup of coffee. Let’s talk about one of my favorite little plants: Trichosalpinx caudata.
Meet the Marvelous Trichosalpinx caudata
There’s something so charming about this miniature orchid. Its delicate, trailing habit and the way its tiny flowers seem to dangle like little bells always bring a smile to my face. If you’ve got a knack for orchids, or even if you’re just dipping your toes into rarer finds, propagating Trichosalpinx caudata is an incredibly rewarding experience. Seeing a tiny division or cutting unfurl its first new leaf is pure magic. Now, I’ll be honest, this isn’t always the easiest plant to propagate for absolute beginners. It requires a bit of a gentle touch and understanding its specific needs. But with a little patience and these tips, you’ll be well on your way to success.
The Best Time to Start
For Trichosalpinx caudata, the sweetest spot to begin propagation is during its active growing season. For most of us, that’s spring and early summer. You’ll notice new growths pushing through, and the plant is generally more robust and energetic, making it more likely to bounce back from division or cuttings. Waiting until you see this vigorous new growth is key.
Supplies You’ll Need
Gathering your tools beforehand makes the whole process much smoother. Here’s what I usually have on hand:
- Sterilized Pruning Shears or a Sharp Knife: Cleanliness is paramount to prevent disease.
- Sphagnum Moss: High-quality, long-fiber sphagnum is my go-to for retaining moisture.
- Small Pots or Containers: Think tiny pots, shot glasses, or even small plastic containers with drainage holes.
- Orchid Bark Mix: A fine-grade bark mix is often suitable, or a blend with perlite for better drainage.
- Rooting Hormone (Optional but Recommended): Especially helpful for cuttings.
- Spring Water or Filtered Water: Tap water can sometimes have minerals that hinder delicate roots.
Propagation Methods
Trichosalpinx caudata is most commonly propagated by division. It’s essentially like giving your plant a much-needed trim and a new home.
Division Method:
- Gently Remove from Pot: Carefully take your Trichosalpinx caudata out of its current pot. If it’s mounted, gently loosen any ties.
- Inspect the Root Ball: Look for natural divisions in the plant. You’ll ideally want to find sections with at least two to three pseudobulbs and a healthy root system.
- Carefully Separate: Using your sterilized shears or knife, gently cut through the rhizome (the creeping stem that connects the pseudobulbs) to separate the divisions. Try to minimize damage to the existing roots.
- Prepare the New Divisions: Remove any old, spent potting media. If there are dead or mushy roots, trim those away. You can dust the cut surfaces with a bit of cinnamon or fungicide if you’re concerned about rot, though I often find it unnecessary if things are kept clean and dry initially.
- Pot Them Up: Place each division into its own small pot. I like to use a mix of fine orchid bark and a bit of sphagnum moss. Ensure the roots are spread out a bit and the pseudobulbs are at or slightly above the surface of the media.
- Water Sparingly: Don’t drench them immediately. Lightly moisten the new mix.
The “Secret Sauce” (Pro Tips)
Here are a couple of things I’ve learned over the years that really make a difference:
- Don’t Let Leaves Touch the Water: If you decide to try water propagation (though division is generally preferred for this orchid), be absolutely sure that the leaves of your cutting never rest in the water. This is a surefire way to invite rot. Only the cut stem should be submerged.
- Embrace the Humidity Tent: For divisions or cuttings that are a bit stressed, creating a mini-greenhouse environment can work wonders. A clear plastic bag over the pot, with a few air holes poked in, will trap humidity and encourage new root formation.
Aftercare & Troubleshooting
Once your new Trichosalpinx caudata divisions are potted, give them a few days to settle before watering them a bit more thoroughly. Keep them in bright, indirect light and maintain consistent humidity. Resist the urge to repot or disturb them too much for at least a few months.
The most common issue you might face is rot. This usually happens if the plant is kept too wet, especially the pseudobulbs themselves. You’ll see them shrivel and turn mushy or dark. If you spot this, act quickly. Gently remove the affected part, sterilize your tools, and try to allow the remaining healthy parts to dry out a bit more between waterings.
Keep Growing!
Propagating plants is a journey, and each new plant you create is a testament to your care and the marvelous resilience of nature. Don’t get discouraged if your first attempt isn’t perfect. Be patient, observe your little Trichosalpinx caudata, and enjoy the process. Happy growing!
Resource: