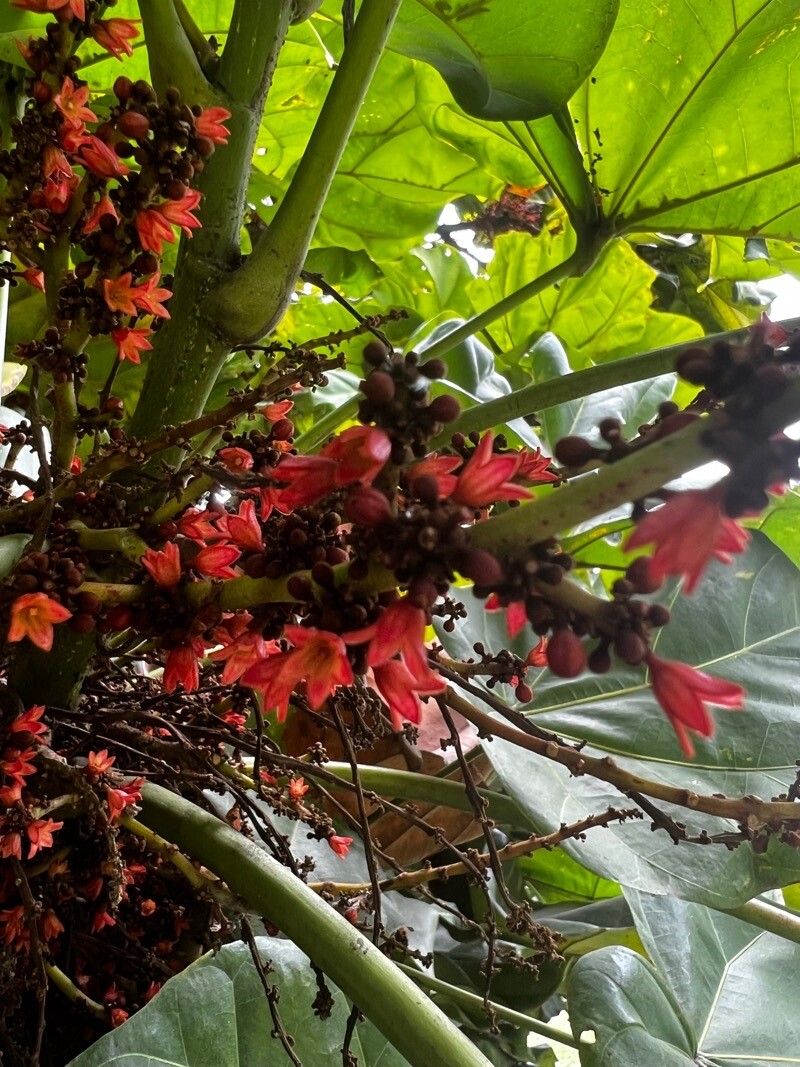
Greetings, fellow plant enthusiasts! I’m so excited to chat with you today about a truly special plant: Cola lizae. If you’re looking for something a little unique to add to your collection, with its lovely foliage and intriguing form, you’ve come to the right place. Propagating Cola lizae is incredibly rewarding. There’s a special kind of joy in nurturing a tiny cutting into a thriving new specimen. Now, I won’t lie and say it’s the absolute easiest plant for a complete beginner, but with a little patience and these tips, you’ll be well on your way!
The Best Time to Start
When it comes to getting new Cola lizae babies, spring and early summer are your golden windows. This is when the plant is really buzzing with energy and new growth. You’ll see those lush, healthy stems that are perfect for taking cuttings. Trying to propagate when the plant is dormant, say in the dead of winter, will likely lead to less success. We want that vigorous growth spurting forward!
Supplies You’ll Need
Gathering your tools beforehand makes the whole process smoother. Here’s what I always have on hand:
- Sharp Pruning Shears or a Clean Knife: For making clean cuts, which is vital for preventing disease.
- Rooting Hormone (Optional, but helpful): A little powder or gel can give your cuttings a boost.
- Well-Draining Potting Mix: A blend of peat moss, perlite, and a bit of compost or coco coir works wonderfully. You want something that won’t hold too much moisture.
- Small Pots or Propagation Trays: With drainage holes, of course!
- Clear Plastic Bag or Humidity Dome: To create a humid environment for your cuttings.
- Watering Can with a Fine Rose: For gentle watering.
Propagation Methods
Let’s get our hands dirty! Here are the methods I find most successful for Cola lizae:
Stem Cuttings
This is my go-to method.
- Select a Healthy Stem: Look for a stem that’s actively growing, not hard and woody, but also not too soft and floppy. You want a stem with at least two to three sets of leaves.
- Make the Cut: Using your sharp shears, make a clean cut just below a leaf node. A leaf node is where a leaf attaches to the stem. This is where the roots will emerge. Aim for cuttings that are about 4-6 inches long.
- Prepare the Cutting: Gently remove the lower leaves, leaving just one or two sets at the very top. If the leaves are large, you can even cut them in half horizontally to reduce water loss.
- Apply Rooting Hormone (Optional): Dip the cut end into your rooting hormone, tapping off any excess.
- Plant Your Cutting: Fill your small pots with your well-draining mix. Make a small hole with your finger or a pencil and gently insert the cutting. Firm the soil around it.
- Water Gently: Give the soil a good soak, ensuring it’s moist but not waterlogged.
- Create Humidity: Place the pot inside a clear plastic bag, sealing it loosely, or cover with a humidity dome. This is crucial for keeping the cutting from drying out.
Water Propagation
This method is visually satisfying!
- Select and Cut: Follow steps 1 and 2 from the stem cutting method.
- Remove Lower Leaves: Just like with soil propagation, remove any leaves that will sit below the water line.
- Place in Water: Pop your cutting into a clean jar or glass filled with room-temperature water.
- Location is Key: Place the jar in a bright spot, but out of direct sunlight.
- Change Water Regularly: Refresh the water every few days to keep it clean and oxygenated.
The “Secret Sauce” (Pro Tips)
Here are a few tricks I’ve learned over the years:
- Bottom Heat is Your Friend: If you’re struggling with rooting, pop your pots onto a heated propagation mat. This gentle warmth encourages root development from below, giving your cuttings that extra push. It makes a world of difference, especially in cooler spring months.
- Don’t Let Leaves Touch the Water: This is a big one for water propagation. If leaves are submerged, they’ll rot quickly, attracting fungus and potentially killing your cutting. Keep those leaves up and out of the water!
- Patience, Dear Gardener! Sometimes, cuttings take their sweet time. Don’t be tempted to pull them up too early to check for roots. Wait until you see good root development or new leaf growth before you worry.
Aftercare & Troubleshooting
Once you spot healthy roots – congratulations! This is where the real nurturing begins.
- For Cuttings in Soil: Keep the propagation environment humid for a few more weeks. Gradually introduce more air circulation by opening the bag for longer periods each day to acclimate the new plant. Once it seems to be holding its own, you can remove the humidity cover. Water when the top inch of soil feels dry.
- For Cuttings in Water: When your water cuttings have roots that are about an inch long, it’s time to transition them to soil. Plant them gently in your well-draining mix, water them in, and treat them much like you would a freshly potted cutting.
- Common Pitfalls: The most common issue is rot. If your cutting turns mushy or develops black spots, it’s likely from too much moisture or lack of air circulation. If you see this, act fast: cut away any affected parts with a clean tool and try to improve drainage and airflow. Yellowing leaves can indicate either too much water or not enough light.
A Little Encouragement
Propagating plants is a journey, and every gardener has had their share of experiments that didn’t quite pan out. Don’t get discouraged! With Cola lizae, it’s about finding that sweet spot of light, moisture, and temperature. Just enjoy the process, celebrate each tiny root that appears, and before you know it, you’ll have a whole new plant to admire. Happy propagating!
Resource:
https://identify.plantnet.org/k-world-flora/species/Cola%20lizae%20N.Hallé/data