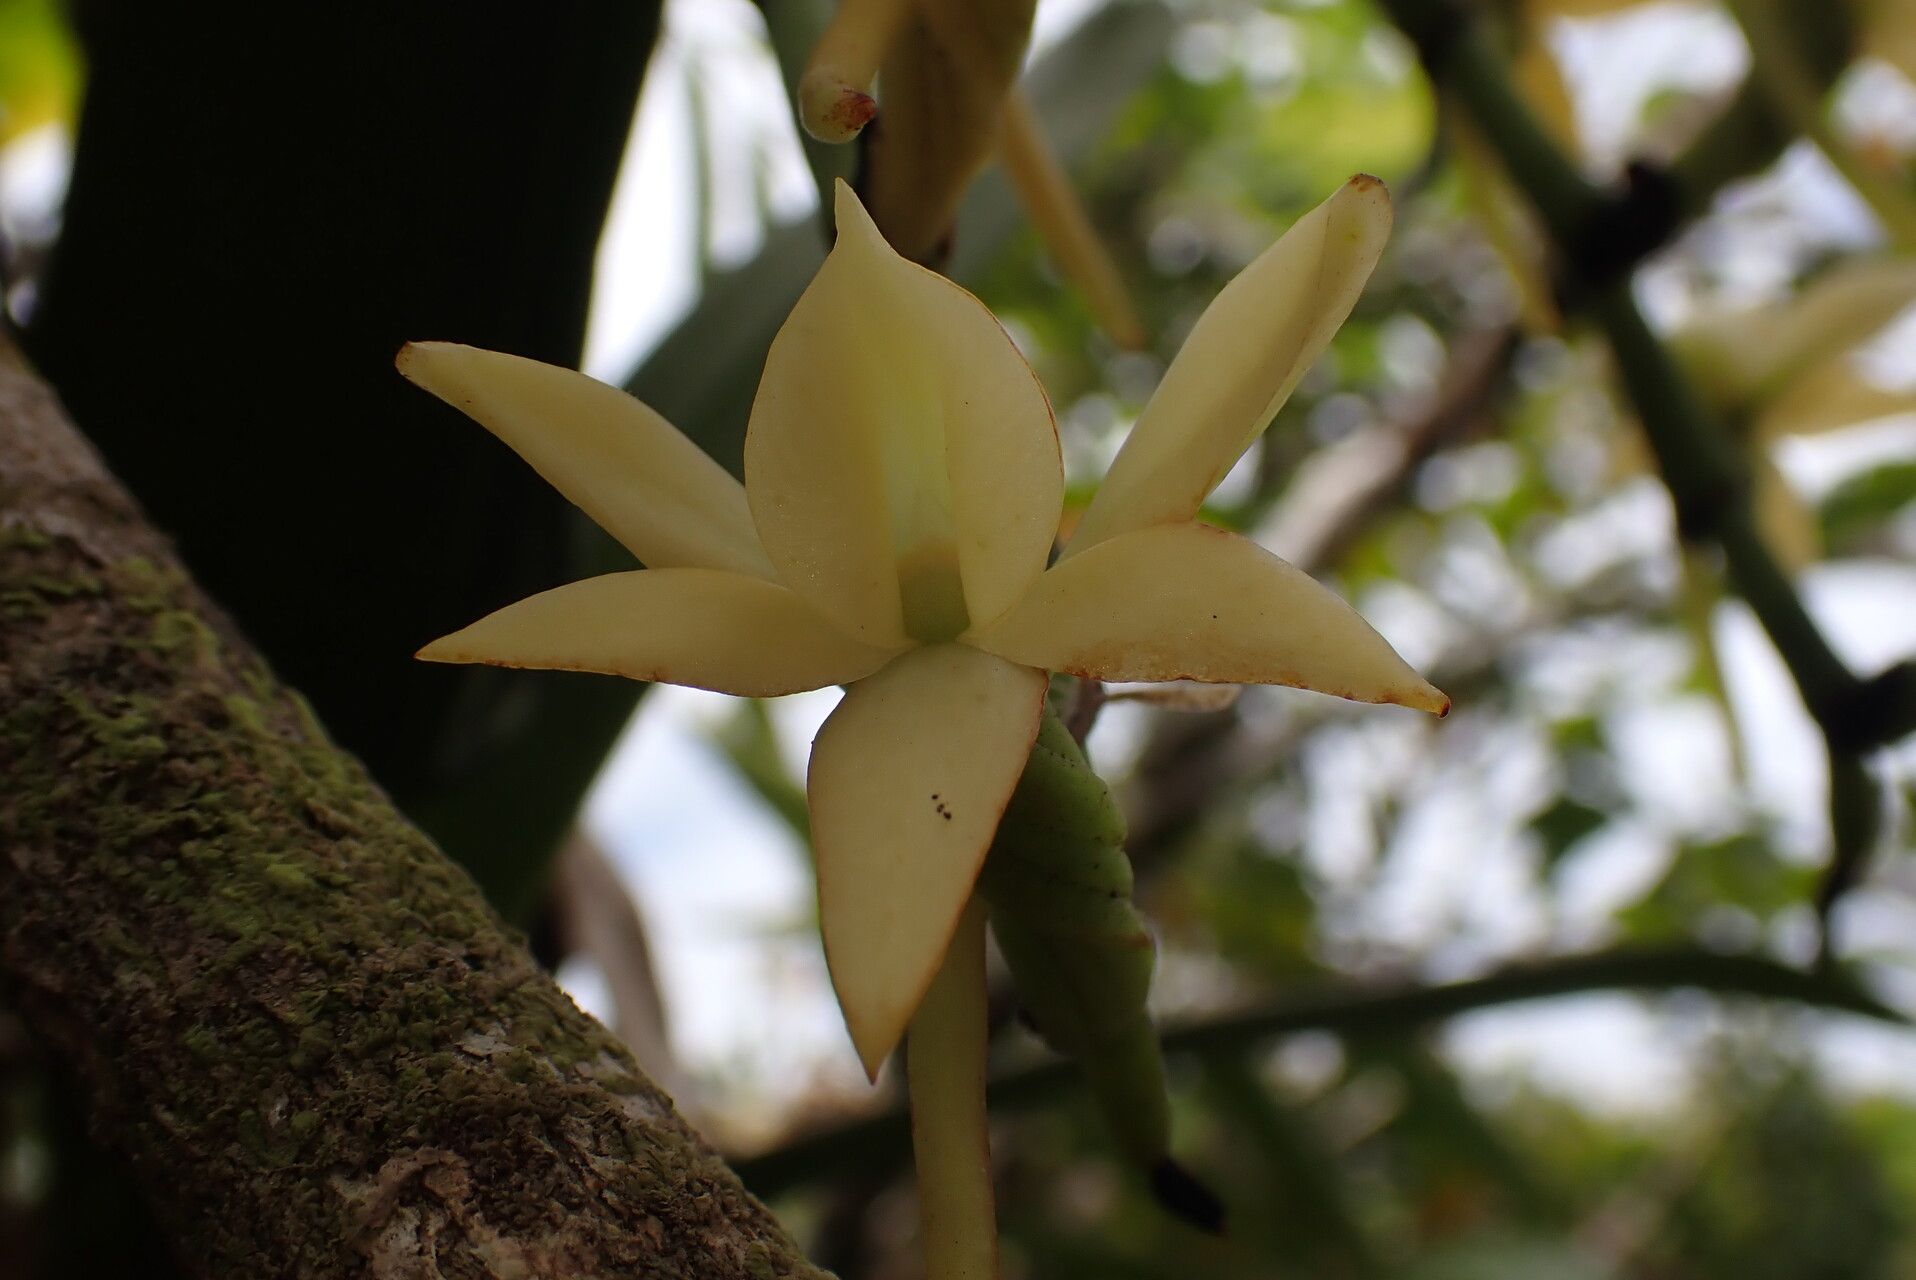
Hey there, fellow plant enthusiasts! Today, we’re diving into the wonderful world of Angraecum crassum, a truly special orchid that brings a touch of the wild to our homes. If you’ve ever admired its thick, sturdy leaves and the promise of those incredible, often fragrant, star-shaped blooms, you’re not alone. And guess what? Propagating this beauty can be incredibly rewarding, giving you more of those unique flowers to share or simply enjoy. Now, I won’t sugarcoat it – while not one of the “throw it in water and it roots overnight” kinds of plants, Angraecum crassum is definitely manageable for the determined beginner with a little patience.
The Best Time to Start
My experience tells me that the late spring or early summer is your sweet spot for propagating Angraecum crassum. Think about when your plant is actively growing, pushing out new shoots or leaves. That energy is exactly what a new cutting needs to get going. Warmer temperatures and longer daylight hours really give those baby roots a boost.
Supplies You’ll Need
Before we get our hands dirty, let’s gather our trusty tools:
- Sharp, sterile pruning shears or a clean knife: For making clean cuts.
- Cinnamon or rooting hormone (optional but recommended): Cinnamon acts as a mild antifungal, and rooting hormone can speed things up.
- A well-draining orchid mix: I like a blend of bark, perlite, and charcoal. You can also use sphagnum moss for some methods.
- Small pots or containers: Nothing too big, just enough for your new babies. Ensure they have drainage holes!
- Spray bottle: For misting.
- Clear plastic bag or propagation dome: To create a humid environment.
- Bottom heat source (optional but helpful): A seedling heat mat can be a game-changer.
Propagation Methods
Angraecum crassum is best propagated through division or stem cuttings. Let’s explore both:
Division
This is the most straightforward method if your plant is mature and has multiple growths.
- Gently remove your orchid from its pot. Try not to disturb the roots too much.
- Inspect the plant. Look for natural divisions where a new growth is emerging from the base of a mature pseudobulb or stem. You’re aiming for at least two or three healthy leaves and ideally some established roots on each section.
- Carefully separate the divisions. Using your sterile shears or knife, cut between the growths. If there’s a lot of tangled root mass, you might need to be a bit more assertive, but always be mindful of the roots.
- Treat the cuts. You can dust the cut surfaces with cinnamon or a rooting hormone to help prevent rot and encourage rooting.
- Pot up your new divisions. Plant each division in its own pot with fresh, well-draining orchid mix. Make sure the base of the plant is securely in the mix but not buried too deeply.
- Water lightly. Just enough to moisten the potting medium.
Stem Cuttings (Keikis)
Sometimes, Angraecum crassum will produce a small baby plant, or keiki, on a stem. This is your golden ticket!
- Wait for the keiki to develop. You want to see it has at least two or three small leaves and ideally a few tiny root nubs. This is crucial for success.
- Make a clean cut. Using your sterile shears, cut the stem about an inch below the keiki. Leave a portion of the mother stem attached to the keiki if possible.
- Treat the cut end. You can dip the cut end in rooting hormone or dust it with cinnamon.
- Pot your keiki. Plant it in a small pot with a well-draining orchid mix, ensuring the developing roots are nestled in the medium.
- Create humidity. This is key! Place the potted keiki in a clear plastic bag, sealing it loosely, or pop it into a propagation dome. You want that steamy, greenhouse-like environment.
- Provide warmth. A little bottom heat from a seedling mat can really encourage those roots to form.
The “Secret Sauce” (Pro Tips)
Here are a few tricks I’ve learned over the years that can make a big difference:
- Don’t overwater, ever. This is the cardinal sin of orchid propagation. Damp is good, soggy is deadly. Your cuttings need to want to find water, not have it readily available which can lead to rot.
- Airflow is your friend. While humidity is essential, you don’t want stagnant air. Open the plastic bag or dome for a few minutes each day to allow for fresh air exchange. This helps prevent fungal issues.
- Light, but not direct sun. Your new propagations need bright, indirect light. Too much direct sun will scorch those tender new leaves and roots.
Aftercare & Troubleshooting
Once your keiki or division is potted, keep it in that humid environment. Mist the leaves lightly every couple of days, just enough to keep them turgid. Observe those roots! You’ll know things are progressing when you see new root growth emerging from the medium or extending from your keiki.
The most common problem you’ll encounter is rot. If you see mushy, discolored stems or leaves, it’s usually a sign of too much moisture. You might need to pull the cutting out, trim away any rotted parts with sterile tools, and let it air dry for a day or two before repotting in fresh, dry mix. Patience is your best ally here. Don’t despair if a cutting doesn’t make it; it’s all part of the learning curve!
A Encouraging Closing
Propagating Angraecum crassum is a journey, a chance to connect more deeply with these beautiful plants. Be patient with yourself and your cuttings. Watch for those tiny signs of life, celebrate every new leaf and root, and enjoy the incredible satisfaction of creating new life from something you love. Happy growing!
Resource:
https://identify.plantnet.org/k-world-flora/species/Angraecum%20crassum%20Thouars/data