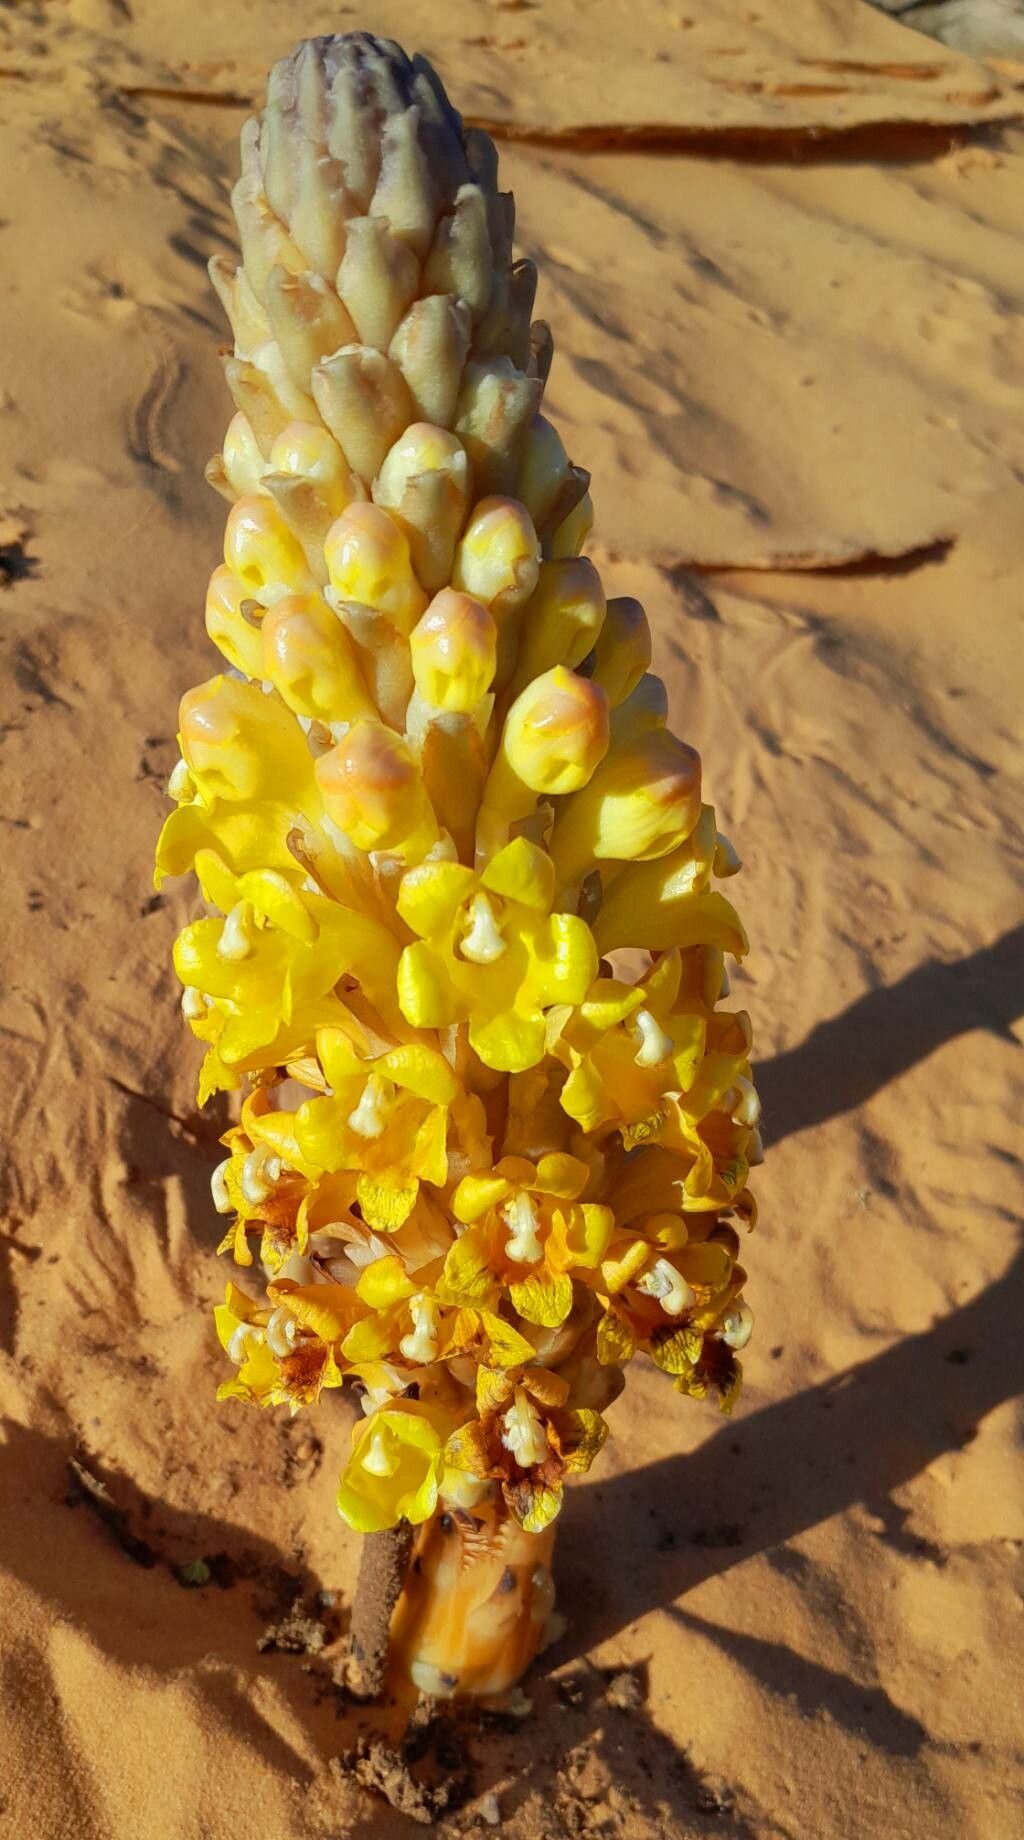
Hello fellow plant enthusiasts! I’m so excited to dive into a really special plant today: Cistanche phelypaea. If you’re looking for something a little unusual, a plant that brings a touch of the exotic to your garden, this is it. Its vibrant orange-red spikes are truly a sight to behold, and nothing beats the satisfaction of nurturing one from a tiny piece into a thriving specimen.
Now, I won’t sugarcoat it – Cistanche phelypaea propagation isn’t quite as straightforward as, say, a succulent. It requires a bit more attention to detail. But trust me, with a bit of patience and these tips, you’ll be well on your way to success. It’s a rewarding challenge that’s absolutely worth the effort.
The Best Time to Start
When it comes to Cistanche phelypaea, the sweet spot for propagation is definitely late spring to early summer, right when the plant is actively growing. This is when it’s brimming with energy and better equipped to heal and sprout new roots. Avoid trying to propagate from dormant plants; you’ll have a much tougher go of it.
Supplies You’ll Need
Gathering your tools beforehand makes the whole process smoother. Here’s what you’ll want to have on hand:
- Sharp pruning shears or a clean knife: For making precise cuts. Sterilize them first with rubbing alcohol!
- Well-draining soil mix: A gritty, sandy mix is essential. Think a combination of cactus/succulent mix with added perlite or coarse sand.
- Rooting hormone (optional, but recommended): This can significantly boost your success rate.
- Small pots or propagation trays: With drainage holes, of course.
- Watering can or spray bottle: For gentle watering.
- Clear plastic bags or a propagation dome: To create a humid environment.
- Gravel or small stones: For ballast if you’re using water propagation.
Propagation Methods
For Cistanche phelypaea, we find that stem cuttings are generally the most successful and practical method. Let’s walk through it.
Stem Cuttings:
- Choose your cutting: Find a healthy, mature stem that’s at least 4-6 inches long. Look for one that’s firm and has visible nodes (where leaves or branches emerge).
- Make the cut: Using your sterilized shears or knife, make a clean cut just below a node.
- Prepare the cutting: Gently remove the lower leaves to expose the node area. If you’re using rooting hormone, dip the cut end into the powder now, tapping off any excess.
- Plant the cutting: Fill your small pot with your gritty soil mix. Make a small hole in the center and insert the cut end of the stem, ensuring at least one node is buried beneath the soil. Gently firm the soil around the stem.
- Water gently: Water the soil lightly to help settle it. You want it moist, not soggy.
- Create a humid environment: Place the pot inside a clear plastic bag or cover it with a propagation dome. This traps moisture and encourages rooting. Make sure the bag doesn’t directly touch the leaves.
- Provide bright, indirect light: Place the pot in a location that receives plenty of bright, indirect sunlight. Avoid direct sun, which can scorch the leaves.
The “Secret Sauce” (Pro Tips)
Here are a couple of things I’ve learned over the years that really make a difference:
- Let the cut callous: Before planting, let your cutting sit out in a dry, airy spot for a day or two until the cut end dries and forms a slight callus. This helps prevent rot when it’s finally planted.
- Bottom heat is your friend: Cistanche roots best with a bit of warmth from below. If you have a heat mat designed for seedlings, place your pots on it. It mimics the warmth of summer soil and can speed up root development considerably.
Aftercare & Troubleshooting
Once your cuttings are planted, patience is key! Check the soil moisture every few days, watering lightly only when the top inch feels dry. You’re looking for signs of new growth, like tiny leaves emerging or the stem thickening. This can take several weeks, so don’t despair if you don’t see immediate results.
The most common issue you’ll encounter is rot. If you notice your cutting turning mushy or black, it’s likely too much moisture. Unfortunately, a rotted cutting usually can’t be saved. Ensure your soil drains incredibly well and that you’re not overwatering. If rot is widespread, you might need to start over with fresh cuttings and a drier soil mix.
A Encouraging Closing
Propagating Cistanche phelypaea is a journey, and like any good journey, it has its ups and downs. But seeing those first roots emerge, followed by new growth, is incredibly rewarding. Be patient, observe your cuttings, and don’t be afraid to experiment a little. The beauty of gardening is in the learning, and I’m confident you’ll be enjoying your new Cistanche plants before you know it. Happy propagating!
Resource:
https://identify.plantnet.org/k-world-flora/species/Cistanche%20phelypaea%20(L.)%20Cout./data