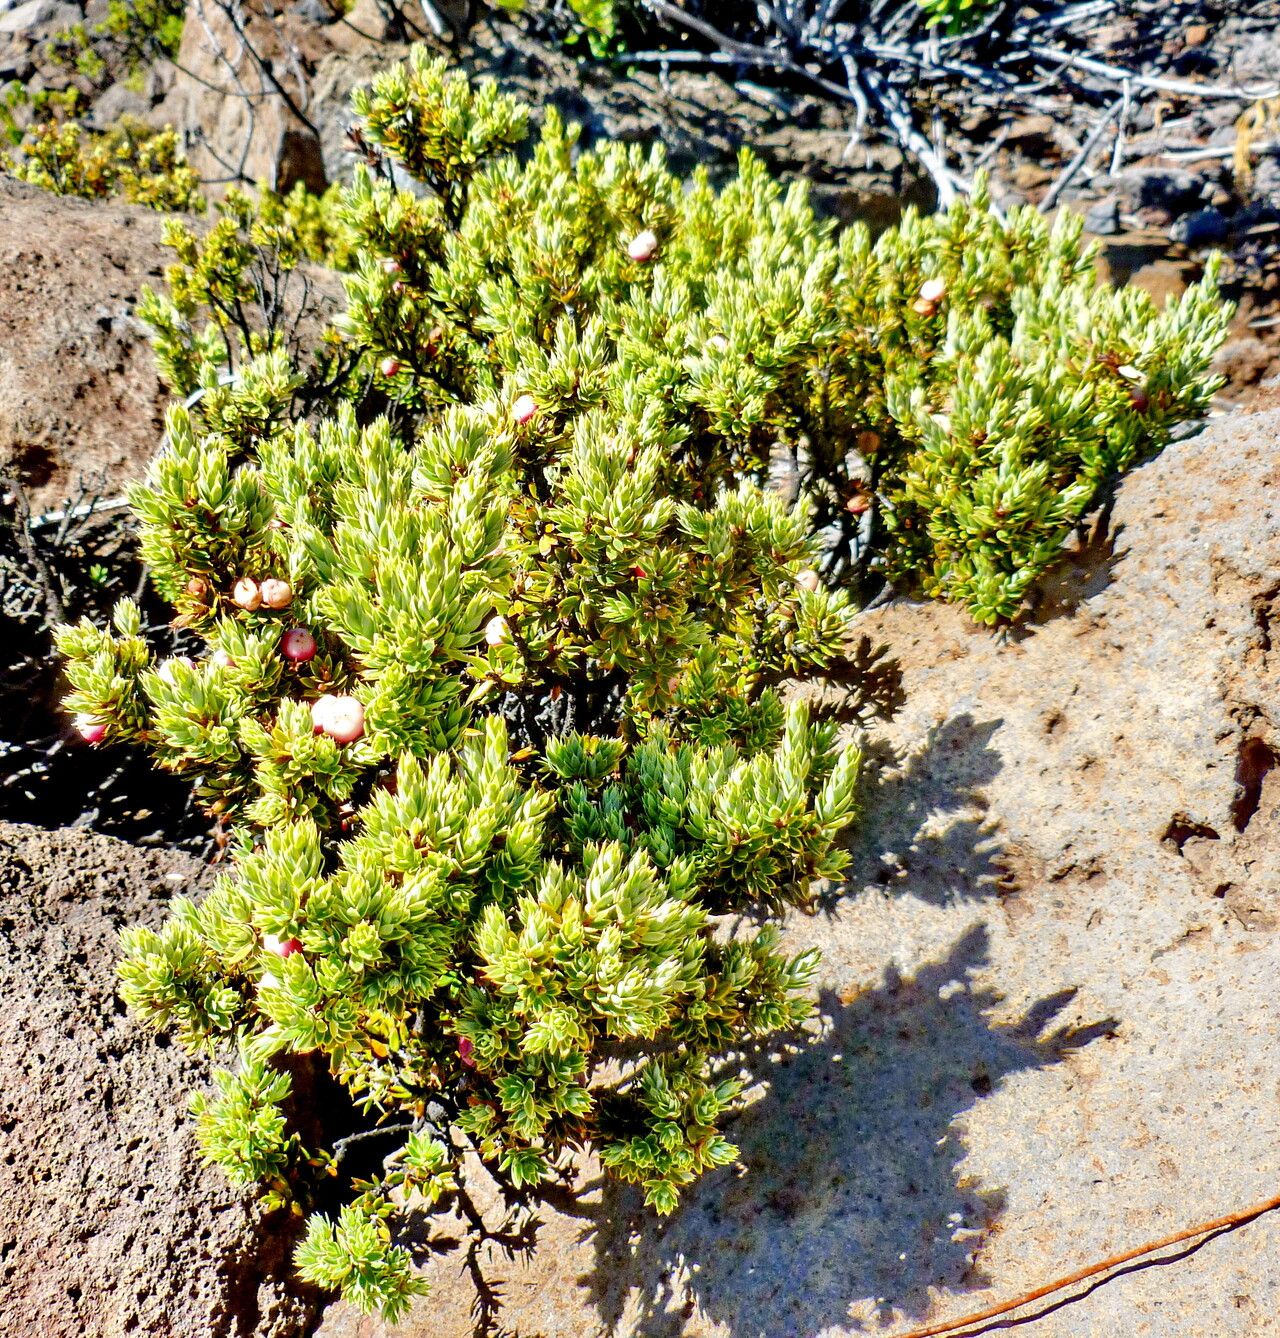
Oh, hello there! So glad you’re here to chat about Vaccinium reticulatum, or as many of us affectionately call it, the California Huckleberry. If you’ve ever tasted those sweet-tart berries bursting with flavor, you know why this shrub is such a treasure. And guess what? Bringing more of this beauty into your garden is totally achievable. Propagating it yourself is incredibly satisfying, a little bit like magic happening right before your eyes. Now, is it a walk in the park for absolute beginners? Honestly, I’d say it’s a moderate challenge. There’s a bit of a learning curve, but with a little patience and these tips, you’ll be well on your way.
The Best Time to Start
For Vaccinium reticulatum, I’ve found the late spring to early summer is your sweet spot. You want to work with new growth, the tender, flexible shoots that are just stretching out. Think of it as catching the plant at its most vigorous and ready to take on a new adventure. Waiting until the plant has had a good flush of growth after flowering is key.
Supplies You’ll Need
Gathering your tools before you begin makes the whole process so much smoother. Here’s what I always have on hand:
- Sharp Pruning Shears or a Clean Knife: For making clean cuts.
- Rooting Hormone: A powder or gel can really give your cuttings a boost.
- Potting Mix: A well-draining mix is crucial. I like a combination of peat moss or coco coir, perlite or vermiculite, and a little bit of compost. Think of it as airy and happy!
- Small Pots or a Propagation Tray: With drainage holes, of course.
- Clear Plastic Bags or a Propagator Lid: To keep humidity high.
- Spray Bottle: For misting.
- Labels and a Marker: To keep track of what’s what.
Propagation Methods
Let’s dive into how we make more of these lovely plants!
Stem Cuttings
This is my go-to method for Vaccinium reticulatum.
- Take Your Cuttings: In late spring or early summer, select healthy, current-season shoots. Look for stems that have just finished flowering or are developing new leaves. You want side shoots, about 4-6 inches long. Prune them just below a leaf node. Remove the lower leaves, leaving just a few at the top.
- Prepare the Cuttings: Dip the cut end into rooting hormone, tapping off any excess.
- Plant Your Cuttings: Fill your small pots or tray with your prepared potting mix. Make a small hole with a pencil or your finger for each cutting. Gently insert the cuttings into the holes, ensuring the bottom leaves aren’t buried. Firm the soil gently around them.
- Water and Cover: Water the mix thoroughly but gently. Then, cover the pots with clear plastic bags or a propagator lid to create a mini-greenhouse. This is vital for keeping humidity up.
Water Propagation (with a caveat!)
While some plants root easily in water, I find it a bit trickier for Vaccinium. If you want to try, follow the steps for stem cuttings, but instead of planting in soil, place the cut end of the prepared stem into a jar of clean water. Crucially, make sure no leaves are submerged in the water. Change the water every few days. Once you see a good network of roots forming, you can then carefully transplant them into your well-draining potting mix. This method requires a bit more vigilance.
The “Secret Sauce” (Pro Tips)
Here are a few things I’ve learned over my years in the garden that make a real difference:
- Bottom Heat is Your Friend: Vaccinium reticulatum cuttings absolutely love a little warmth from below. Placing your pots on a gentle heat mat designed for propagation can dramatically speed up root development. It mimics that cozy soil temperature they crave.
- Don’t Over-Water, But Keep it Humid: It’s a delicate balance! You want the soil to stay consistently moist, but not soggy. Misting the leaves daily with your spray bottle is a great way to supplement the humidity under your plastic cover without waterlogging the soil. If you see water pooling in the bottom of the pot, you’ve gone too far; let it dry out just a touch.
- Patience with the Hormone: When using rooting hormone, don’t overdo it. Just enough to coat the cut end is perfect. Too much can actually hinder root formation.
Aftercare & Troubleshooting
Once you start seeing those first tiny white roots peeking out of the drainage holes (hooray!), it’s time to transition.
- Acclimate Slowly: Before removing the plastic cover entirely, gradually increase ventilation. Open the cover for a few hours each day for about a week. This helps the new plant adjust to drier air.
- Transplanting: Once the roots are well-established and the plant looks vigorous, you can transplant it into a slightly larger pot with your regular well-draining potting mix. Treat it gently.
- Signs of Trouble: The most common issue you’ll encounter is rot, often indicated by mushy, dark stems or leaves that turn yellow and drop off prematurely. This is usually a sign of too much moisture and not enough air circulation. If you see this, try to improve drainage and reduce watering. Occasionally, cuttings might simply fail to root. Don’t be disheartened! It happens, and it’s often just a matter of timing or the specific cutting.
A Little Encouragement
Propagating plants is a journey, and with Vaccinium reticulatum, it’s a rewarding one. There will be moments of doubt, but also moments of pure joy when you see that first new leaf unfurl on a cutting you’ve nurtured. Be patient with yourself and with your little green babies. Enjoy the process of learning and growing right alongside them. Happy propagating!
Resource:
https://identify.plantnet.org/k-world-flora/species/Vaccinium%20reticulatum%20Sm./data