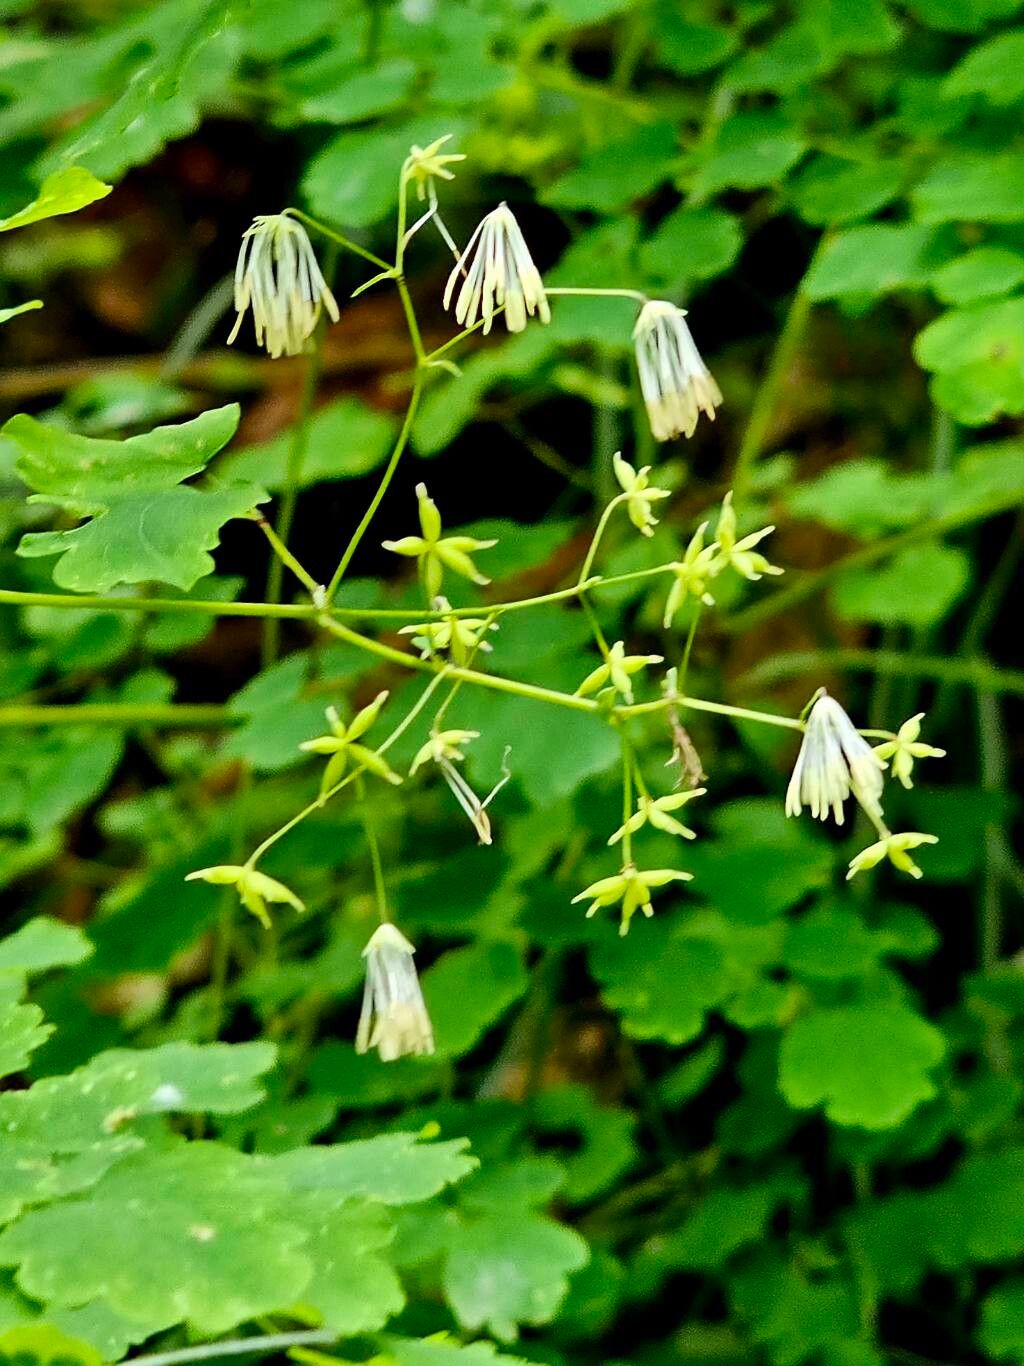
Oh, Thalictrum foliolosum! If you’re looking for a plant that brings a cloud of delicate, airy beauty to the garden, this is it. Its fine, feathery foliage and dainty flowers are a dream, and honestly, multiplying this beauty yourself is incredibly satisfying. I’ve found it to be a pretty forgiving plant to propagate, even for those of you just starting out on your propagation journey.
The Best Time to Start
For Thalictrum foliolosum, I find the early days of spring are your golden ticket. After the last frost, when the plant is actively putting on new growth, the stems have the most vitality to get themselves rooted. You can also sneak in some propagation in mid-summer with softwood cuttings, but spring is generally my go-to for the best results.
Supplies You’ll Need
Here’s what I usually have on hand:
- Sharp pruning shears or a clean knife: Essential for making clean cuts.
- Rooting hormone (optional but helpful): A little powder can give your cuttings a boost.
- Well-draining potting mix: I often use a 50/50 blend of peat or coco coir and perlite or coarse sand.
- Small pots or seed trays: With drainage holes, of course!
- Plastic bags or a propagation dome: To create a humid environment.
- Labels and a marker: Because we all forget what we planted where!
- Watering can or spray bottle: To keep things moist.
Propagation Methods
There are a couple of ways to get more Thalictrum foliolosum, but I find stem cuttings work like a charm.
Stem Cuttings
- Find your material: Look for healthy, non-flowering stems that are about 4-6 inches long. Gently bend a stem; if it snaps cleanly, it’s likely ready. If it just bends, it might be too soft.
- Take the cut: Using your sharp shears, make a clean cut just below a leaf node. A leaf node is that little bump on the stem where a leaf emerges. This is where the magic of root development often happens.
- Prepare the cutting: Remove the lower leaves from the cutting, leaving just a few at the top. This prevents them from rotting in the soil. If the remaining leaves are large, you can even cut them in half to reduce water loss.
- Dip in hormone (optional): If you’re using rooting hormone, dip the cut end of the stem into the powder. Tap off any excess.
- Plant the cuttings: Fill your small pots or trays with your well-draining mix. Make a small hole with a pencil or your finger and insert the cutting, ensuring the leaf nodes are buried in the soil. Gently firm the soil around the stem.
- Water gently: Give the soil a good, gentle watering to settle it around the cuttings.
- Create humidity: Cover the pots with a plastic bag (making sure it doesn’t touch the leaves) or place them under a propagation dome. This is crucial for keeping the cuttings from drying out.
- Place them in a bright spot: Find a location that receives bright, indirect light. Avoid direct sun, as this can scorch your delicate cuttings.
The “Secret Sauce” (Pro Tips)
- Bottom warmth is king: If you have a heat mat, using it under your pots can significantly speed up root formation. It mimics the warmth of spring soil, and your cuttings will thank you for it!
- Don’t let leaves touch the water: When you’re watering, make sure the leaves of your cuttings aren’t sitting in puddles of water. This is a fast track to rot. Gentle watering from the bottom or a light misting from above is best.
- Practice patience with the “snap test”: Once your cuttings have been in the soil for a few weeks, you can gently tug on one. If you feel a bit of resistance, that’s a good sign that roots are forming. If it pulls out easily, it hasn’t rooted yet. Don’t be discouraged if it takes a month or two!
Aftercare & Troubleshooting
Once you see new leaf growth or feel that resistance when you gently tug on a cutting, it’s a good sign roots have formed! You can then gradually acclimate your new plants to normal humidity by opening the plastic bag or dome a little more each day over a week. Keep the soil consistently moist but not waterlogged.
The most common troubleshooting issue you might encounter is rot. If you see a cutting turning black or mushy, unfortunately, it’s a goner. This is usually due to too much moisture and not enough air circulation. Adjust your watering schedule and ensure good drainage.
A Encouraging Closing
Propagating Thalictrum foliolosum is a wonderfully rewarding experience. It’s a chance to connect with your plants on a deeper level and fill your garden (or a friend’s garden!) with these lovely blooms. Be patient with the process, enjoy the journey, and soon you’ll have a whole collection of your own delicate beauties. Happy gardening!
Resource:
https://identify.plantnet.org/k-world-flora/species/Thalictrum%20foliolosum%20DC./data