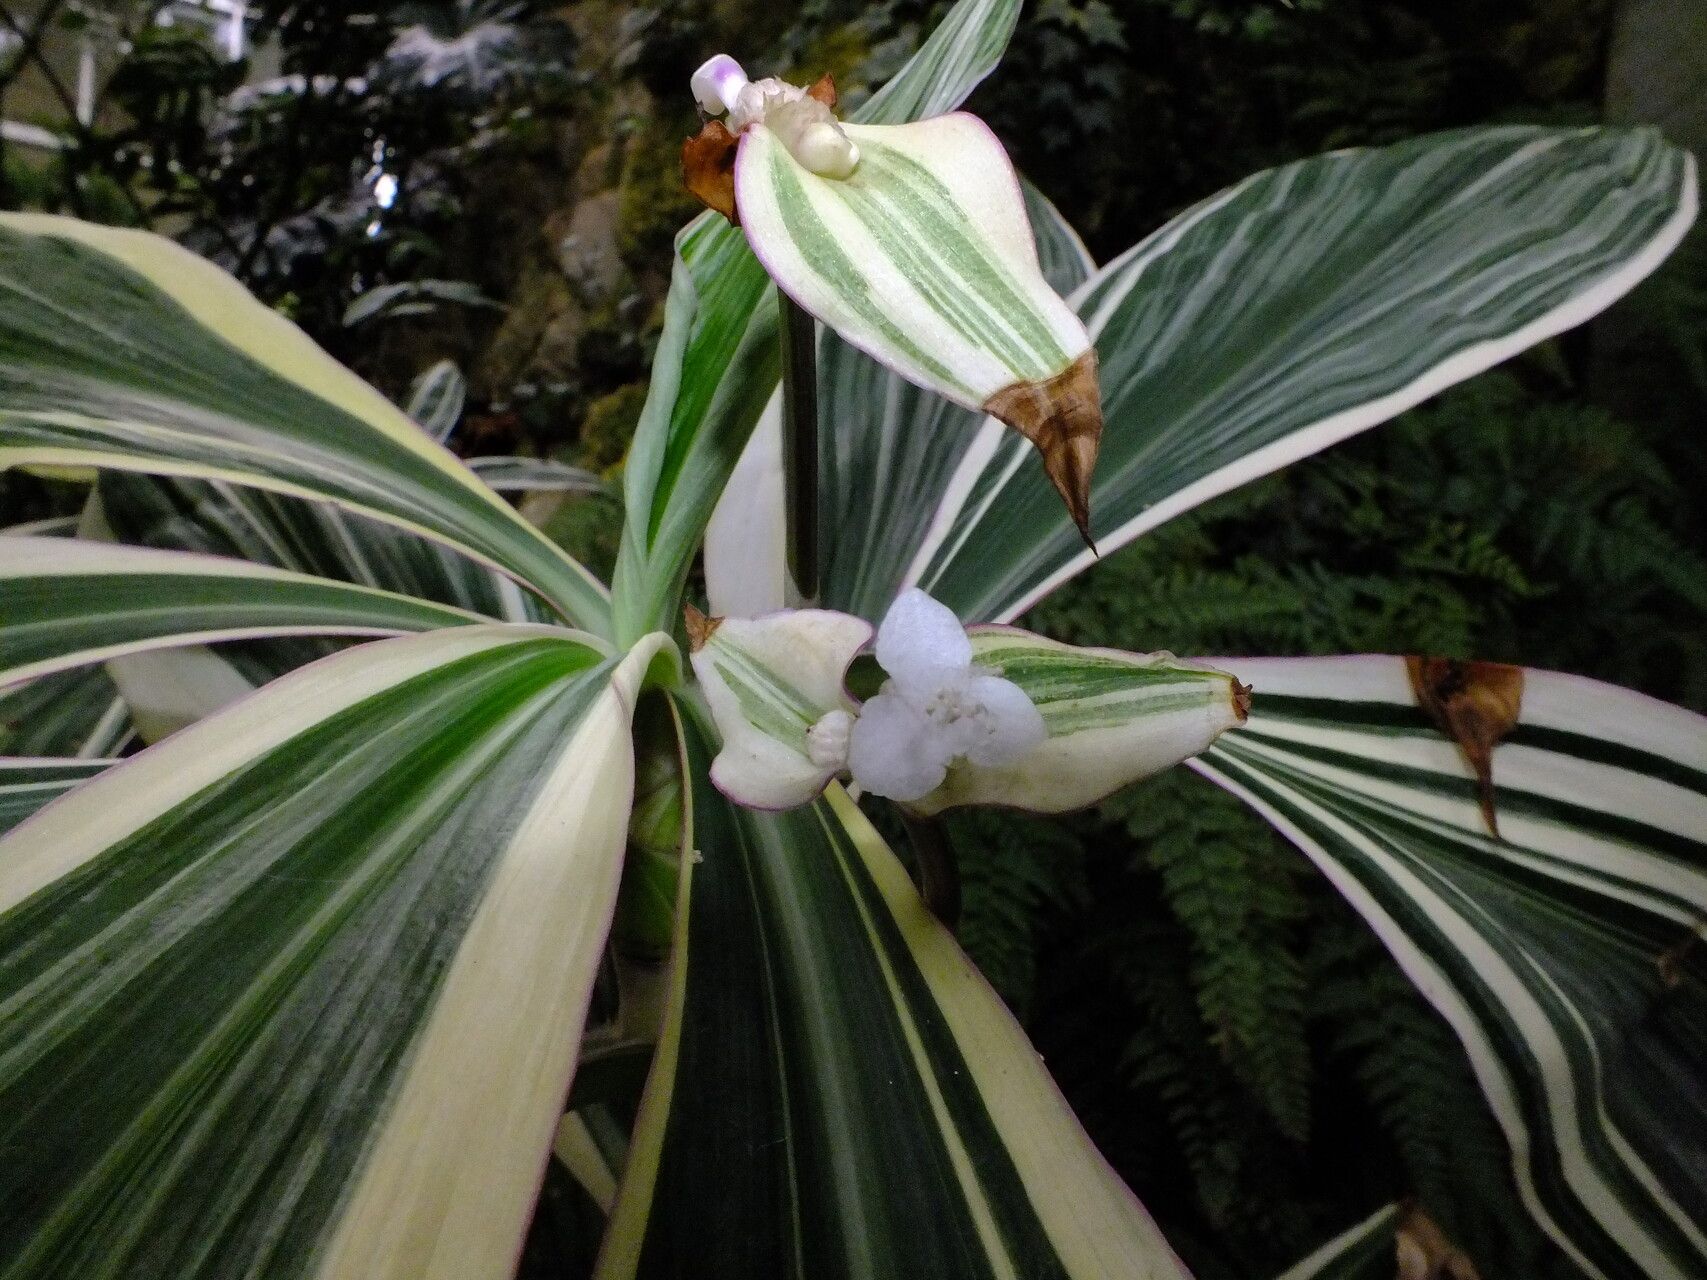
Hello fellow plant lovers! I’m so delighted you’re here, ready to dive into the wonderful world of propagating Tradescantia zanonia, also known as the Inch Plant or sometimes the Moses-in-the-Cradle. This plant is just a dream, isn’t it? With its stunning, variegated foliage that seems to shimmer with shades of purple, silver, and green, it adds such vibrant life to any corner of your home. And the best part? It’s remarkably easy to share! If you’re new to the plant world, this is absolutely one you can tackle. Propagating it is not only simple but incredibly rewarding. Watching a tiny cutting transform into a lush, new plant is pure gardening magic.
The Best Time to Start
Generally, the spring and early summer months are your golden window for propagating Tradescantia zanonia. This is when the plant is in its most active growth phase. The longer days and warmer temperatures create the perfect environment for cuttings to root quickly and vigorously. While you can propagate them at other times, you might find the process a bit slower outside of this prime growing season.
Supplies You’ll Need
Here’s what you’ll want to have on hand before you get started:
- Sharp Pruning Shears or Scissors: Clean, sharp tools are essential for making clean cuts that heal well.
- A Small Trowel or Dibber: For gently placing cuttings into soil.
- Small Pots or Seedling Trays: Anything that can hold your cuttings. Make sure they have drainage holes!
- Potting Mix: A well-draining mix is key. I like using a blend of peat moss or coco coir with perlite in roughly equal parts. This keeps things light and airy, preventing soggy roots.
- Rooting Hormone (Optional but Recommended): This can give your cuttings a significant boost in rooting speed and success. You can find it in powder or liquid form.
- Clear Plastic Bags or a Propagator: To create a humid environment for your cuttings.
Propagation Methods
Tradescantia zanonia is a very forgiving plant when it comes to propagation, and there are a couple of methods that work like a charm.
Stem Cuttings: My Go-To Method
This is my absolute favorite way to make more Tradescantia zanonia. It’s quick, easy, and yields great results.
- Take a Cutting: Choose a healthy stem that has at least 3-4 sets of leaves. Using your clean shears, make a cut just below a leaf node. This is the little bump on the stem where a leaf emerges – it’s where a new root will want to grow from. Aim for cuttings that are about 4-6 inches long.
- Prepare the Cutting: Gently remove the lower leaves from the cutting. You want to expose the leaf nodes that will eventually go into the soil or water. If your cutting looks a bit leggy, don’t worry, it will bush out.
- Apply Rooting Hormone (Optional): If you’re using rooting hormone, dip the cut end of the stem into the powder or liquid, tapping off any excess.
- Plant Your Cuttings: Fill your small pots with your prepared potting mix. Make a small hole with your trowel or finger and gently insert the cut end of the stem, ensuring at least one or two leaf nodes are buried. Firm the soil gently around the base.
- Water Lightly: Give the soil a gentle watering. You want it to be moist, but not soggy.
- Create Humidity: Cover your pots loosely with a clear plastic bag or place them in a propagator. This creates a mini-greenhouse effect, keeping the humidity high, which cuttings absolutely adore. I usually secure the bag with a rubber band around the pot.
- Find a Good Spot: Place your pots in a bright spot with indirect sunlight. Avoid direct sun, which can scorch young cuttings.
Water Propagation: The See-Through Success
This method is so satisfying because you can literally watch your plant grow roots!
- Take and Prepare Cuttings: Follow steps 1 and 2 from the stem cutting method.
- Place in Water: Fill a clean jar or glass with room temperature water. Place your cuttings in the water, making sure the leaf nodes are submerged, but no leaves are touching the water.
- Find a Bright Spot: Again, place the jar in a bright location with indirect light.
- Change the Water: Change the water every 3-4 days to keep it fresh and prevent bacterial growth. You’ll usually see tiny white roots emerging from the leaf nodes within a couple of weeks.
- Pot Up Once Rooted: Once your cuttings have developed roots that are about 1-2 inches long, you can gently transplant them into pots filled with your well-draining potting mix, following the planting step (step 4) from the stem cutting method.
The “Secret Sauce” (Pro Tips)
You know, after years of digging in the dirt, you pick up a few tricks! Here are a couple of my favorites for Tradescantia zanonia:
- Don’t Let the Leaves Touch the Water (if water propagating!): This is crucial. Any leaves submerged in water will eventually rot, which can contaminate your water and harm the cutting. It’s all about those precious leaf nodes doing the rooting work!
- The Magic of Bottom Heat: If you can, place your pots on a gentle heat mat. This isn’t strictly necessary for Tradescantia zanonia, but it can significantly speed up the rooting process, especially if your home is a bit on the cooler side. It mimics the warmth of spring soil.
- Gently Tug Test: After about 3-4 weeks, when you think they might be rooted, give a cutting a very gentle tug. If you feel resistance, congratulations, you’ve got roots! If it pulls out easily, pop it back in the soil and give it more time.
Aftercare & Troubleshooting
Once tiny roots have emerged and your cuttings have established themselves, the real pampering begins!
- Watering: Continue to water when the top inch of soil feels dry. Avoid overwatering, as this is the most common culprit for root rot.
- Light: Keep them in bright, indirect light. As they grow stronger, you can gradually introduce them to a bit more light, but always watch for signs of stress.
- Fertilizing: You won’t need to fertilize new propagations for the first month or two. Once they’re growing well, you can start with a diluted, balanced liquid fertilizer every 4-6 weeks during the growing season.
Troubleshooting: The most common issue you’ll face is rot, often indicated by mushy, brown stems or leaves. This is almost always a sign of too much moisture and not enough airflow. If you see signs of rot, act fast! Remove the affected parts with clean shears, and allow the soil to dry out considerably. Sometimes, you can salvage a cutting by taking a fresh, healthy piece from the healthy section and starting over. Yellowing leaves can sometimes mean it’s too cold or it’s getting too much direct sun.
A Little Patience, A Lot of Joy
And there you have it! Propagating Tradescantia zanonia is a delightful journey. Don’t be discouraged if every single cutting doesn’t make it – that’s part of the gardening dance. Celebrate each success, be patient with the ones that are taking their time, and most importantly, enjoy the process of bringing new life into your home. Happy propagating!
Resource:
https://identify.plantnet.org/k-world-flora/species/Tradescantia%20zanonia%20(L.)%20Sw./data