Hello fellow garden lovers! Today, we’re diving into the wonderful world of propagating Eleutherococcus simonii. If you’re looking for a plant that offers lovely foliage and a bit of interesting texture to your garden, you’re in for a treat. And the best part? You can easily multiply it yourself. It’s a truly rewarding experience to watch a tiny cutting transform into a thriving new plant. For those just starting out in the propagation game, I’d say Eleutherococcus simonii is quite forgiving, making it a great choice to build your confidence.
The Best Time to Start
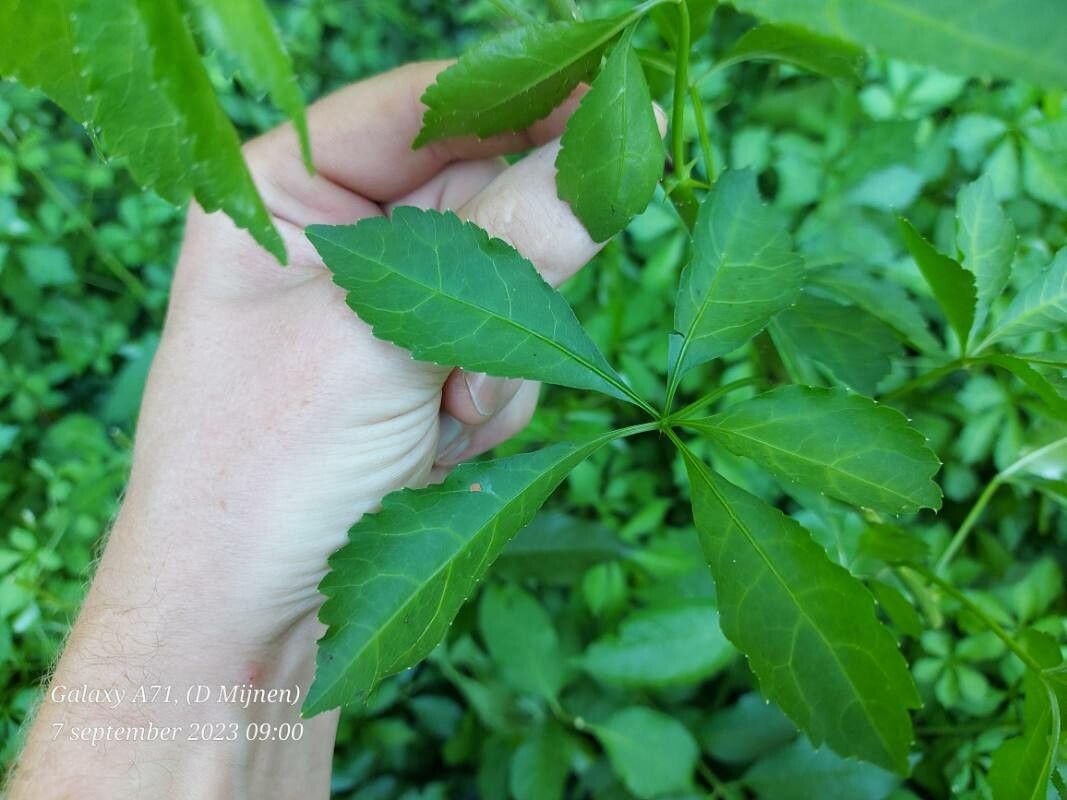
The sweet spot for propagating Eleutherococcus simonii is generally late spring to early summer. This is when the plant is actively growing, and the stems are typically semi-hardwood. You’re looking for stems that are flexible but have started to firm up, not bright green and floppy, nor woody and brittle. Timing is key for getting those roots to form quickly and strongly.
Supplies You’ll Need
Here’s a little shopping list to get you prepared:
- Sharp, clean pruning shears or a knife: For making precise cuts.
- Rooting hormone powder or gel: This isn’t strictly essential for Eleutherococcus, but it can give your cuttings a real boost.
- A good potting mix: I prefer a mix that drains well. A blend of equal parts peat moss (or coco coir) and perlite is my go-to. You can also add a bit of coarse sand.
- Small pots or seedling trays: With drainage holes, of course!
- A clear plastic bag or a propagation dome: To keep humidity high.
- Horticultural charcoal (optional): To help prevent fungal issues in the soil.
- A spray bottle: For misting.
Propagation Methods
Let’s get our hands dirty! Stem cuttings are the most straightforward way to go with Eleutherococcus simonii.
Stem Cuttings
- Select your cuttings: In late spring or early summer, choose healthy, vigorous stems from your parent plant. Look for stems that are about 4-6 inches long.
- Make the cut: Using your sharp shears, make a clean cut just below a leaf node (where a leaf attaches to the stem). This is where the magic happens for root development.
- Prepare the cutting: Gently remove the lower leaves, leaving just two or three at the very top. If you have very large leaves, you can even cut those in half to reduce water loss.
- Apply rooting hormone: Dip the cut end of the stem into your rooting hormone. Tap off any excess.
- Plant the cutting: Make a small hole in your prepared potting mix with a pencil or your finger. Insert the cutting into the hole, ensuring the leaf nodes are below the soil surface. Gently firm the soil around the stem.
- Water gently: Water the soil thoroughly but gently, making sure not to dislodge your cuttings.
- Create a humid environment: Cover the pot or tray with a clear plastic bag or a propagation dome. Make sure the leaves aren’t touching the plastic if possible. Place it in a bright spot, but out of direct sunlight. Direct sun can scorch the delicate cuttings.
The “Secret Sauce” (Pro Tips)
Here are a couple of things I’ve learned over the years that can make a big difference:
- Don’t be afraid to experiment with bottom heat. If you have a heating mat designed for seedlings, pop your pots on top of it. Even a consistent room temperature is good, but a little warmth from below can really encourage roots to form faster.
- Mist regularly, but don’t drown them! The goal is to keep the humidity high, but you don’t want waterlogging. A light misting a couple of times a day is usually sufficient, especially if you have your cuttings covered. If you see condensation building up heavily on the plastic, you can briefly lift the cover to let some air circulate.
Aftercare & Troubleshooting
Once you see new growth appearing at the top of the cutting, that’s a great sign! It usually means roots are forming underneath. You can gently tug on a cutting to feel for resistance – that’s your indication of roots.
When you’ve got a good root system established (which might take anywhere from 4-8 weeks, sometimes longer depending on the conditions), it’s time to acclimatize your new plant.
- Gradually remove the cover: Over a few days, start lifting the plastic bag or opening the propagation dome for longer periods to let the humidity level slowly decrease. This prevents shock.
- Potting up: Once they seem acclimatized, gently transplant your new Eleutherococcus into their own small pots with a good potting mix. Keep them in a bright, but indirect light spot, and water when the top inch of soil feels dry.
The most common issue you’ll encounter is rot. This usually happens if the soil is too wet and there isn’t enough air circulation. Mushy, black stems are a tell-tale sign. If you catch it early, you can try to remove the affected cutting, but often, it’s best to discard it and start fresh. Good drainage and careful watering are your best defense against this.
A Bit of Encouragement
Propagating can sometimes feel like a leap of faith, but with Eleutherococcus simonii, you’re starting with a plant that’s quite cooperative. Be patient, observe your cuttings, and celebrate every little sign of progress. The satisfaction of nurturing a new plant from a simple cutting is truly unmatched. Happy propagating!
Resource: