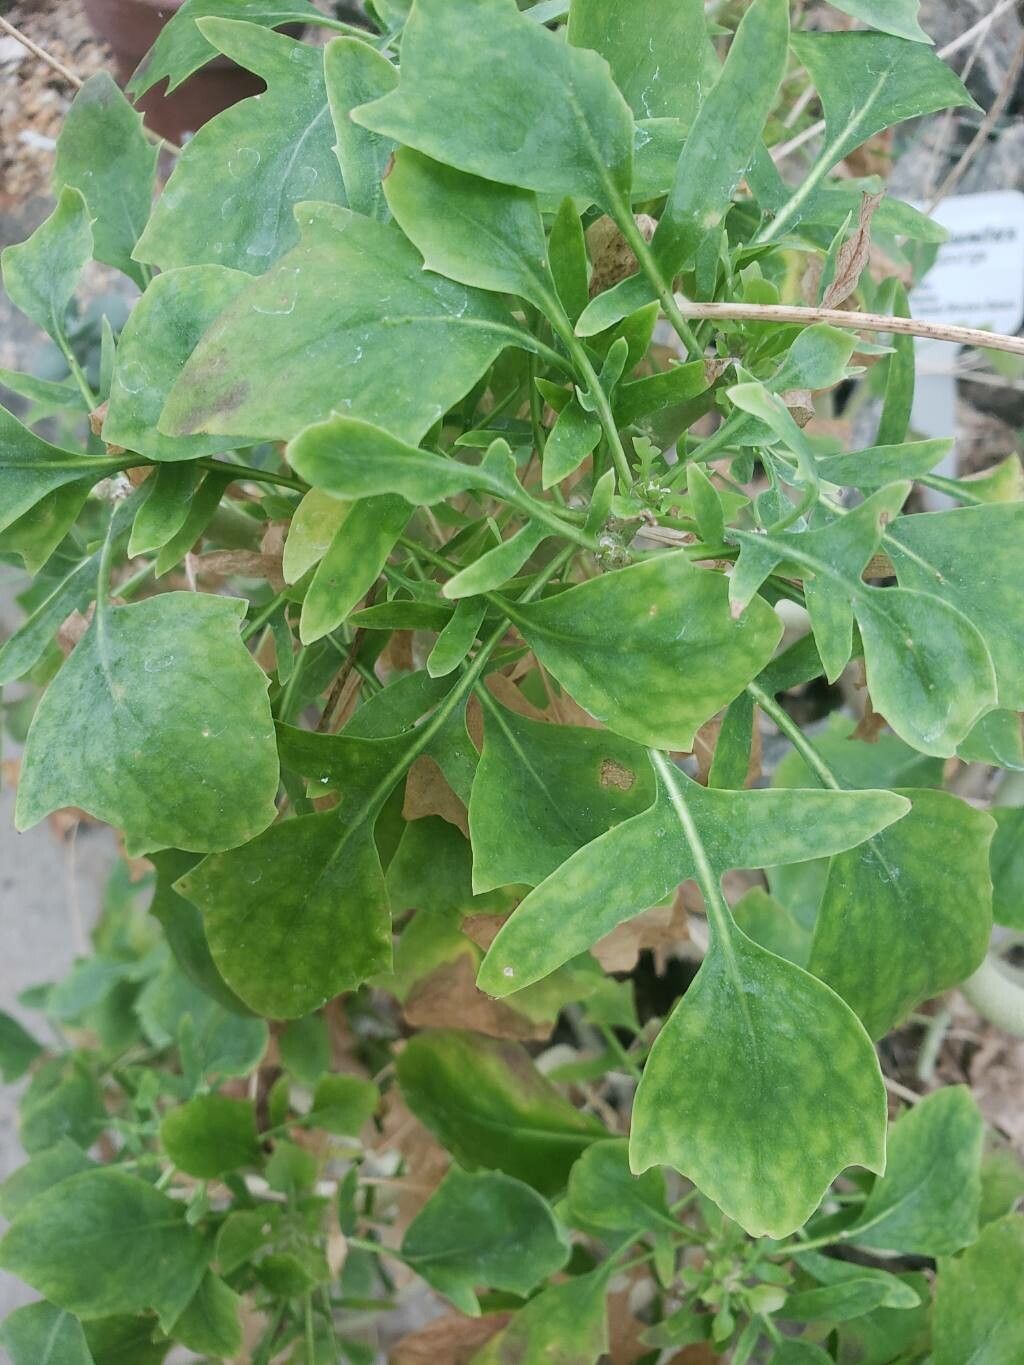
Oh, Othonna triplinervia! If you’ve ever seen one of these beauties, you know how incredibly charming they are. Their unique, almost succulent-like leaves – often a lovely grey-green and beautifully textured – make them a real standout in any collection. And the reward? Well, growing more of them from your existing plants is just pure gardening joy. It’s like cloning a little piece of perfection! Honestly, I find Othonna triplinervia to be quite easy to propagate, making it a delightful project for both seasoned green thumbs and those just starting their indoor plant adventure.
The Best Time to Start
For Othonna triplinervia, like many plants, spring is your golden ticket. As the days get longer and the plant starts showing renewed growth, it’s bursting with energy. This is when it’s most robust and ready to put its efforts into something new, rather than just maintaining itself. Aim for late spring to early summer – that’s when I’ve had the absolute best luck.
Supplies You’ll Need
Before you dive in, let’s gather our tools. Having everything ready makes the process so much smoother.
- Sharp Pruning Shears or a Clean Knife: For taking clean cuts.
- Potting Mix: A well-draining mix is crucial. I often use a blend of perlite, coarse sand, and a good quality potting soil, or a specialized succulent/cactus mix.
- Small Pots or Seedling Trays: Clean containers with drainage holes.
- Rooting Hormone (Optional but Recommended): This can really give your cuttings a head start.
- Watering Can with a Fine Rose or Spray Bottle: For gentle watering.
- Small Pebbles or Gravel: For drainage at the bottom of pots (though a good mix often suffices).
- Plastic Bag or Clear Cling Film: To create a mini-greenhouse effect.
Propagation Methods
Othonna triplinervia is wonderfully adaptable, and stem cuttings usually give the best results.
Stem Cuttings
This is my go-to method for Othonna triplinervia. It’s straightforward and yields fantastic results.
- Take Cuttings: Using your clean shears or knife, select a healthy stem that’s about 3-4 inches long. Make a clean cut just below a leaf node (where a leaf attaches to the stem). You’ll want to take several cuttings, as not all of them may take.
- Allow to Callus: This is important for succulents and succulent-like plants! Let the cuttings sit in a dry, airy spot for 24-48 hours. This allows the cut end to dry out and form a callus, which helps prevent rot when you plant them. You’ll see the cut end looking dried and sealed.
- Prepare the Potting Mix: Fill your small pots or trays with your well-draining potting mix. Make sure it’s slightly damp but not soggy.
- Apply Rooting Hormone (Optional): Dip the callused end of the cutting into your rooting hormone powder according to the product’s instructions.
- Plant the Cuttings: Make a small hole in the potting mix with your finger or a pencil and gently insert the callused end of the cutting about an inch deep. Firm the soil gently around it. For multiple cuttings in one pot, space them a couple of inches apart.
- Create a Humid Environment: Water very lightly around the base of the cutting. Then, cover the pot loosely with a clear plastic bag or cling film. This traps humidity, which encourages root development. You can secure it with a rubber band.
- Provide Light and Warmth: Place the pot in a bright spot, but out of direct, harsh sunlight. A bit of warmth from the bottom can also be beneficial, though not strictly necessary if your house is warm enough.
The “Secret Sauce” (Pro Tips)
Here are a couple of things I’ve learned over the years that make a real difference:
- Don’t Water Too Much Early On: This is critical! While humidity is good, overwatering the mix before roots form is the quickest way to rot your cuttings. Let the soil dry out slightly between light waterings. Trust your plant to signal its thirst.
- Bottom Heat Works Wonders: If you have a seedling heat mat, using it can significantly speed up root formation. It provides that gentle, consistent warmth the cuttings crave. Just place your pot on top of the mat.
Aftercare & Troubleshooting
Once you start seeing new growth or feel gentle resistance when you lightly tug a cutting, roots are likely forming! This usually takes anywhere from 3 to 8 weeks, depending on conditions.
- Gradual Acclimation: Once roots are established, slowly remove the plastic cover over a few days to let the new plant get used to your home’s normal humidity.
- Watering: Water thoroughly when the top inch of soil feels dry.
- Moving Up: When your new Othonna triplinervia is well-rooted and actively growing, you can transplant it into a slightly larger pot.
Troubleshooting: The most common issue you’ll face is rot. If a cutting turns black and mushy at the base, it’s usually a sign of too much moisture and not enough air circulation. Unfortunately, if rot sets in, it’s often best to discard the affected cutting. Sometimes, you might see wilting. This can be due to a lack of moisture or a cutting that’s simply taking longer to root. Continue to provide consistent, but not excessive, care.
A Encouraging Closing
Propagating Othonna triplinervia is a beautiful journey. Be patient with your little green babies, offer them consistent care without fussing too much, and enjoy the rewarding process of growing more of these wonderful plants. Happy gardening!
Resource:
https://identify.plantnet.org/k-world-flora/species/Othonna%20triplinervia%20DC./data