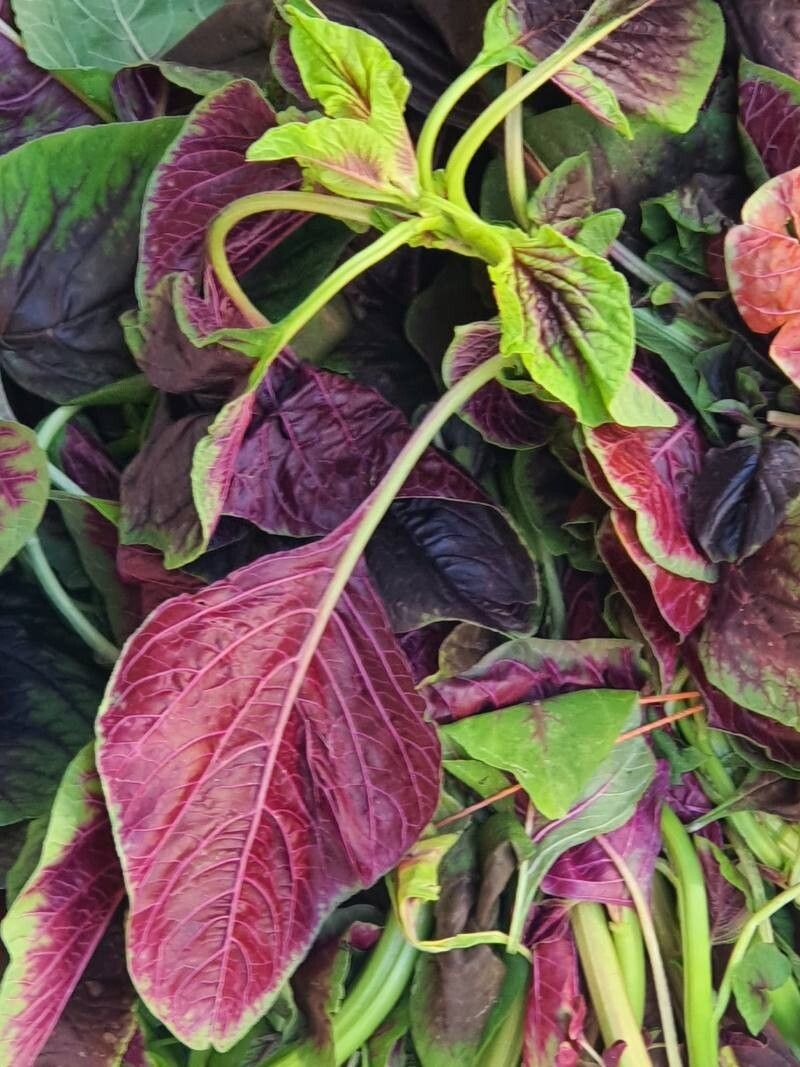
Hello fellow garden enthusiasts! I’m so excited to chat with you today about one of my absolute favorite plants to propagate: Amaranthus tricolor, often called Joseph’s Coat or Tricolor Amaranth. If you’re drawn to vibrant splashes of color in your garden, this is a plant you’ll adore. Its leaves are a dazzling tapestry of reds, oranges, pinks, and yellows, creating a truly show-stopping display. And the best part? Multiplying these beauties is surprisingly straightforward and incredibly rewarding. For beginners, I’d say propagating amaranth is a delightful entry point into the world of plant multiplication. You’ll be hooked!
When to Get Growing
The absolute best time to start propagating Amaranthus tricolor is when the parent plant is actively growing and has plenty of healthy stems. Think late spring through early summer. This is when the plant has the most energy reserves to put into developing new roots. You want to grab cuttings from stems that are at least a few inches long and show good vigor. Avoid any that look weak, leggy, or are stressed from extreme heat or drought.
Your Propagating Toolkit
Gathering your supplies beforehand makes the whole process smooth and enjoyable. Here’s what you’ll want to have on hand:
- Sharp Pruning Shears or a Clean Knife: Essential for making clean cuts.
- Rooting Hormone (Optional but Recommended): A little powder or gel can significantly boost your success rate.
- Well-Draining Potting Mix: I personally love a blend of equal parts peat moss, perlite, and vermiculite. This creates a light and airy environment for roots to develop. You can also buy a good quality seed-starting mix.
- Small Pots or Seed Trays: Clean, small containers are perfect for starting your new plants. Make sure they have drainage holes!
- Plastic Bags or a Propagator Lid: These create a humid environment that cuttings love.
- Watering Can with a Fine Rose Attachment: For gentle watering.
- Spray Bottle: For misting.
Methods for Mini Amaranths
Let’s get our hands dirty with the step-by-step!
Stem Cuttings: My Go-To Method
This is the most common and effective way to propagate Amaranthus tricolor.
- Select Your Stems: Choose healthy stems from a mature plant. Look for stems that are about 4-6 inches long.
- Make the Cut: Using your clean shears or knife, make a clean cut just below a leaf node. A leaf node is where a leaf or side shoot emerges from the stem. This is where the magic happens for root development.
- Prepare the Cuttings: Gently remove the lower leaves from the cutting, leaving only the top couple of leaves. This prevents them from rotting in the soil or water. You can even cut the remaining leaves in half if they are very large, to reduce water loss.
- Dip in Rooting Hormone: If you’re using it, dip the cut end of the stem into the rooting hormone powder or gel, tapping off any excess.
- Plant Your Cuttings: Fill your small pots or trays with your prepared potting mix. Make a small hole in the center with your finger or a pencil.
- Insert the Cutting: Gently place the cut end of the amaranth stem into the hole, ensuring that at least one leaf node is below the soil surface. Firm the soil gently around the base of the cutting.
- Water and Cover: Water the soil lightly until it’s evenly moist but not waterlogged. Then, cover the pots or trays with a plastic bag or propagator lid to create a humid mini-greenhouse. Place them in a bright spot, but out of direct sunlight.
Water Propagation (A Fun Experiment!)
While stem cuttings in soil are my preferred method for Amaranthus tricolor, you can also try water propagation.
- Follow steps 1-3 above for preparing your cuttings.
- Find a clean glass or jar and fill it with fresh, room-temperature water.
- Place the cuttings in the water, ensuring that no leaves are submerged. Submerged leaves will rot, so it’s crucial to keep them above the water line.
- Place the jar in a bright location out of direct sun. Change the water every few days to keep it fresh. You should see roots beginning to form in a couple of weeks. Once the roots are about an inch long, you can carefully transplant them into pots filled with your well-draining potting mix.
My “Secret Sauce” Pro Tips
Over the years, I’ve learned a few tricks that really make a difference.
- Don’t Let Leaves Touch Water: I can’t stress this enough with water propagation! If any foliage dips into the water, it’s a one-way ticket to mush. Trim those lower leaves diligently.
- Bottom Heat is Your Best Friend: If you have the space and the tools, placing your pots on a heated propagation mat can seriously speed up root development. This mimics the warmth of spring soil and encourages those roots to form faster.
- Mist, Mist, Mist: Even with a plastic bag, the humidity can sometimes dip. Lightly misting the cuttings and the inside of the plastic bag every day or two helps keep the environment consistently moist, preventing the cuttings from drying out.
Tending to Your Tiny Sprouts
Once your Amaranthus tricolor cuttings have developed a healthy root system (you can often see roots coming out of the drainage holes, or gently tugging on a cutting gives resistance), it’s time for them to grow!
- Gradual Acclimation: If you’ve been using a plastic bag, gradually remove it over a few days to let your new plants adjust to normal humidity.
- Watering: Water them whenever the top inch of soil feels dry. Avoid letting them sit in soggy soil, as this is prime territory for root rot.
- Light: Continue to provide bright, indirect light. As they grow stronger, you can slowly introduce them to more direct sunlight, but always be mindful of scorching them.
- Transplanting: Once your new amaranth plants are strong enough to handle, you can transplant them into larger pots or directly into your garden after all danger of frost has passed.
Troubleshooting is part of the fun! The most common sign of failure is rot. If your cuttings turn black and mushy, it’s usually a sign of too much moisture, poor drainage, or insufficient air circulation. Cut your losses, clean your pots thoroughly, and try again with fresh cuttings, ensuring better drainage and a less waterlogged environment. Don’t get discouraged!
So there you have it – a complete guide to propagating your own vibrant Amaranthus tricolor. Remember to be patient. Sometimes, a cutting just needs a little more time. Enjoy the process of nurturing new life from your existing plants. Happy gardening, and I can’t wait to see your colorful amaranth creations!
Resource:
https://identify.plantnet.org/k-world-flora/species/Amaranthus%20tricolor%20L./data