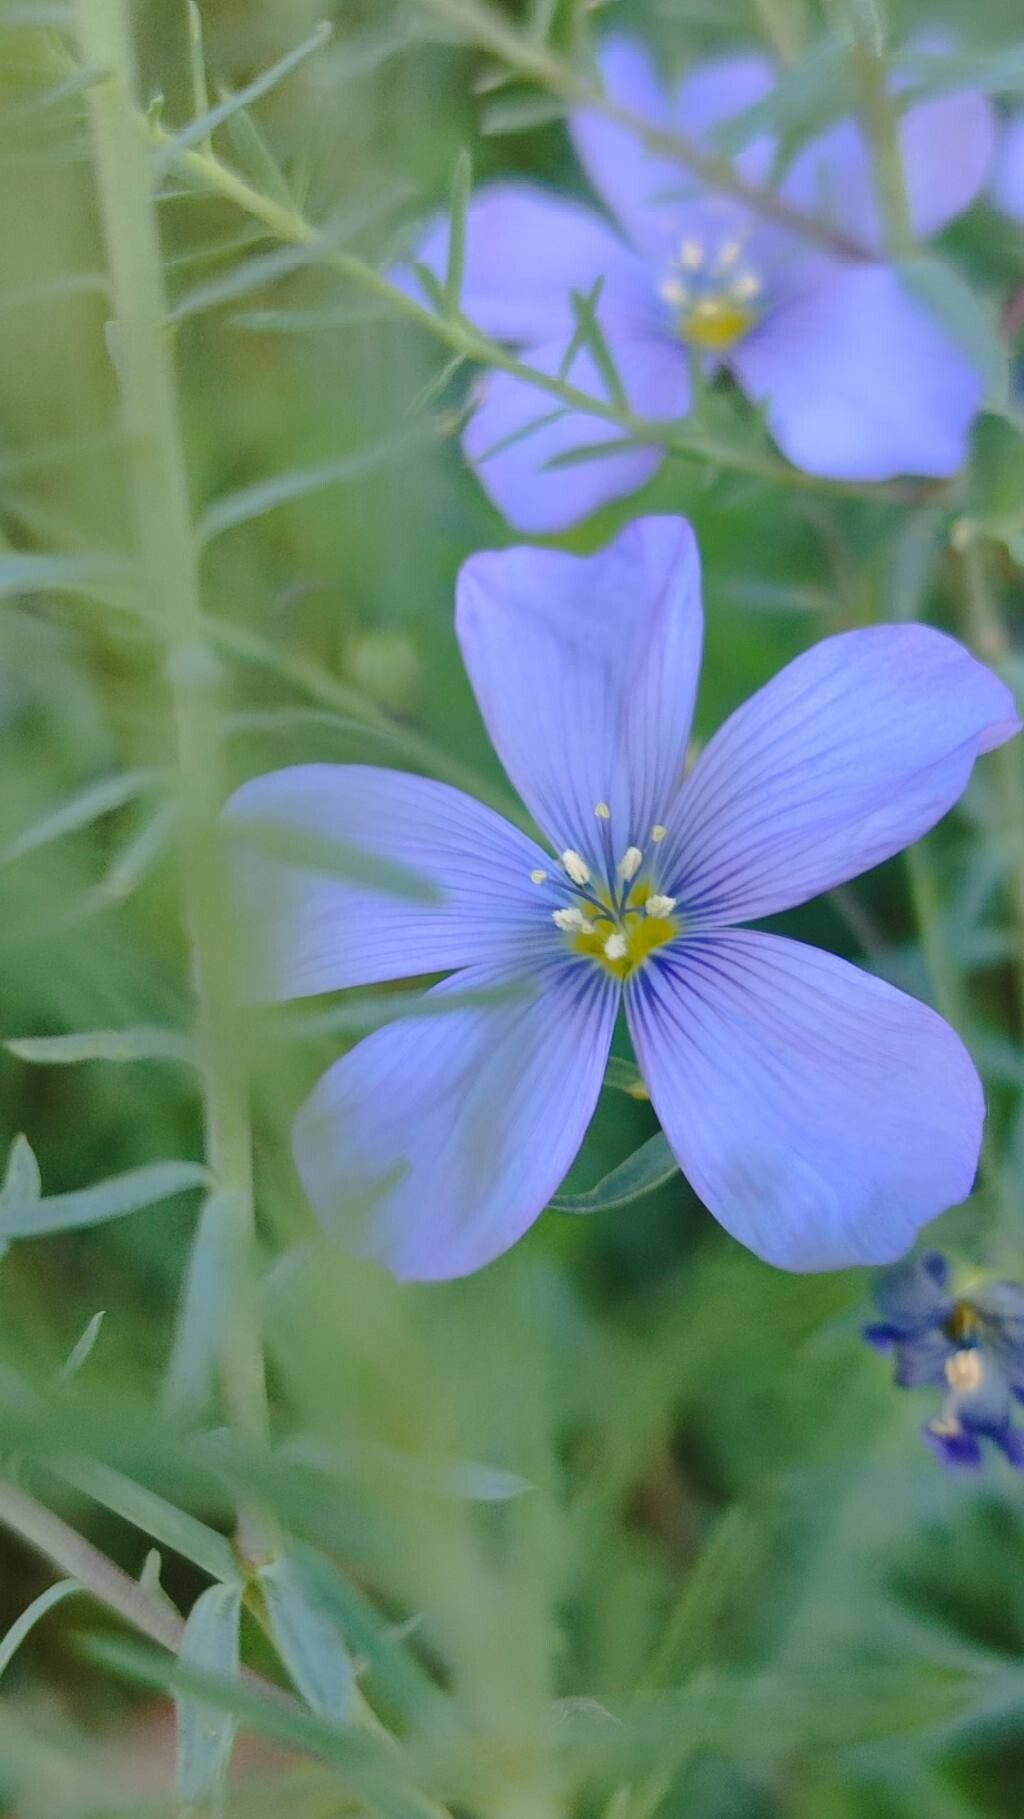
Hello fellow garden enthusiasts! I’m so excited to talk to you today about Linum altaicum, also known as Siberian flax. If you’re looking for a plant that brings delicate, sky-blue blooms and a touch of airy grace to your garden, this is it! Seeing these lovely flowers sway in the breeze is truly a joy. And the even better news? Propagating Linum altaicum is a wonderfully rewarding endeavor. For beginners, I’d say it’s moderately easy, with a little care and attention. The satisfaction of nurturing a new plant from a tiny piece of its parent is simply unmatched!
So, when is the best time to get your hands dirty and start propagating? My personal favorite time, and when I see the highest success rates, is in the late spring or early summer, right after the initial flush of flowering has finished. This is when the plant is robust and has plenty of energy to put into new growth. You can also try in early autumn, but spring propagation often gives the new plant a bit more time to establish before winter.
Before we dive into the how-to, let’s gather our trusty tools. You won’t need anything too fancy, just a few essentials:
- Sharp pruning shears or a clean knife: For taking cuttings without crushing the stems.
- Potting mix: I prefer a well-draining, sterile seed starting mix. A good quality potting soil mixed with perlite or coarse sand works wonders too.
- Small pots or seed trays: For housing your cuttings. Make sure they have drainage holes!
- Rooting hormone (optional but recommended): For an extra boost in root development. Look for one with auxins.
- Plastic bags or a propagator lid: To create a humid environment for your cuttings.
- Watering can with a fine rose: For gentle watering.
- Labeling stakes and a marker: To keep track of what you’ve planted where and when!
Now, let’s get down to business with the most reliable methods for multiplying your Linum altaicum:
Stem Cuttings: My Go-To Method
This is usually my most successful approach for Linum altaicum.
- Take Your Cuttings: In late spring or early summer, select healthy, non-flowering shoots that are about 4-6 inches long. Use your clean shears to make a cut just below a leaf node (where a leaf attaches to the stem). Remove the lower leaves from the cutting, leaving just a few at the top.
- Prepare the Cuttings: If you’re using rooting hormone, dip the cut end of each cutting into it and tap off any excess.
- Plant Them Up: Fill your small pots or trays with your prepared potting mix. Make small holes in the soil and gently insert the cuttings, ensuring the leaf nodes are buried. They should stand upright on their own.
- Create a Humid Environment: Water the soil lightly. Then, cover the pots with a clear plastic bag or place them in a propagator lid. This traps humidity, which is crucial for the cuttings to develop roots before they dry out.
- Find a Cozy Spot: Place your pots in a bright, indirect light location. Avoid direct sun, as it can scorch the young cuttings.
Division: A Simpler Approach for Established Plants
If you have a mature Linum altaicum that’s looking a bit crowded, division is a fantastic option.
- Dig Up the Plant: In early spring, before new growth really kicks off, carefully dig up the entire plant. Try to disturb the roots as little as possible.
- Separate the Roots: Gently shake off excess soil so you can see the root ball. You’ll often see multiple crowns where new shoots are emerging. Use your hands or a clean trowel to gently pull apart the clumps. If the roots are tangled, you might need to carefully tease them apart or even use your knife to make clean cuts through denser root balls. Ensure each section has some roots and at least one healthy shoot.
- Replant Immediately: Replant the divisions into well-prepared garden beds or into new pots filled with good soil. Water them in well.
The “Secret Sauce”: My Experienced Gardener Tips
Over the years, I’ve picked up a few tricks that make a real difference.
- Bottom Heat is Your Friend: For stem cuttings, if you can provide a little gentle bottom heat, it significantly speeds up root formation. A heating mat designed for seed starting is perfect for this. It mimics the warmth of spring soil.
- Don’t Be Afraid of Airflow: While humidity is key, stagnant air can lead to rot. Once a week, I’ll lift the plastic bag or propagator lid for about 15-20 minutes to allow for some air circulation. This helps prevent fungal diseases.
- “Wiggle Test” is the Best Test: Don’t constantly pull on your cuttings to check for roots! Instead, gently tug on a stem. If you feel resistance, it means roots have formed and are anchoring the cutting. You can also look for new leaf growth, which is a sure sign of success.
Aftercare & Troubleshooting: Nurturing Your New Plants
Once your cuttings have rooted (usually after 3-6 weeks), it’s time for them to transition.
- Acclimatize Them: Gradually remove the plastic bag or propagator lid over a few days to help them adjust to normal humidity levels.
- Potting Up: Once they have a good root system, you can pot them up into slightly larger individual pots. Continue to water them, but let the top inch of soil dry out between waterings.
- Watch for Pests and Diseases: The biggest challenges are often damping off (a fungal disease that causes seedlings to rot at the soil line) and underwatering. Always use sterile soil and avoid overwatering. Yellowing leaves can sometimes indicate too much or too little water, or insufficient light.
Propagating plants is a journey, not a race. Be patient with your new Linum altaicum. Some will root faster than others, and that’s perfectly normal. Enjoy the process, learn from each attempt, and soon you’ll be surrounded by these beautiful blue blooms. Happy gardening!
Resource:
https://identify.plantnet.org/k-world-flora/species/Linum%20altaicum%20Ledeb.%20ex%20Juz./data